This is a document in progress, illustrating the various machinery and furniture of the space, including control surfaces and the lighting. It is made public as it can be of value even in an unfinished form.
The equipment in the self-service studio consists of lights, a desk microphone, speakers, two separate screens, a robot camera, a teleprompter, a Steam Deck controller and a computer to manage the presentations, content displayed on the prompter and recordings. There is also a make-up mirror, which can be used, for example, to cover up unwanted shine with powder or other appropriate means.
This document let’s you check everything is in its default settings, and to revert any changes made by a previous user.
Your own equipment
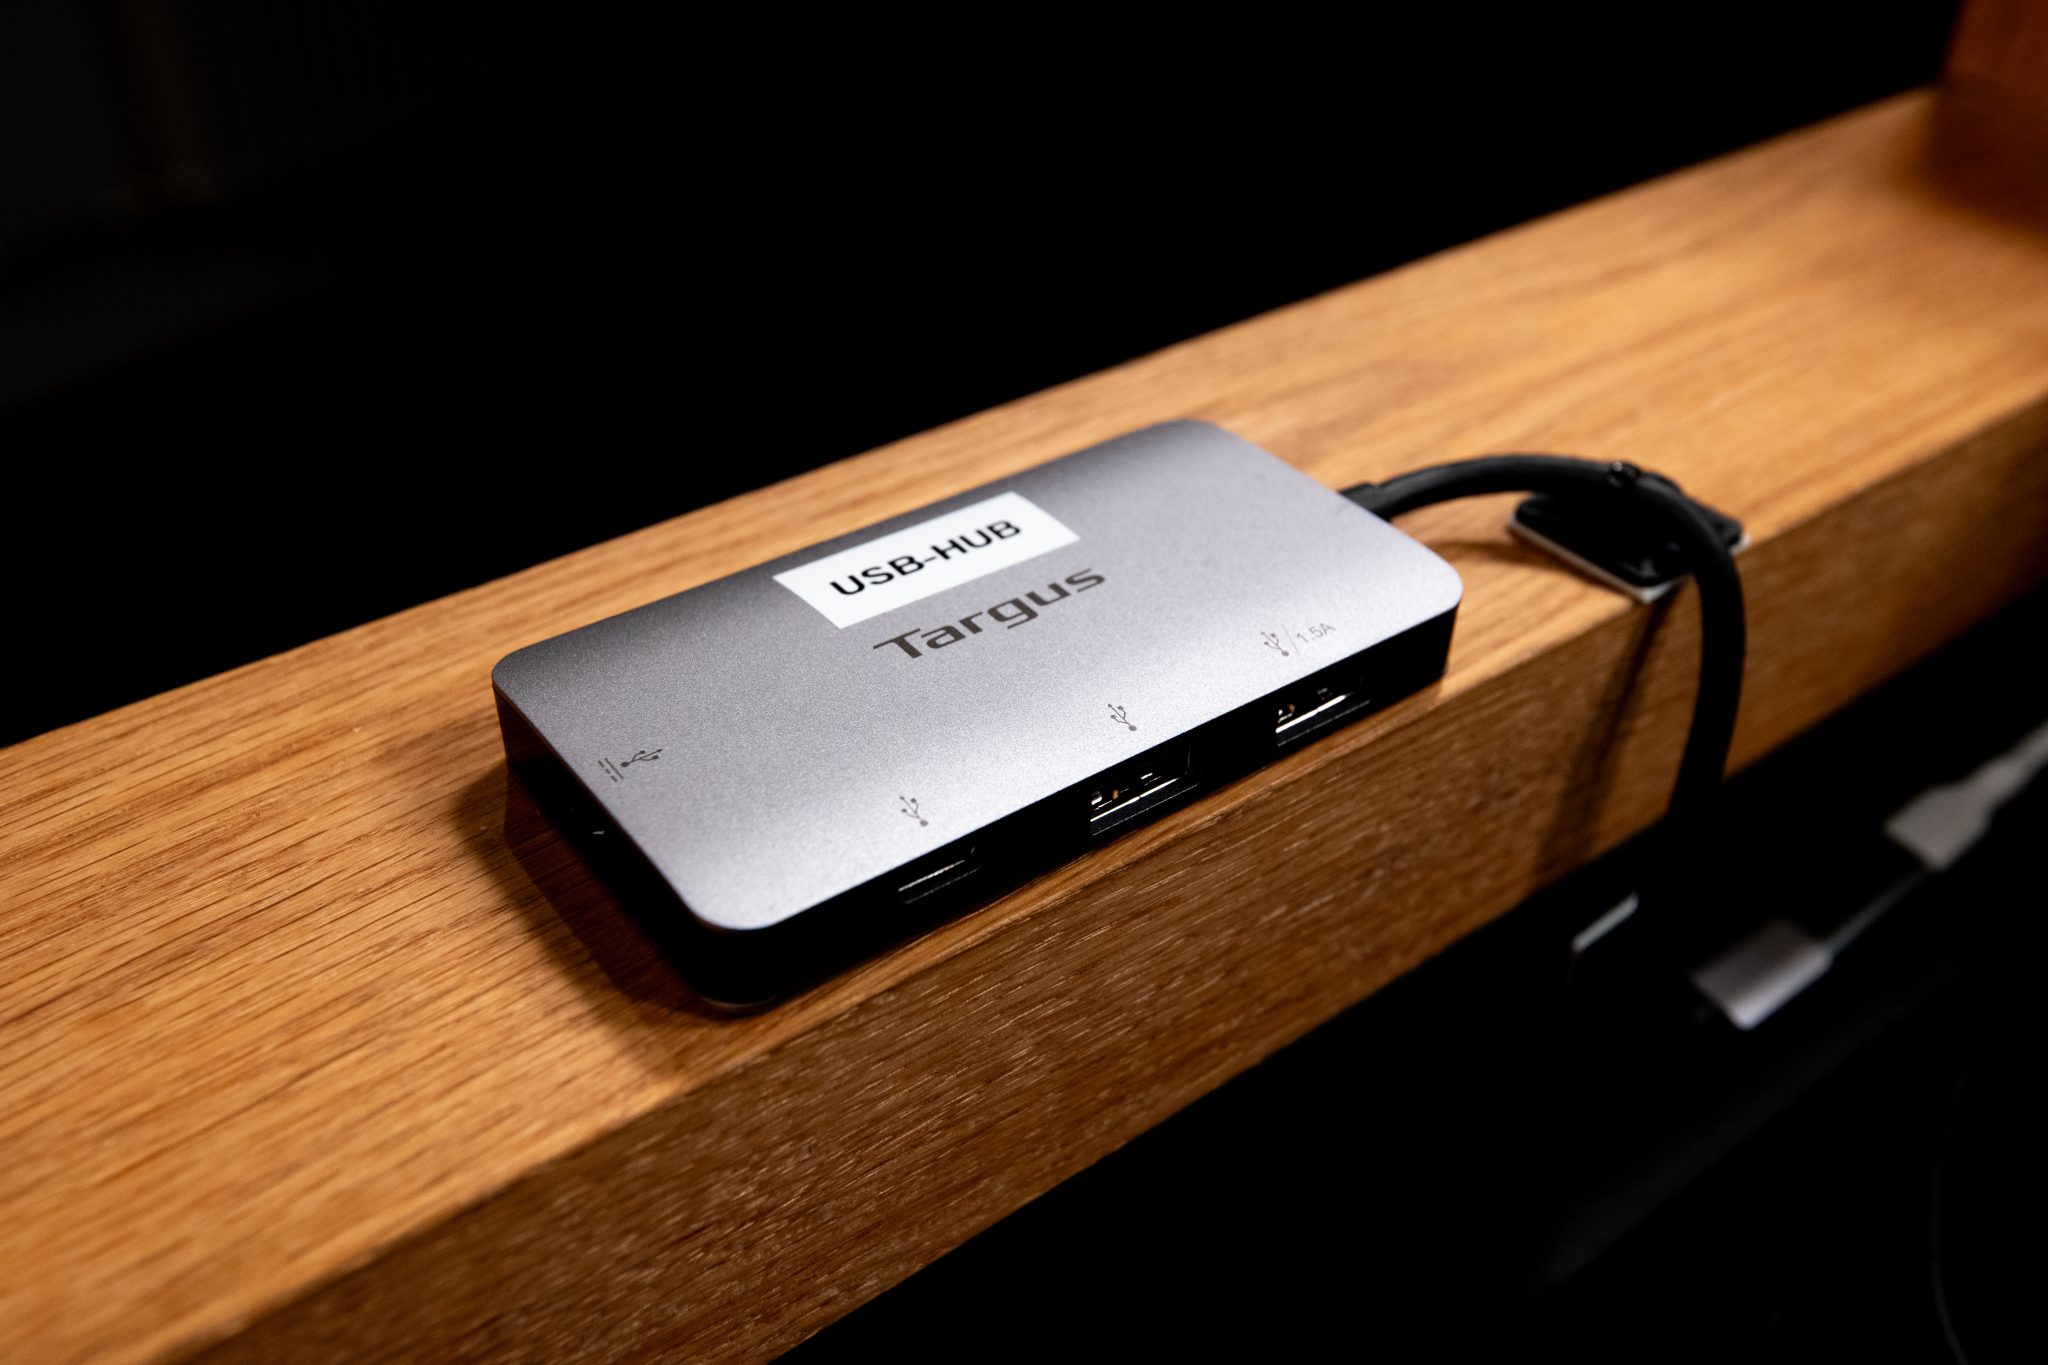
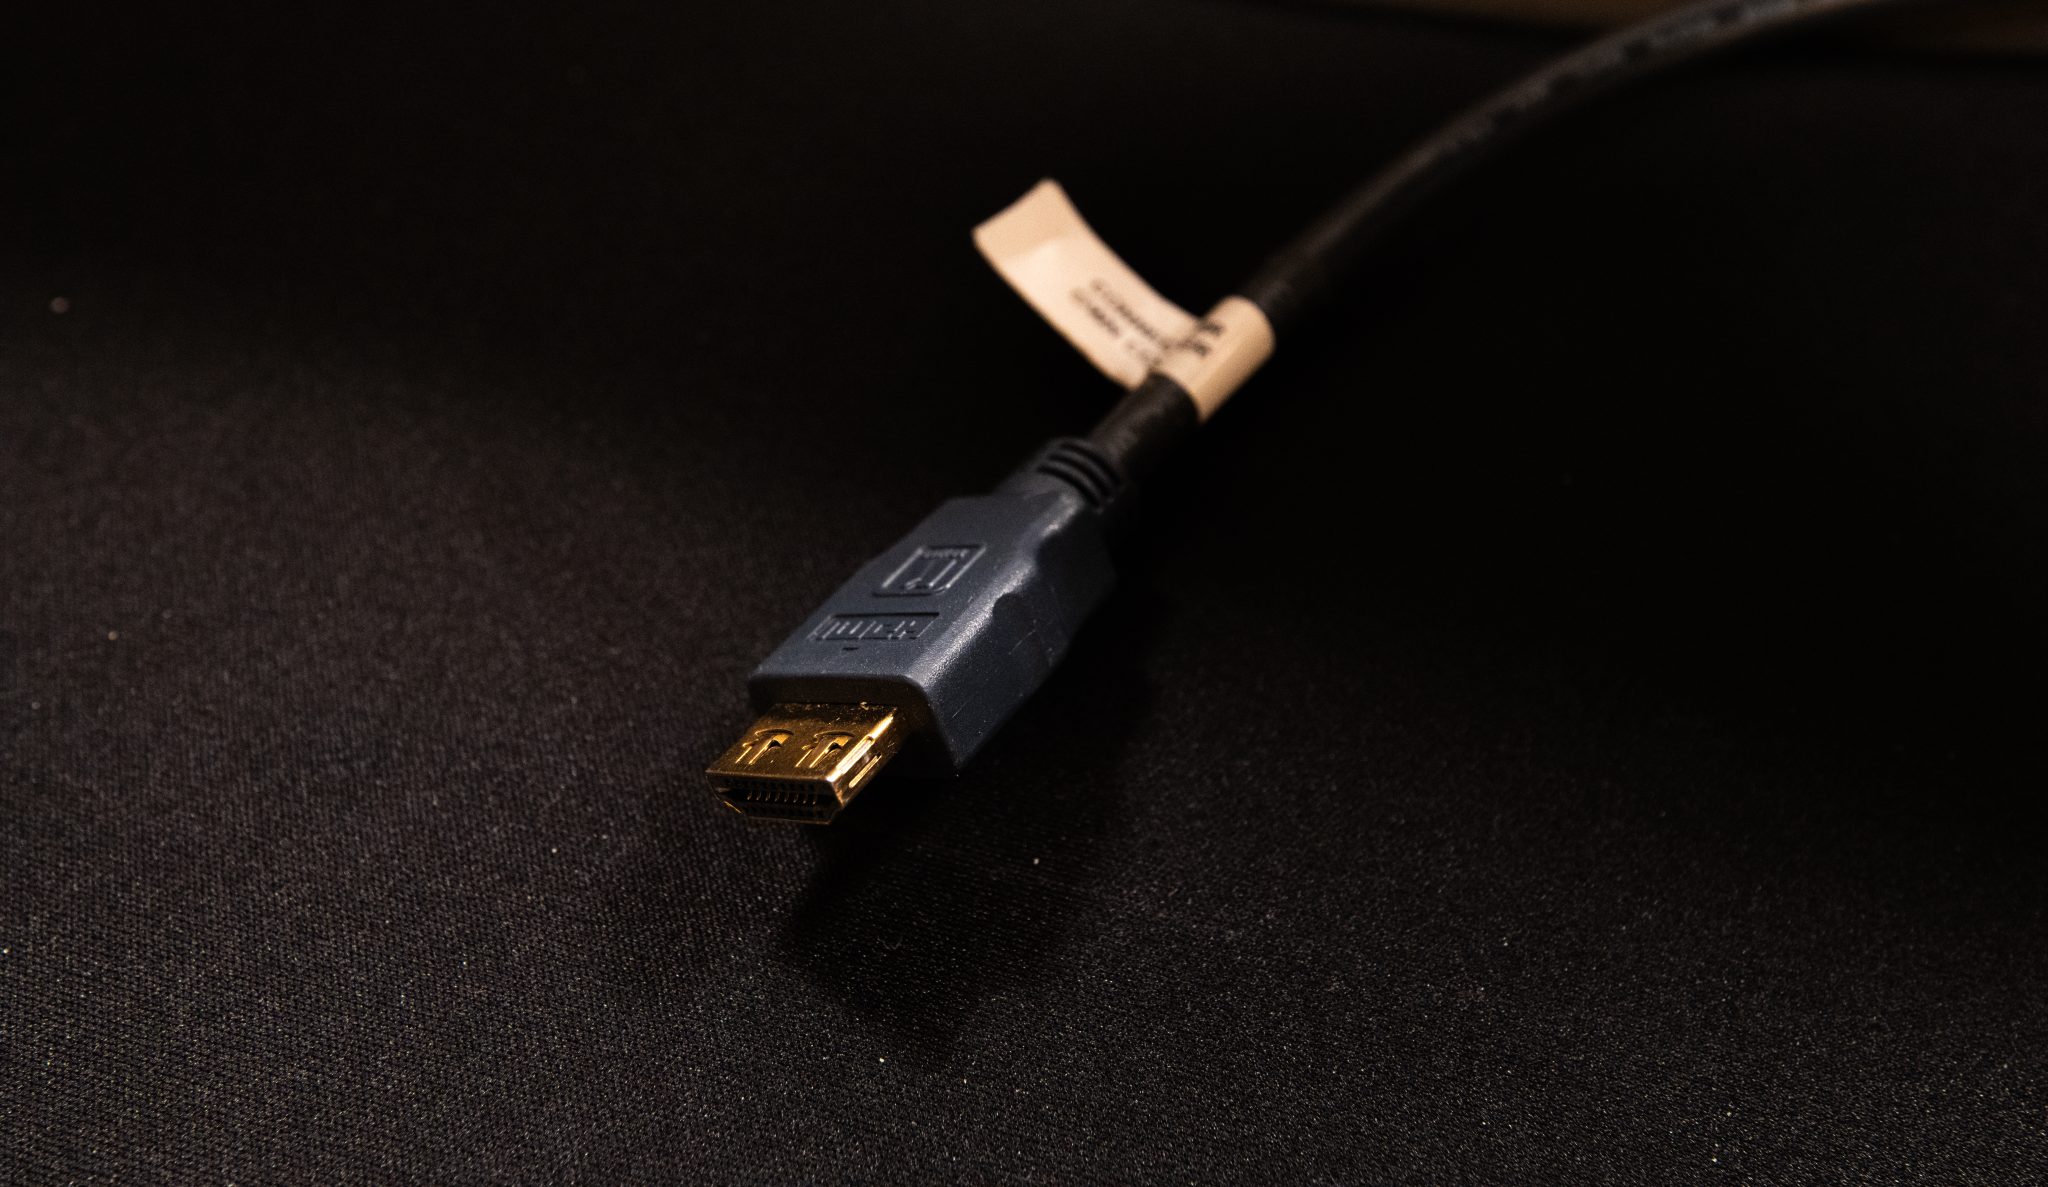
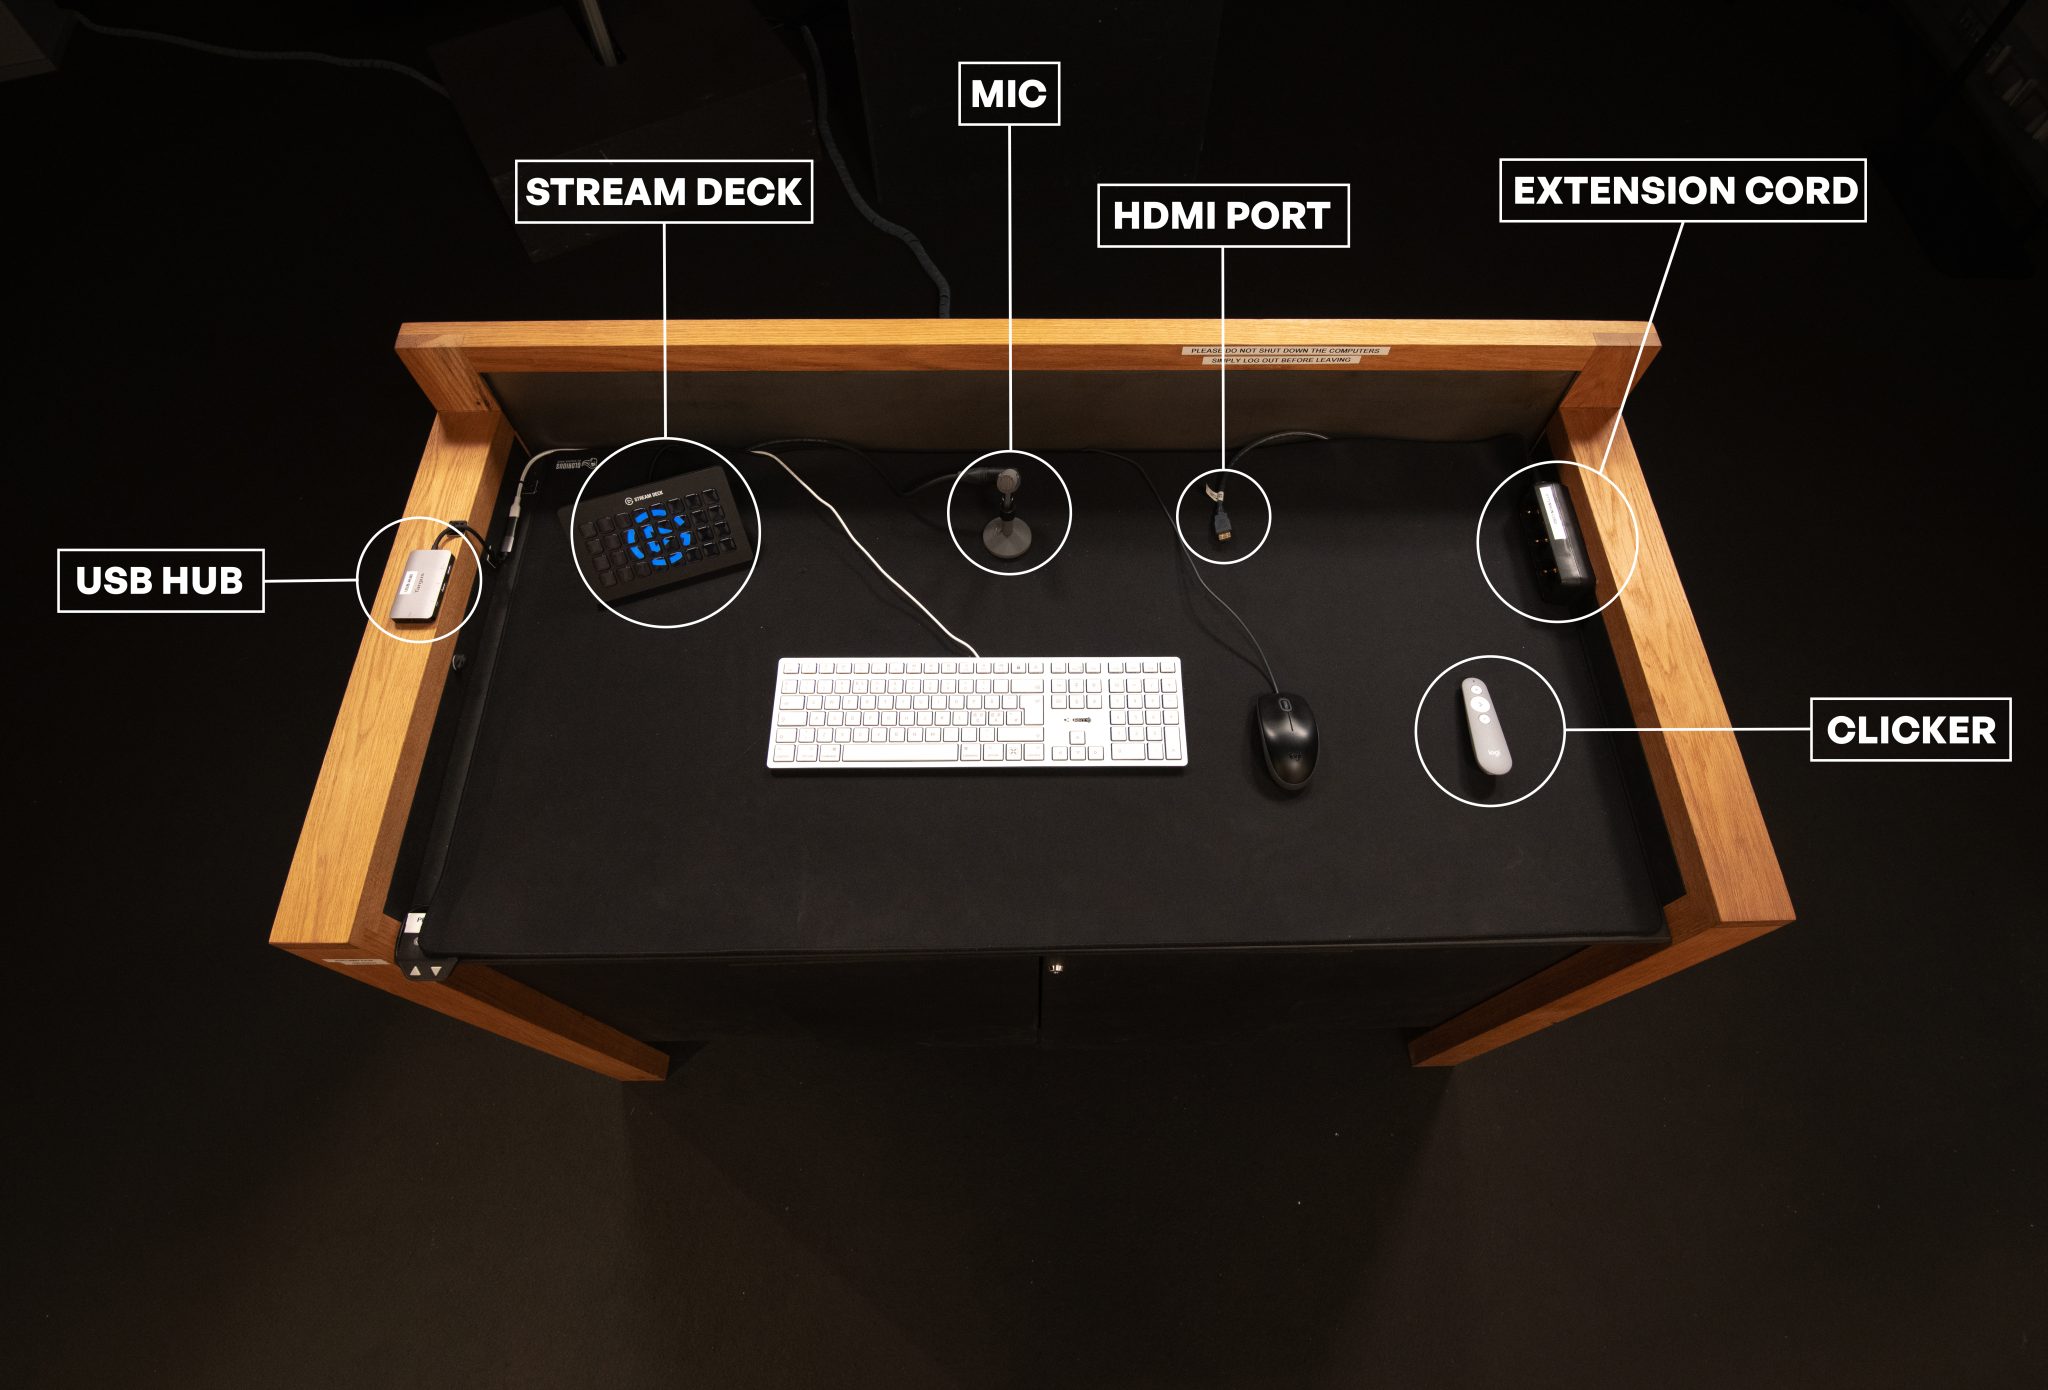
The studio equipment supports the connection of a personal laptop via HDMI. The studio computer is also connected to a USB hub, which allows for 2 USB-A connections and 2 USB-C connections.
Turning on the equipment
The space has two separate lighting systems: studio lights and general lights. The studio lights are switched on by the “Video Lights” light switch. The monitors and speakers in the room are switched on by the “Monitors” switch. If not all monitors are turned on by the switch, restart the computer by clicking on the “Restart” button.
Make-up mirror
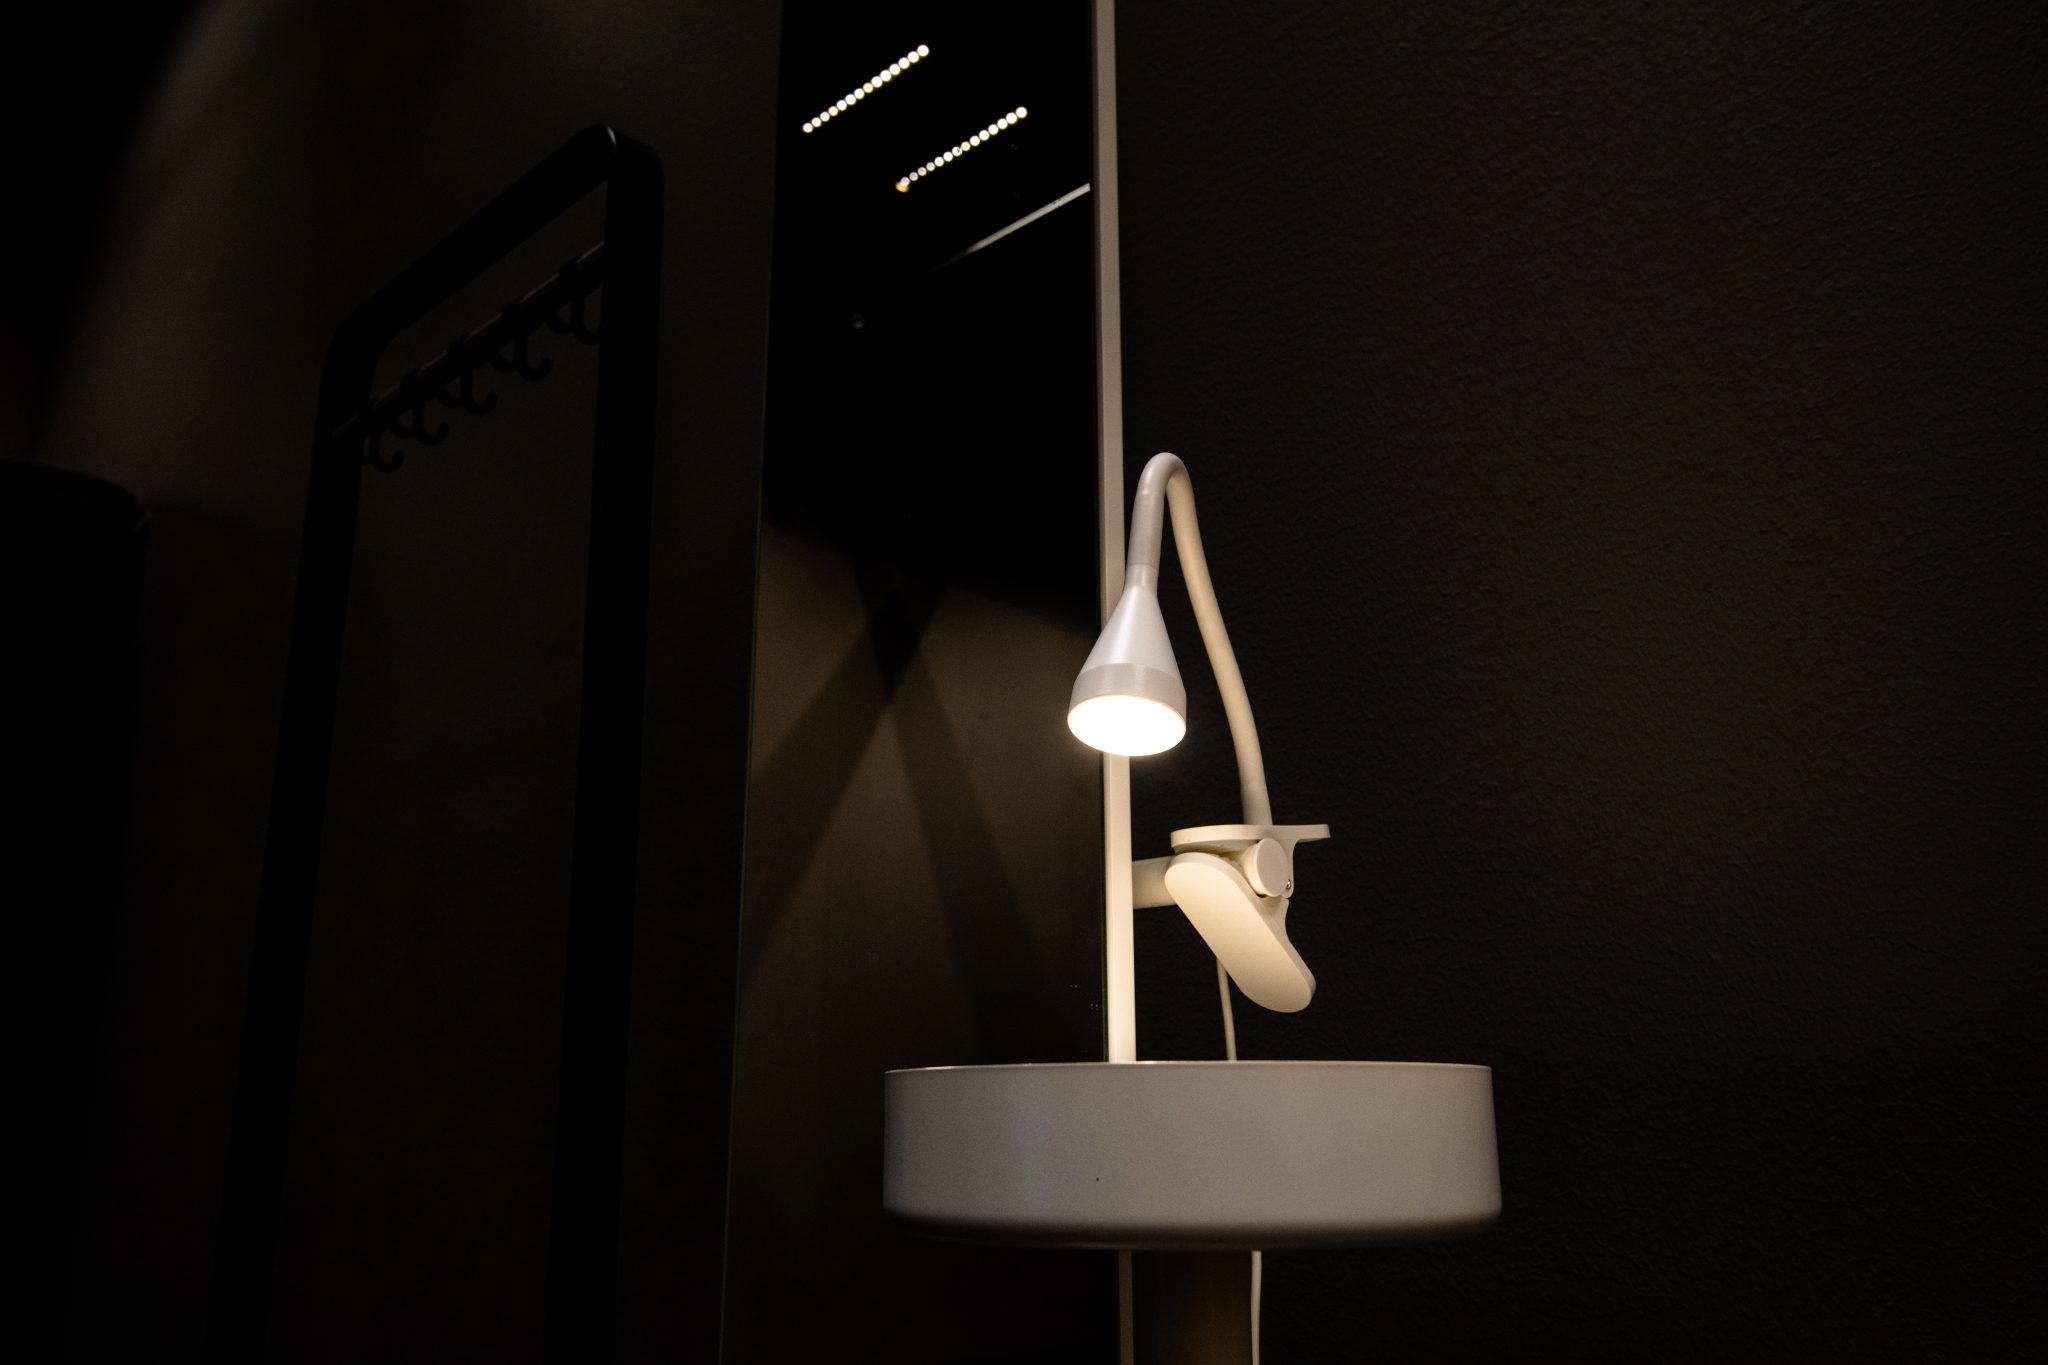
Studio lighting can cause unwanted shiny spots on the face, for example on the forehead, cheeks or the tip of the nose. With a make-up mirror, you can check that everything looks good and no extra shine is visible. To do this, you will need to bring your own make-up products.
Camera and prompter
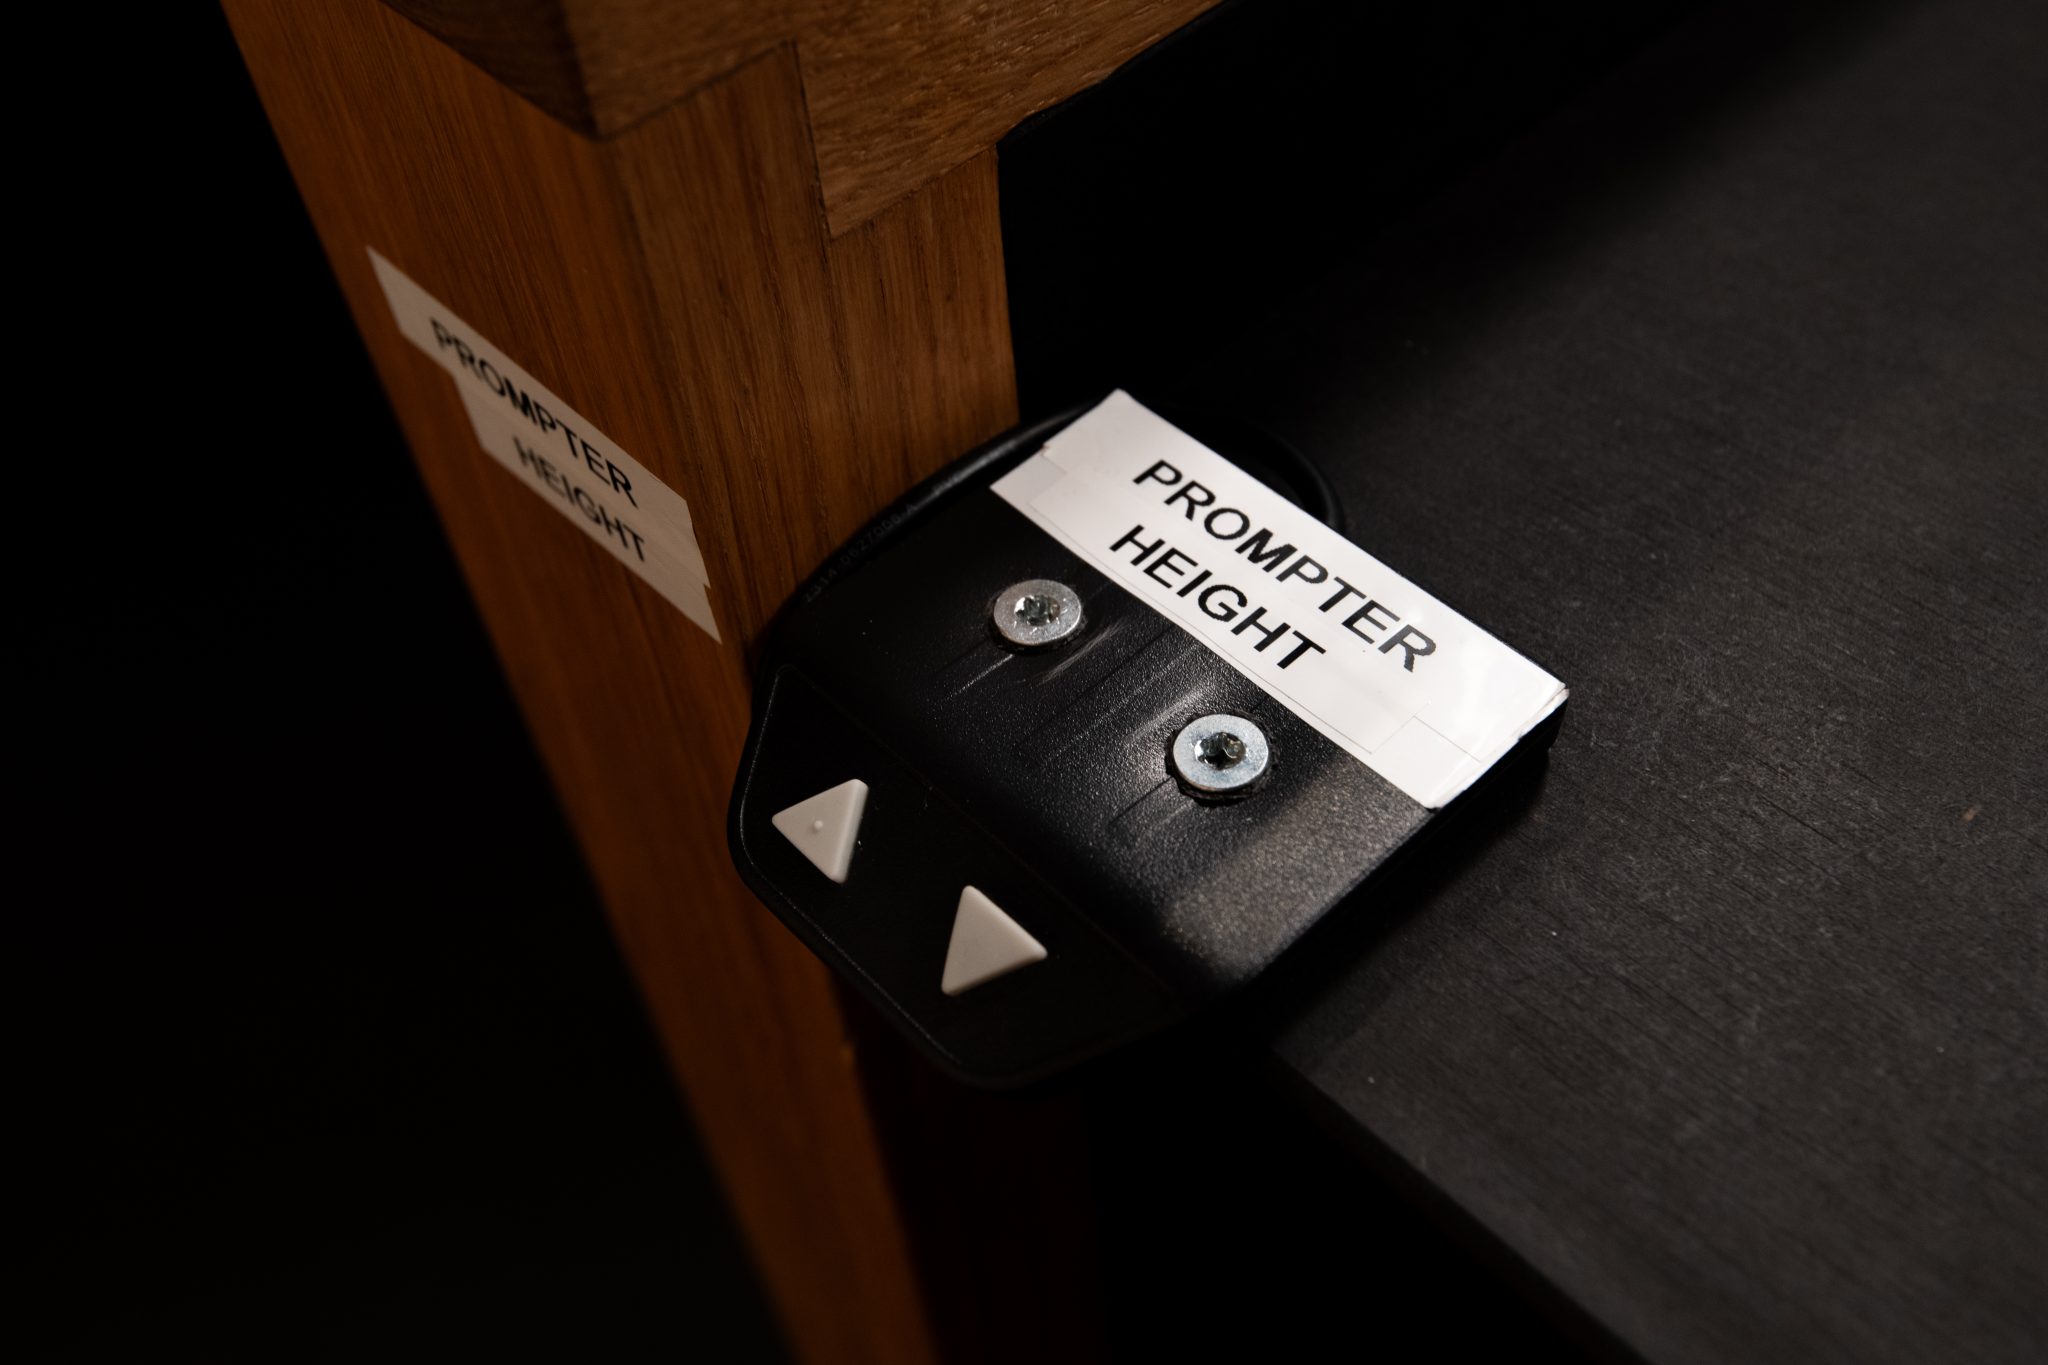
The robot camera is located back of the prompter, allowing you to focus your gaze on the camera while reading your notes or script from the prompter. The height of the prompter can be adjusted using the Prompter height switch on the desk.
The camera is connected to a computer and its viewing angle can be adjusted using the Stream Deck controller. The camera can be rotated horizontally, vertically and zoomed. If for some reason the camera is out of focus, there is also a button to focus the image.
Stream Deck controller
The Stream Deck controller allows you to move and control the robot camera inside the prompter. You can composite the image to your liking. The prompter is also connected to a second screen that continuously displays the camera view. From this screen you can always see what the camera is filming. The prompter also comes with predefined angle presets.
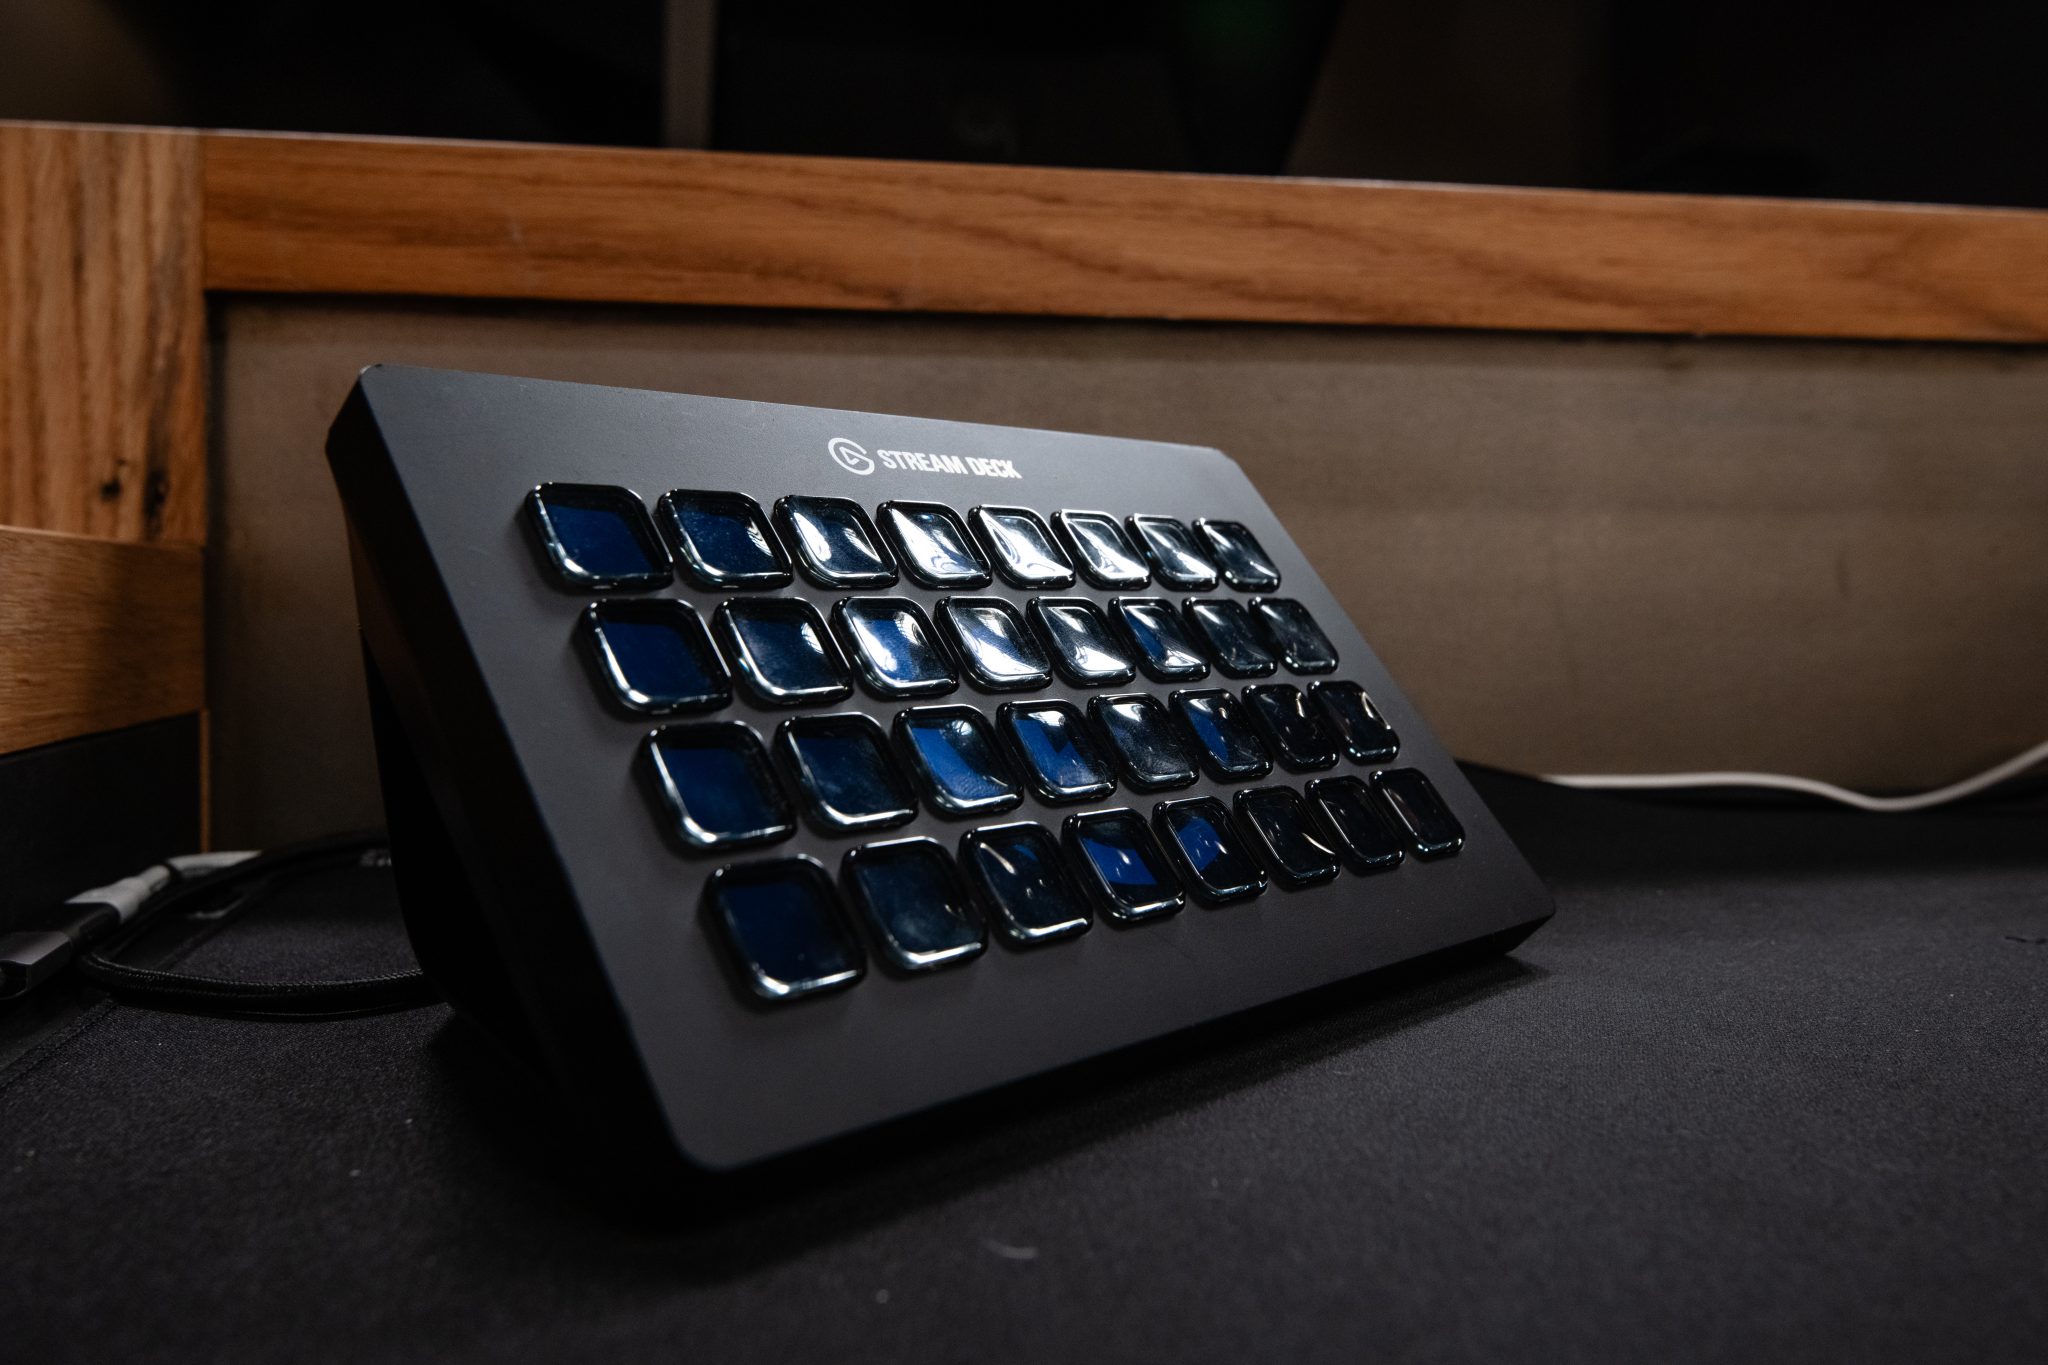
You can control the angle of view using the controller’s arrow keys and zoom in and out using the “Zoom In” and “Zoom Out” buttons. If required, the user can also save various custom angle presets. The user can access the preset angles by pressing the “Camera Preset” button, there are five different preset angles. The user can create up to three different presets, “Save preset 6”, “Save preset 7” and “Save preset 8”. In addition to the preset angle settings, the controller has a “Home” button that returns the camera to the standard angle of view and a “Push To Auto Focus” button that automatically focuses the camera.
Microphone and speakers
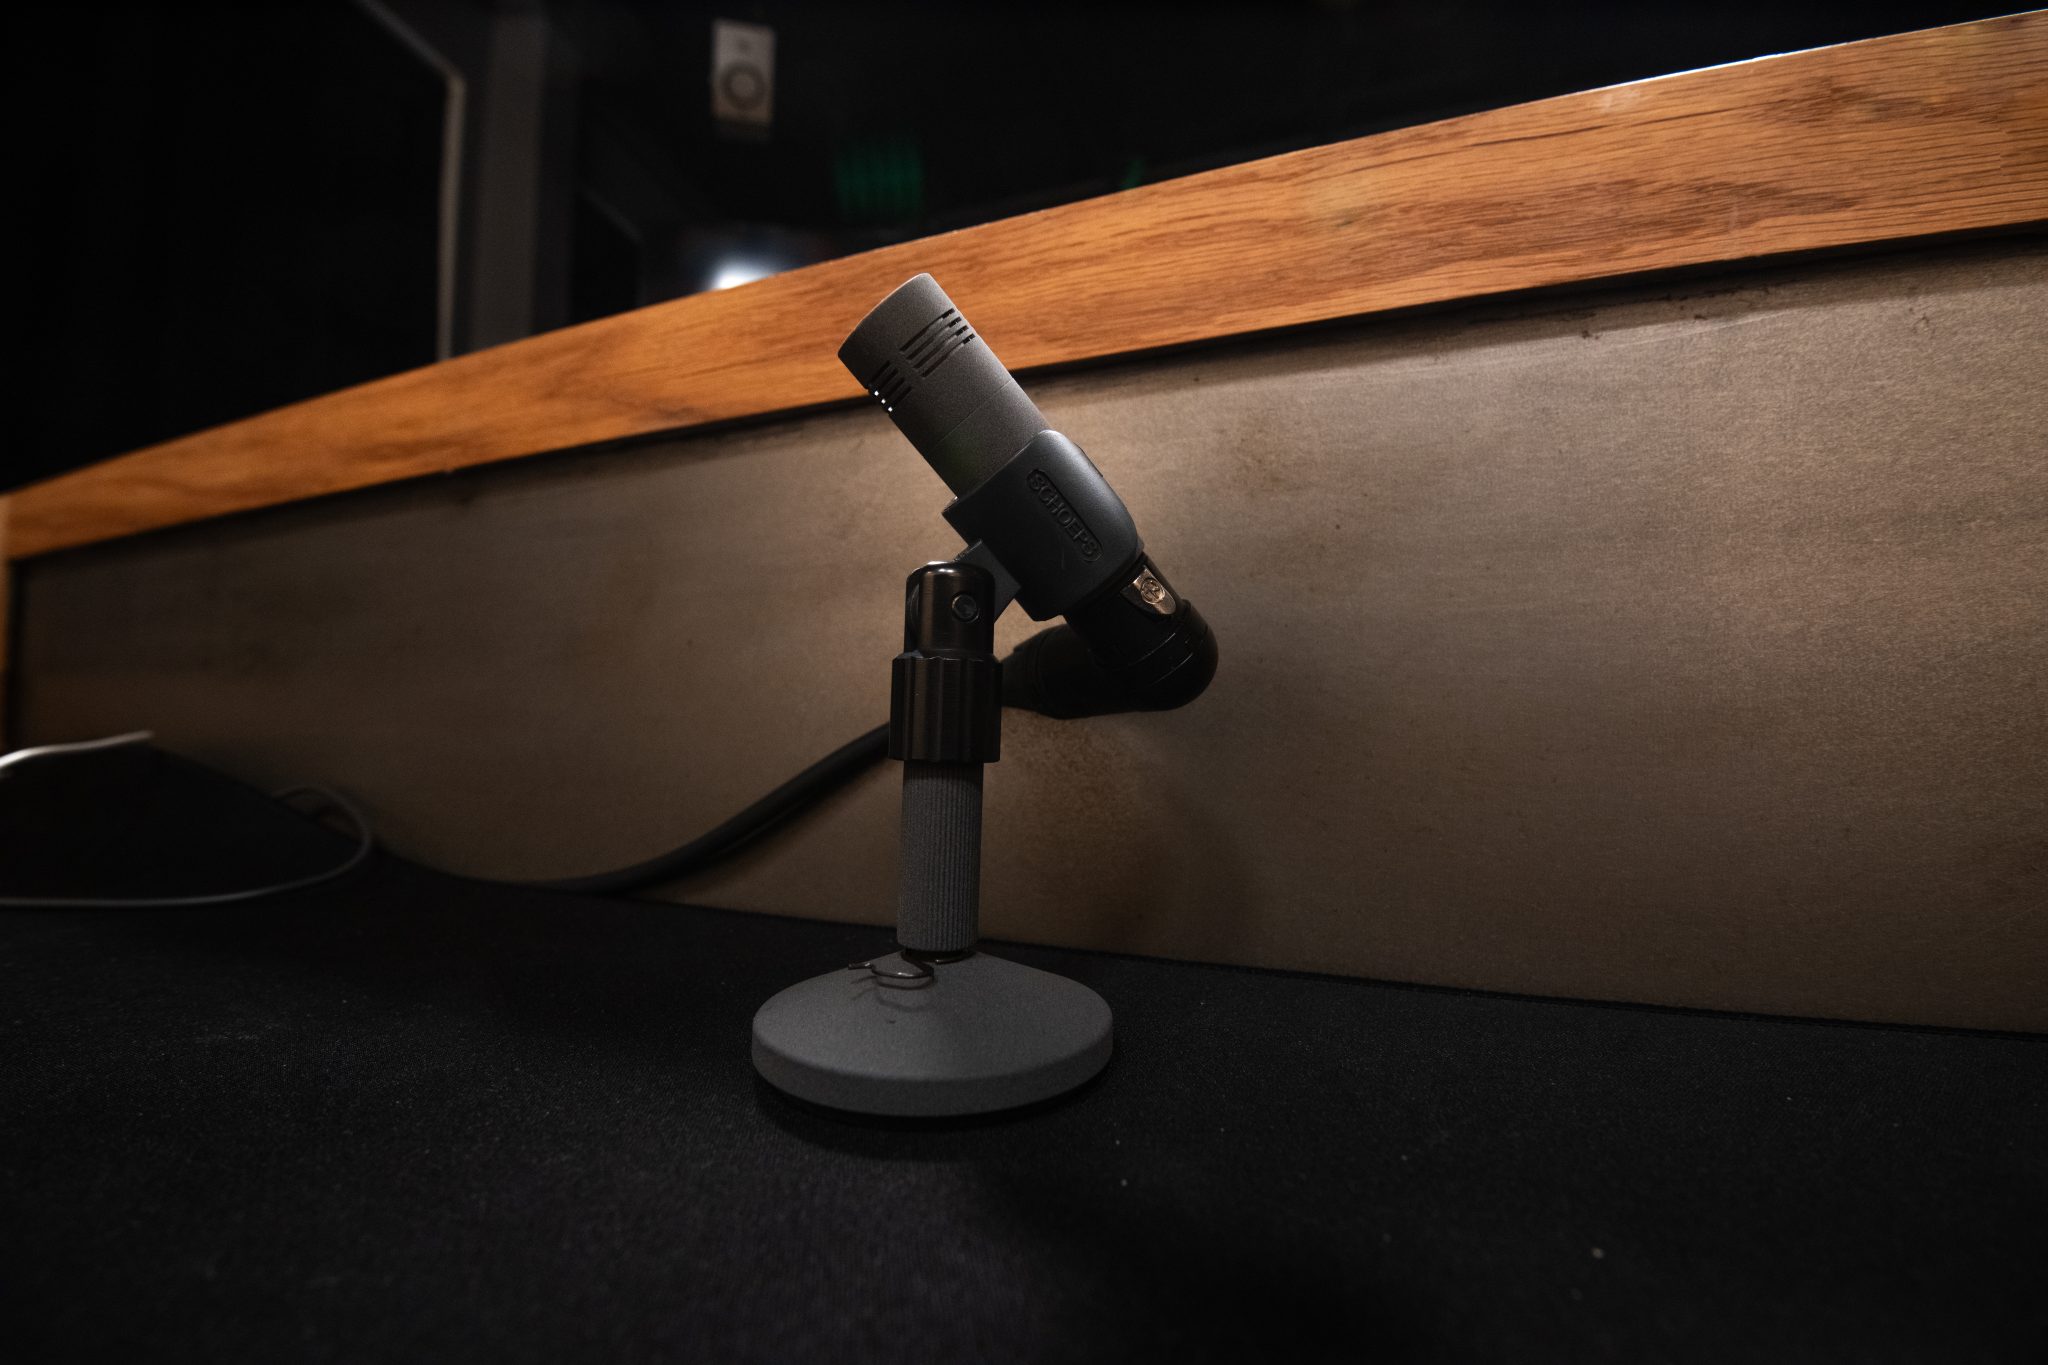
The studio’s sound equipment includes a microphone and speakers connected to the computer via a mixer. The sound is adjusted so that the studio user does not have to touch the mixer and its settings at any time.
Studio computer
You log on to the self-service studio computer with your Aalto user ID. When you log out, do not turn off your computer, but log out of your user account. When you log out, all files stored on your computer will be deleted. If you have not transferred your files to a cloud or your own storage media, they will be deleted.
Power Prompter
Power Prompter is the software used to display texts in the prompter. Paste your text into Power Prompter and use the sidebar to control the size and speed of your text. In manual mode, texts can be controlled using the arrow keys on the keyboard, as well as the clicker. You can find the Power Prompter software in the taskbar on your computer.
OBS Teleprompter
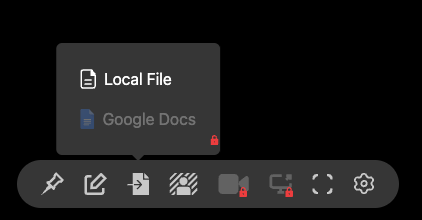
OBS Teleprompter is a web-based program which can also be used to display texts in the prompter. Double-click on the restricted text area to paste your text into OBS Teleprompter or use the “Import” icon at the bottom to paste your text file. The speed, position and size of the text can be adjusted using the tools at the bottom.
Web browsers
For web-based programs, use one of the following browsers: Microsoft Edge, Google Chrome or Mozilla Firefox. These work best and can be found in the dock on the studio computer.
Panopto WEB
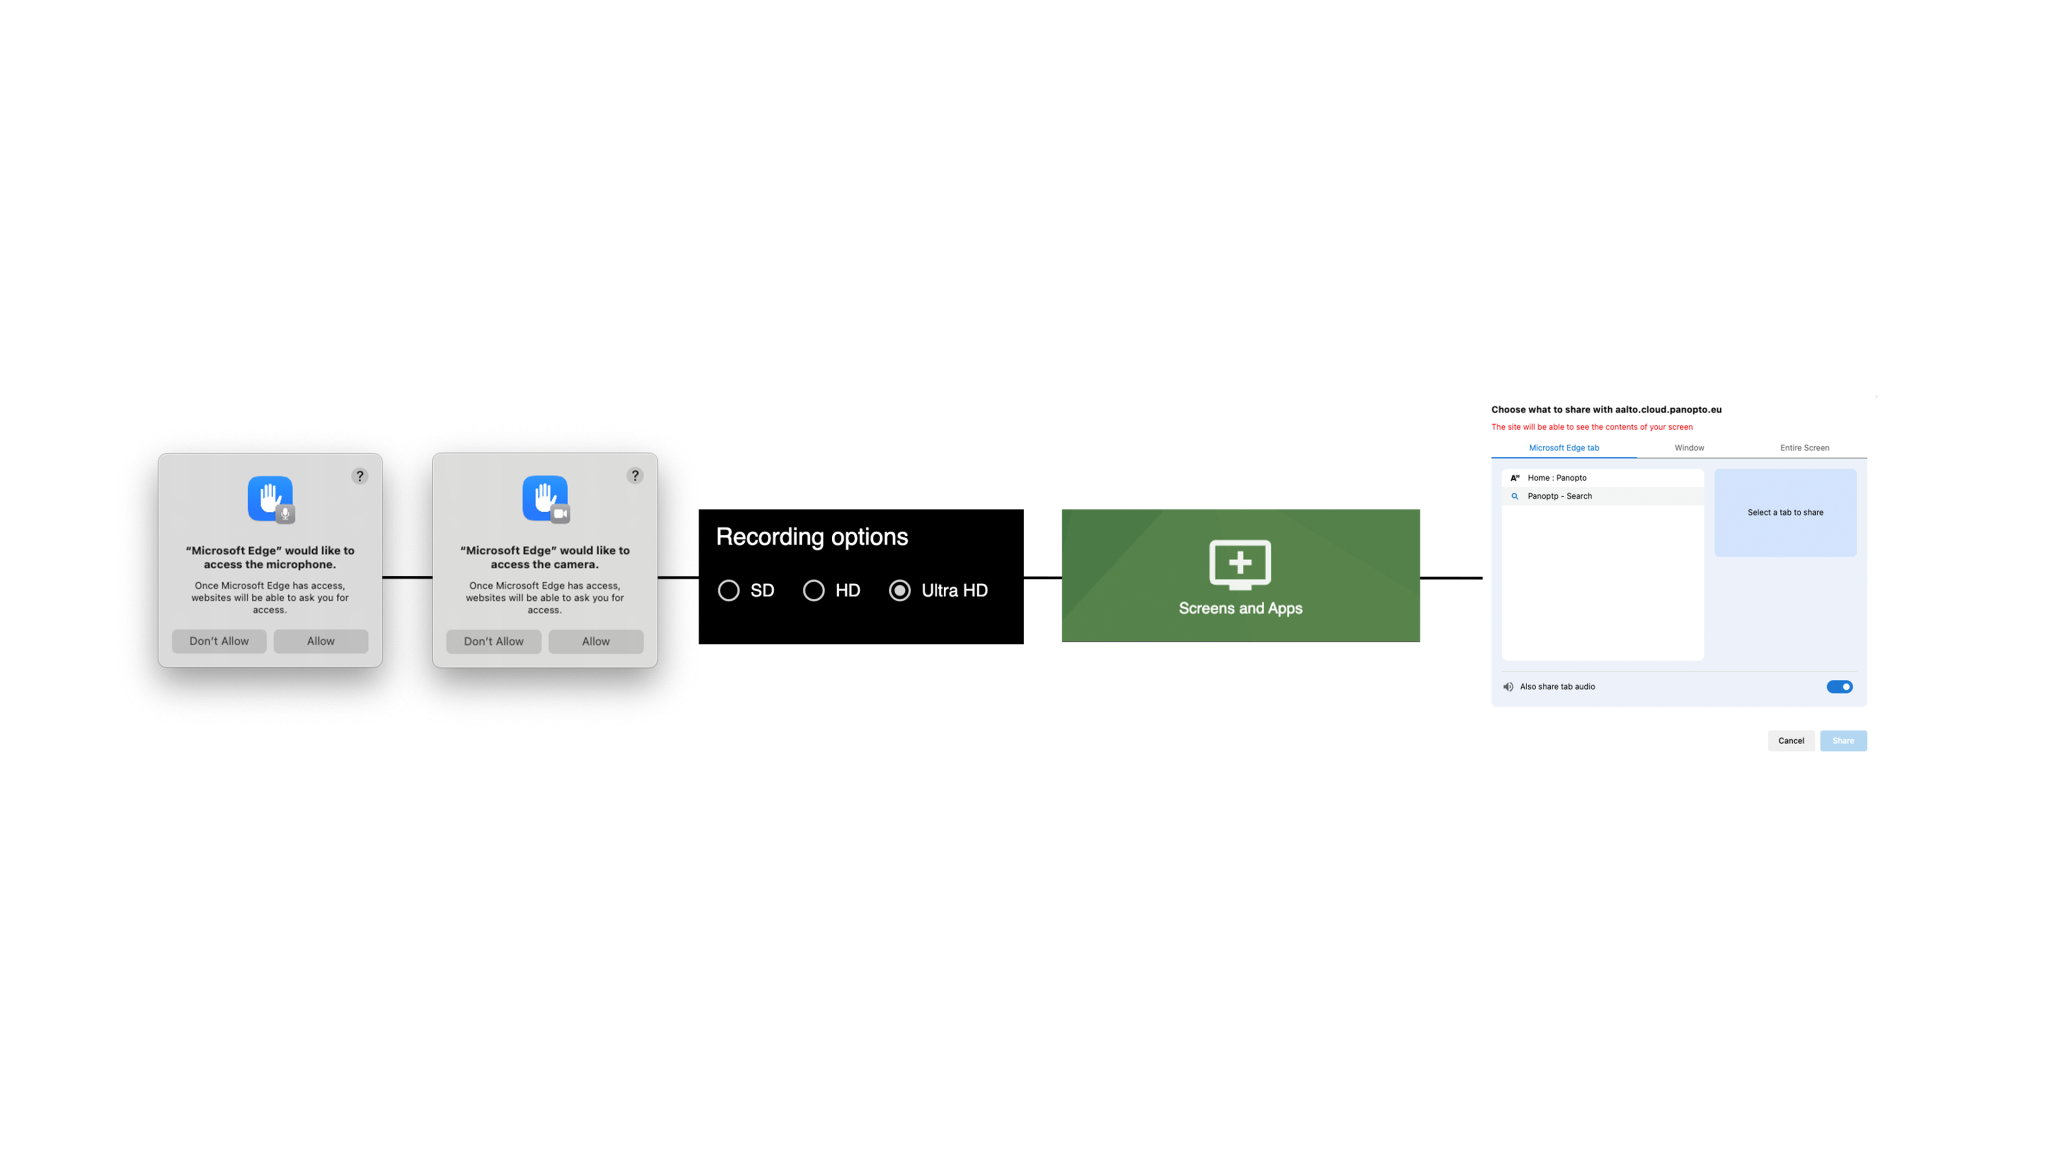
To make recordings, use the Panopto web-based platform. Log in to Panopto with your Aalto ID. After logging in, the browser will ask for permission to use the microphone and camera, which you should click “Allow”. If the browser asks for permission to save your password, click “do not allow”.
By default, the Panopto Web program saves the recording in low quality (SD). To change the quality, change the settings to ultra-high quality (Ultra HD).
To add separate screens or windows to the recording, such as PowerPoint presentations, first open the presentation file you downloaded and start the presentation. Switching to presentation mode will cause the presentation to be displayed in the screen of your choice, full screen, with the presenter’s view and notes displayed on the second screen.
Panopto’s “Screen and Apps” button allows you to add the screen or window of your choice to the recording. To start recording, press the red record button, which starts a 5-second timer, after which the recording starts. We strongly recommend you to make a test recording and make sure that everything works as it should.
If you want to save it somewhere else, press “Show” to play the recording and then click on the download icon in the top right corner of the player.
Be sure to transfer the file somewhere (use your cloud service of choice or Airdrop) before logging out of your computer, as any recordings saved on your computer will be automatically deleted on logout.
OBS Studio
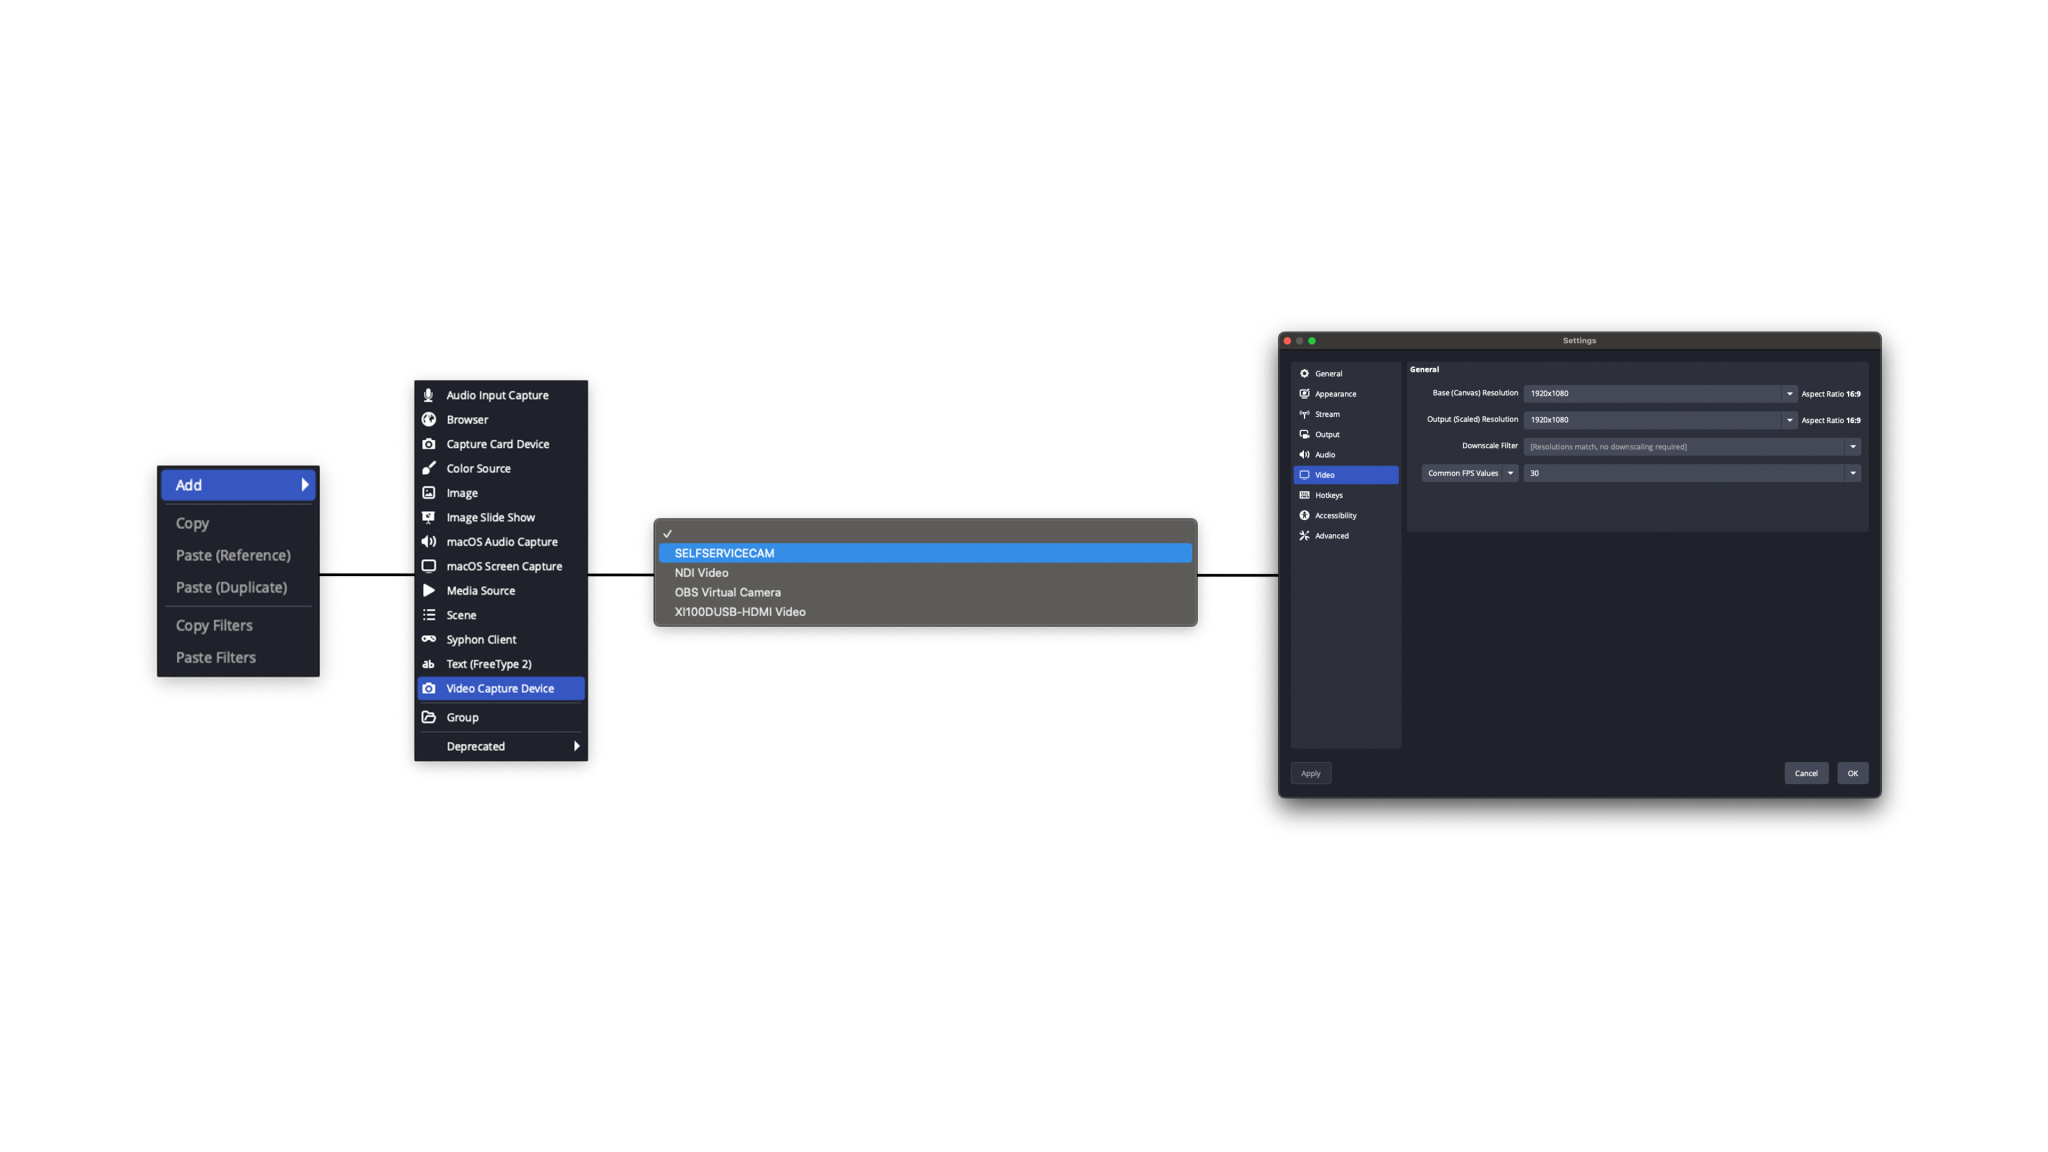
With OBS Studio, the user can make local recordings with a robot camera or create live broadcasts if required. To add a robot camera to the OBS Program, press “Add”, “Video Capture Device” and select “SELFSERVICECAM”. If the camera does not scale correctly, please make sure that the video resolution is “1920×1080” in the video settings. Press “Start Recording” to start recording.
OBS recordings are saved locally in the user’s /movies folder. After the recordings, transfer the files either to your preferred cloud service or to your own hard drive.
AirDrop
If you want to transfer files from your own device to the Self-service Studio computer, the computer name in AirDrop is “XFJ24W2LC1”.
Troubleshooting
If the studio isn’t co-operating, we have a troubleshooting checklist with quick fixes to some known issues.
Wrap up the session
To finish your stay in the Self-service Studio, follow these steps:
- Log out of the studio computer, do not turn off the computer
- Take anything you brought into the studio back out with you
- Turn off the lights and monitors from the switches “Video lights” and “Monitors”
- Turn off the “ON AIR” light from the switch