The Aalto Studios site is a stand-alone WordPress installation hosted on our own servers by the Web Studio. It features lots of modifications and plugins we’ve built to do things our way.
These instructions cover the topics of creating a new page or post with custom elements from our pattern library, and some of their tweakable settings.
If you’d like to get going right away, skip to the ’Step by step’ section below, then return here to understand why somethings are done like they are.
Basics
We use a particular structure to keep things tidy, and to help content to automatically flow to the correct places. Here are the essential building blocks:
Post types
New content is based on a variety of post types, which are used for different kinds of things. You can create a new:
- Post
- Page
- Product
- User guide
- Activity
- Project
- Person
- Case study
- Equipment
Some of these are used way more than others. The post type of any item can always be changed, so picking the wrong one is not a big deal. However, some features are only available for certain types. For example, the Person post type has a dedicated field for a phone number.
You can see them as items in the admin navigation bar, letting you list and create content.
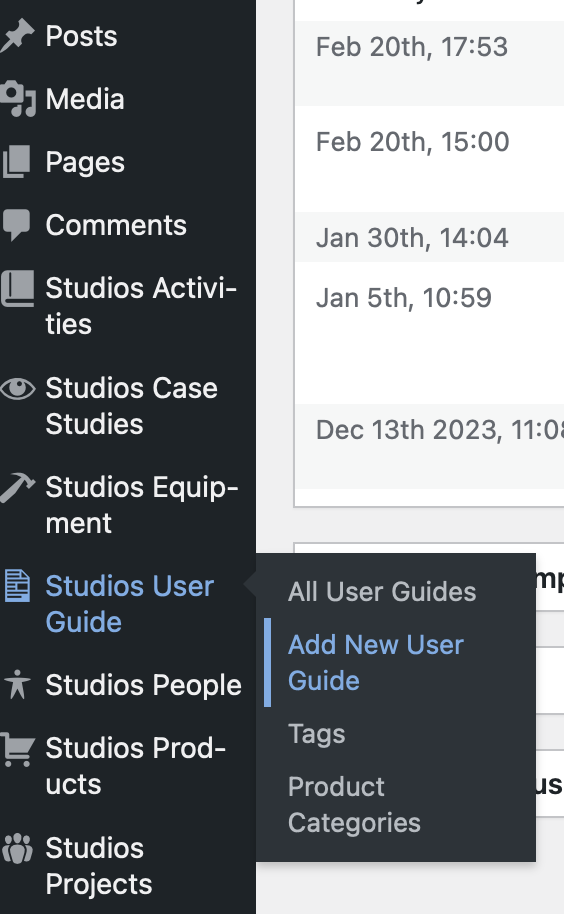
Here we are about to create a new User Guide to help out people.
Categories
We have different categories for different things. Regular News posts use the default WordPress Categories, with entries such as ’News’, ’Jobs’ and other words to describe what kind of a news item it is. This helps sort them out later.
Other items, such as Products and User guides use a separate Product Categories taxonomy. For example, a new user guide could relate to the ’Podcast Studio’ which is a a product category. When creating new content, you can pick multiple categories. The example user guide could relate to the ’A Pod’, too.
Whenever you see a list of things, it’s most likely based on a Query that looks for these different categories (taxonomies), post types, keywords, or other criteria stored alongside the content.
We’ve built some queries into ready made Patterns that you can simply plop down to your page and then tweak as desired.
Site structure
We follow a strict structure on the site, to keep things in order.
Facility
Mirrors a real life place or service point, such as the A Pod or the Web Studio. Often there are associated people, a contact address and a visitable location. For facilities, we use the regular Page post type, and tick checkboxes for both the ’Facility Categories’ and ’Product Categories’.
You see these in our navigation, where the facility category ’Studios’ contains the facility ’Podcast Studio’, for example.
Product
A product is thing you can do at a facility. These are things that we guarantee can be done, that we support and promote. In the A Pod, you can Record a Podcast Episode and at the Web Studio you can get ICT Buyer’s Consultation. They can be thought of as service promises.
Typically, there are many different things you can do at a facility. For these products, we use the Product post type and label it with a matching ’Product category’ to associate it with facility, or facilities.
Products are typically listed on a facility’s page, as a brochure of things to do.
The product’s own page helps narrow down the information needed to accomplish the thing, and to make the product easily shareable by posting a link to the page. It typically includes a list of user guides, overview videos and case studies to help understand it in more detail.
Not everything needs to be listed as a product, there are infinite things that can be done using our resources. Their function is to focus on a subset of that infinity and make sure some things can always be done, and done well.
User guide
A detailed set of instructions to doing something. Guides use the Product categories taxonomy, so they can be associated with both facilities and products.
The above Record a Podcast Episode product for the A Pod facility is supported by User guides such as Set up the audio hardware for recording. By keeping things as separate products and guides with specific names, we avoid long pages with irrelevant information and make it easier to find the exact thing you’re looking for.
The title of the guide should tell you what the guide is about, and the content should match the title. Sounds obvious, but works best when you pick a narrow topic and stick to it. Set up the audio hardware for recording works with both the How to Record on a Mac and Record on the Røde Interface user guides.
User guides automatically create a table of contents- block based on page headings, which helps find a section fast. And their layout supports printing to paper or pdf, stripping away unnecessary page navigation elements for a clean, legible document.
Project
Something being worked on at a facility, co-hosted by Aalto Studios. For example, at the Research Facilitation facility the people host the CoCoon Project. The difference between a Product and a Project may seem fuzzy, but you picture products as something you can sell, while projects are something that people can join you to work on.
The other post types are covered in a more advanced section of this guide.
How these items appear in the site’s top navigation is an editorial choice and is not affected by the post types or categories.
Creating a simple page
To put the above to the test, you can create any number of test pages. The following steps will familiarise you with the Block Editor, which is how you create the layout and content of your page.
Key WordPress concepts
Templates
Templates are preset layouts, with a number of elements in them by default. For example, there are templates with a big picture at the start, and templates without one. This site contains a number of templates for you to use.
Caution: the editor makes it relatively easy to edit a template directly. Doing this will change every page that uses that template. Resist the urge to press any buttons labeled Edit template. Also, don’t worry–Wordpress keeps an edit history, so mistakes can always be rolled back.
Post content
Post content is the words, images and layout elements that you add by inserting them into a template. The final page is a combination of the elements already in the template, together with your post content inside one area of the template.
(WordPress calls everything a Post, even if it is a regular web page. In both the Editor and in this guide you can use the terms page and post to mean the same thing.)
Blocks
All layout in the editor is based on a big collection of Blocks that you add to the page, each kind with their own editable parameters. New kinds of blocks can be downloaded or custom built, if necessary. Our site has been extended with both kinds.
A paragraph of text is a Paragraph Block. A video goes in a Video Block. Blocks can go inside blocks, and some blocks are there for structure only, like a Columns Block.
Patterns
When you find yourself creating a certain combination of blocks and content over and over again, you can save it as a Pattern. Our site uses a set of ’Aalto Studios’ patterns to achieve consistency between pages, and to help you use complex block combinations.
Step by step
Let’s put all the above concepts into practice. We’ll create an example page, get to know the editor, pick a suitable template, insert content in blocks and use some of the ready made patterns.
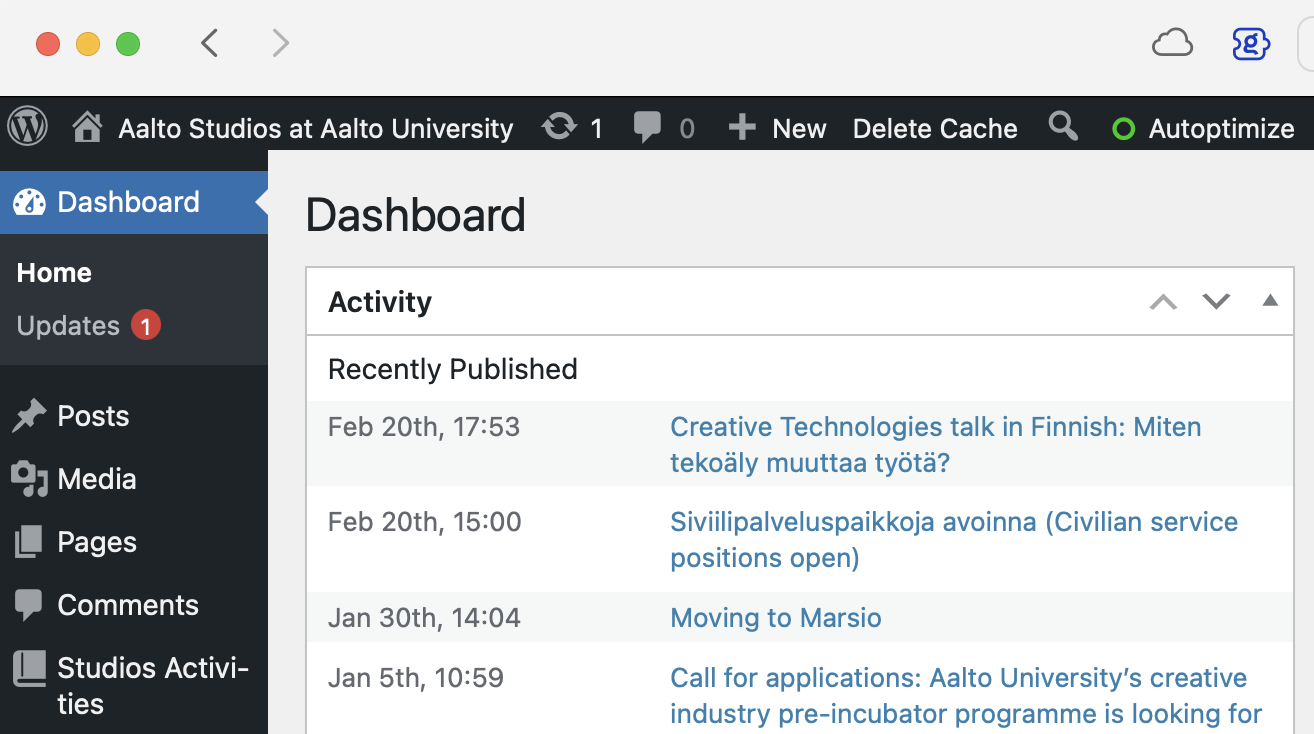
1: Enter the Dashboard
In a new window, make your way to the site Dashboard. You’ll need to sign in first.
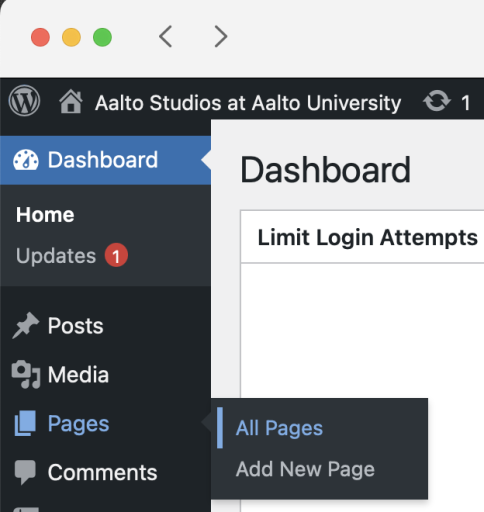
2: Add a new page
From the Pages menu, select ’Add a new page…’
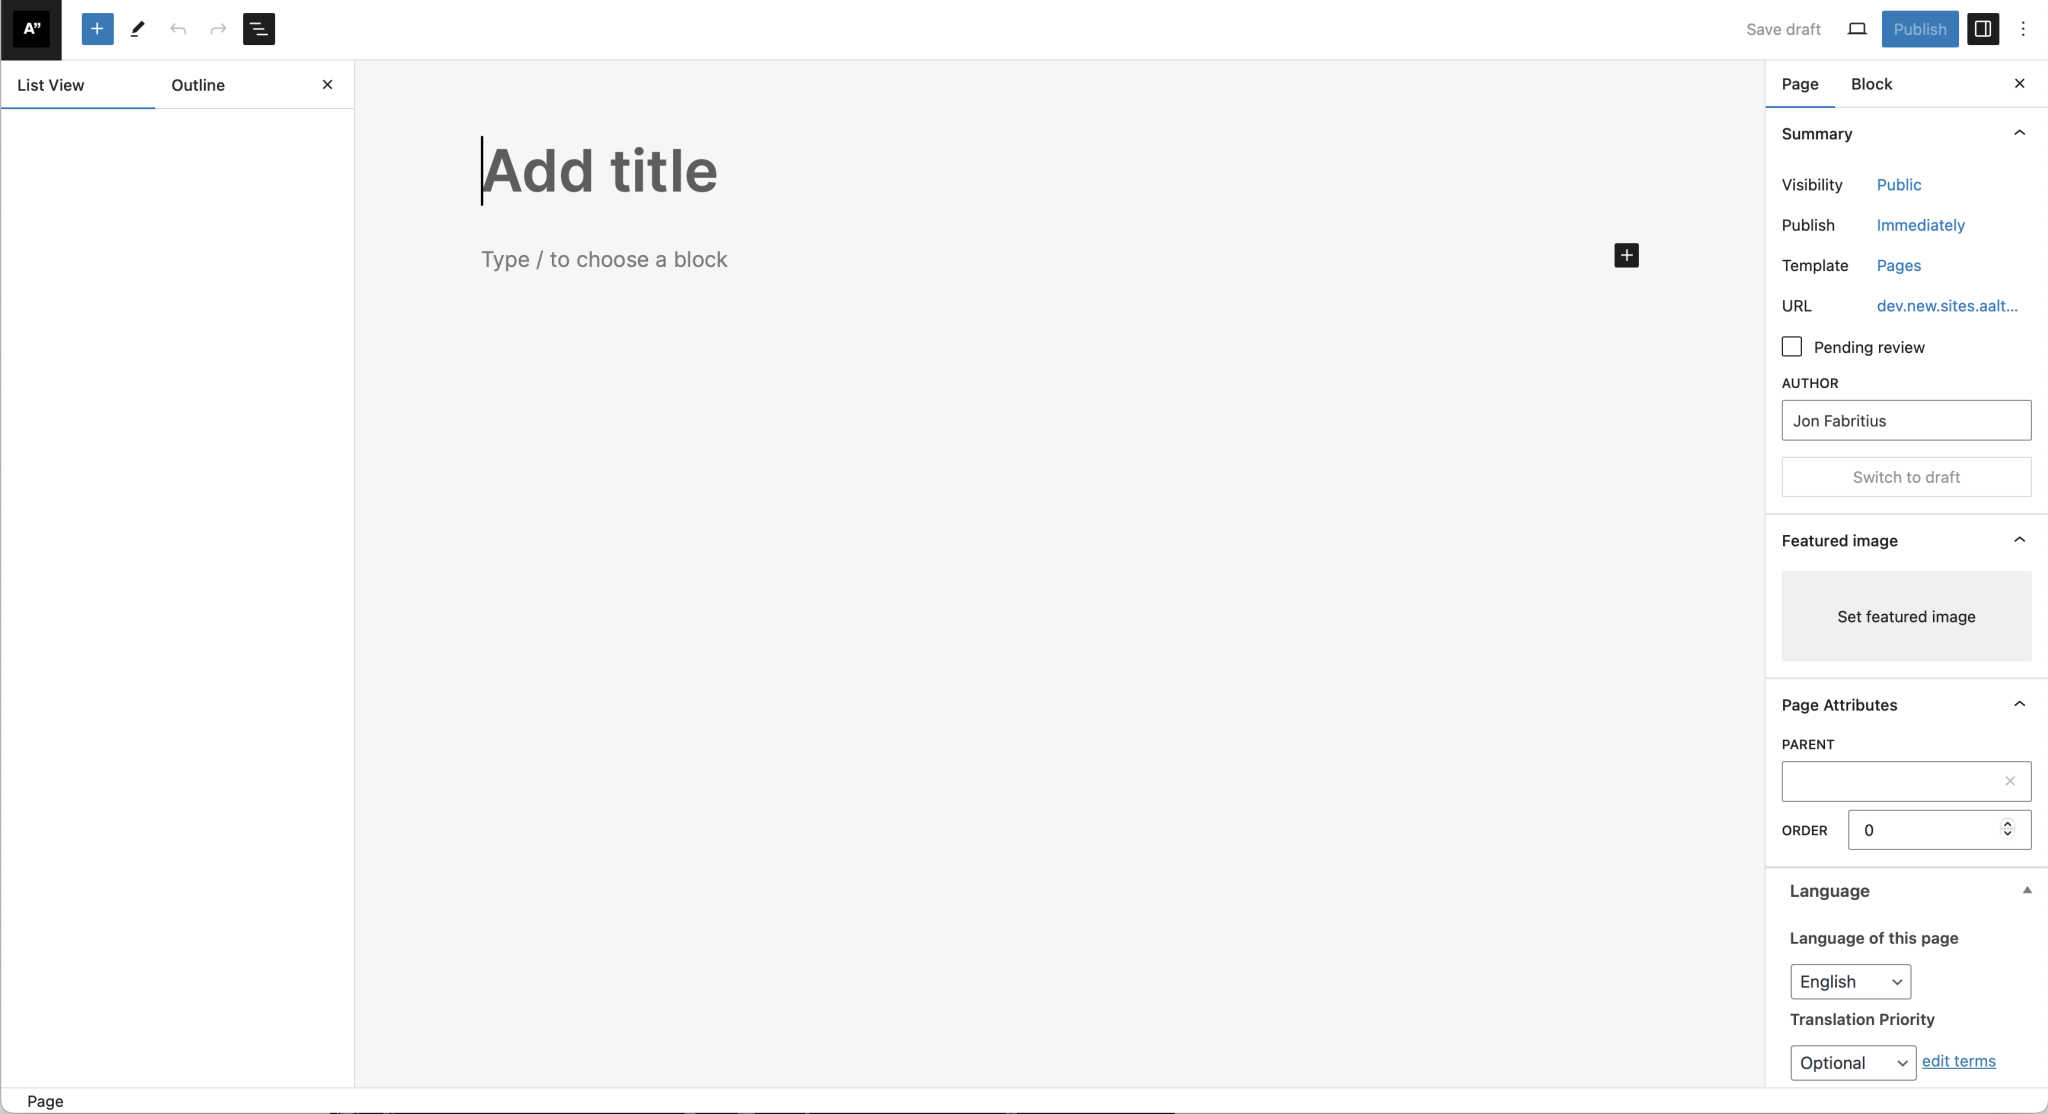
3: Observe the Block Editor
The main Post Content area is flanked on both sides by sidebars, which contain several views inside each. By default, some of the sidebars may be hidden, but can be toggled on and off as desired.
If the left hand Document Overview sidebar is not visible, click the ![]()
![]() button to reveal the List View area. This view is great for re-arranging your content and understanding the structure of the layout.
button to reveal the List View area. This view is great for re-arranging your content and understanding the structure of the layout.
If the right hand Settings sidebar is not visible, click the ![]()
![]() button to reveal it. This area contains settings for the both the overall Page and whichever Block you currently have selected. You will find yourselves switching between the two a lot.
button to reveal it. This area contains settings for the both the overall Page and whichever Block you currently have selected. You will find yourselves switching between the two a lot.
4: Create some post content
Type the name of your page in the block at the top, with the placeholder ’Add title’. After saving your page, this will also define the URI of page, as in for example studios.aalto.fi/my-test-page/. The name can be altered easily, the URI with a bit more effort.
A Paragraph Block has been added by default below the title, so you can simply continue typing into it. Each time you hit Return on your keyboard, you can observe the List View in the left sidebar gain a new block. Each paragraph can be manipulated separately.
While working in a block, moving your mouse reveals a hovering Toolbar for quickly manipulating it. Click through the options and make a note of the available tools.
With the block selected, you can find more tools in the right hand side Block sidebar. All the little icons reveal options, take a moment to view what’s on offer.
To create an Image Block, locate the blue Add block button ![]()
![]() which reveals all available blocks. More similar buttons may appear contextually depending on where you’re editing. Locate the Image Block in the list, and click or drag it to insert it into the post content. You can pick any image from the Media Library for testing purposes.
which reveals all available blocks. More similar buttons may appear contextually depending on where you’re editing. Locate the Image Block in the list, and click or drag it to insert it into the post content. You can pick any image from the Media Library for testing purposes.
Again, pay attention to options in both the hovering toolbar and the right hand Blocks sidebar and experiment with them.
To rearrange blocks on screen, you can grab the Drag handle in the popup toolbar, or use the small up/down arrows next to the handle. I prefer dragging the items in the left hand List View sidebar instead, particularly when wanting to control how blocks are nested within other blocks.
5: Nest some content
Blocks can go inside blocks to create groups, columns, stacks and other structures to keep content in place.
Let’s review a simple use case for columns.
To place the two text paragraphs side by side with the image, a Columns block can be summoned. Use the Add Block button, or if you like shortcuts, type the ’/’ slash character into an empty text box, followed by the word columns.
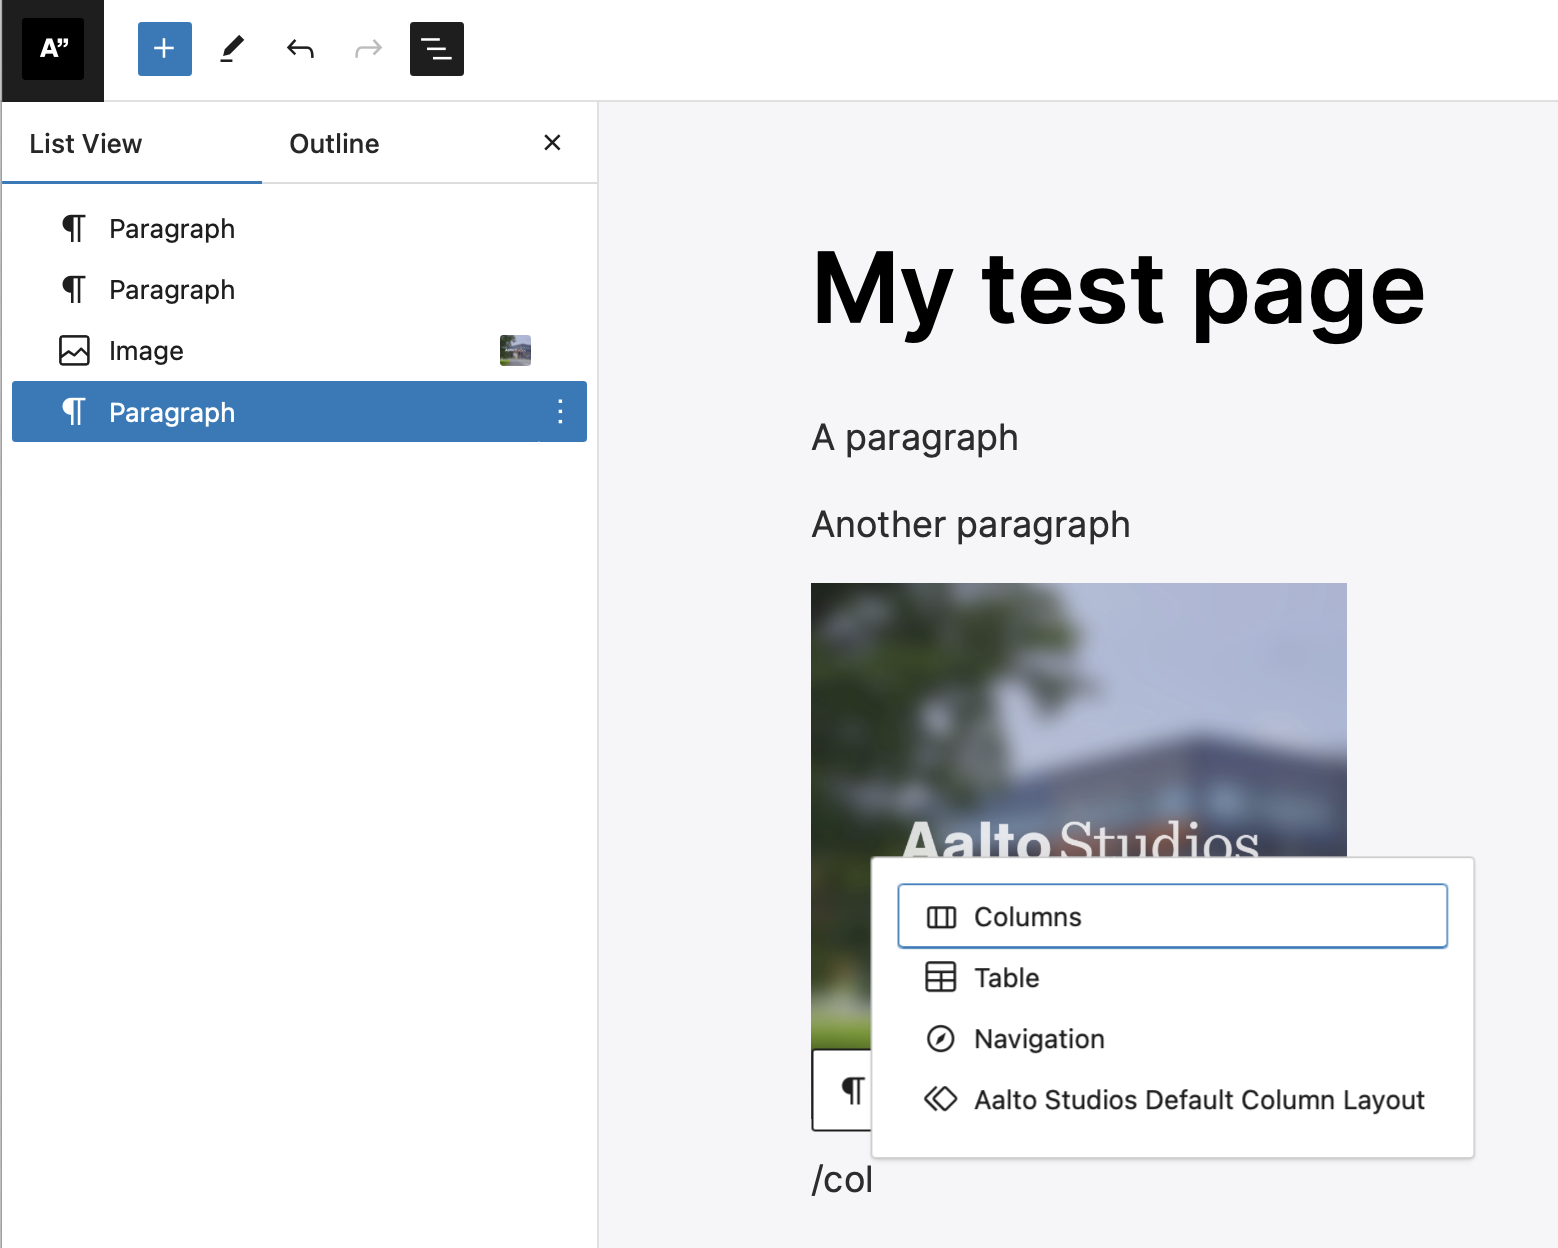
This shortcut is great way to find blocks fast, if you know their name. All our house Patterns (saved block combos) are prefixed with Aalto Studios, so to find them, you can simply type ’/’ to activate the picker and look for ’Aal…’.
When prompted, pick the 50/50 layout for your new column block and observe the result in the list view.
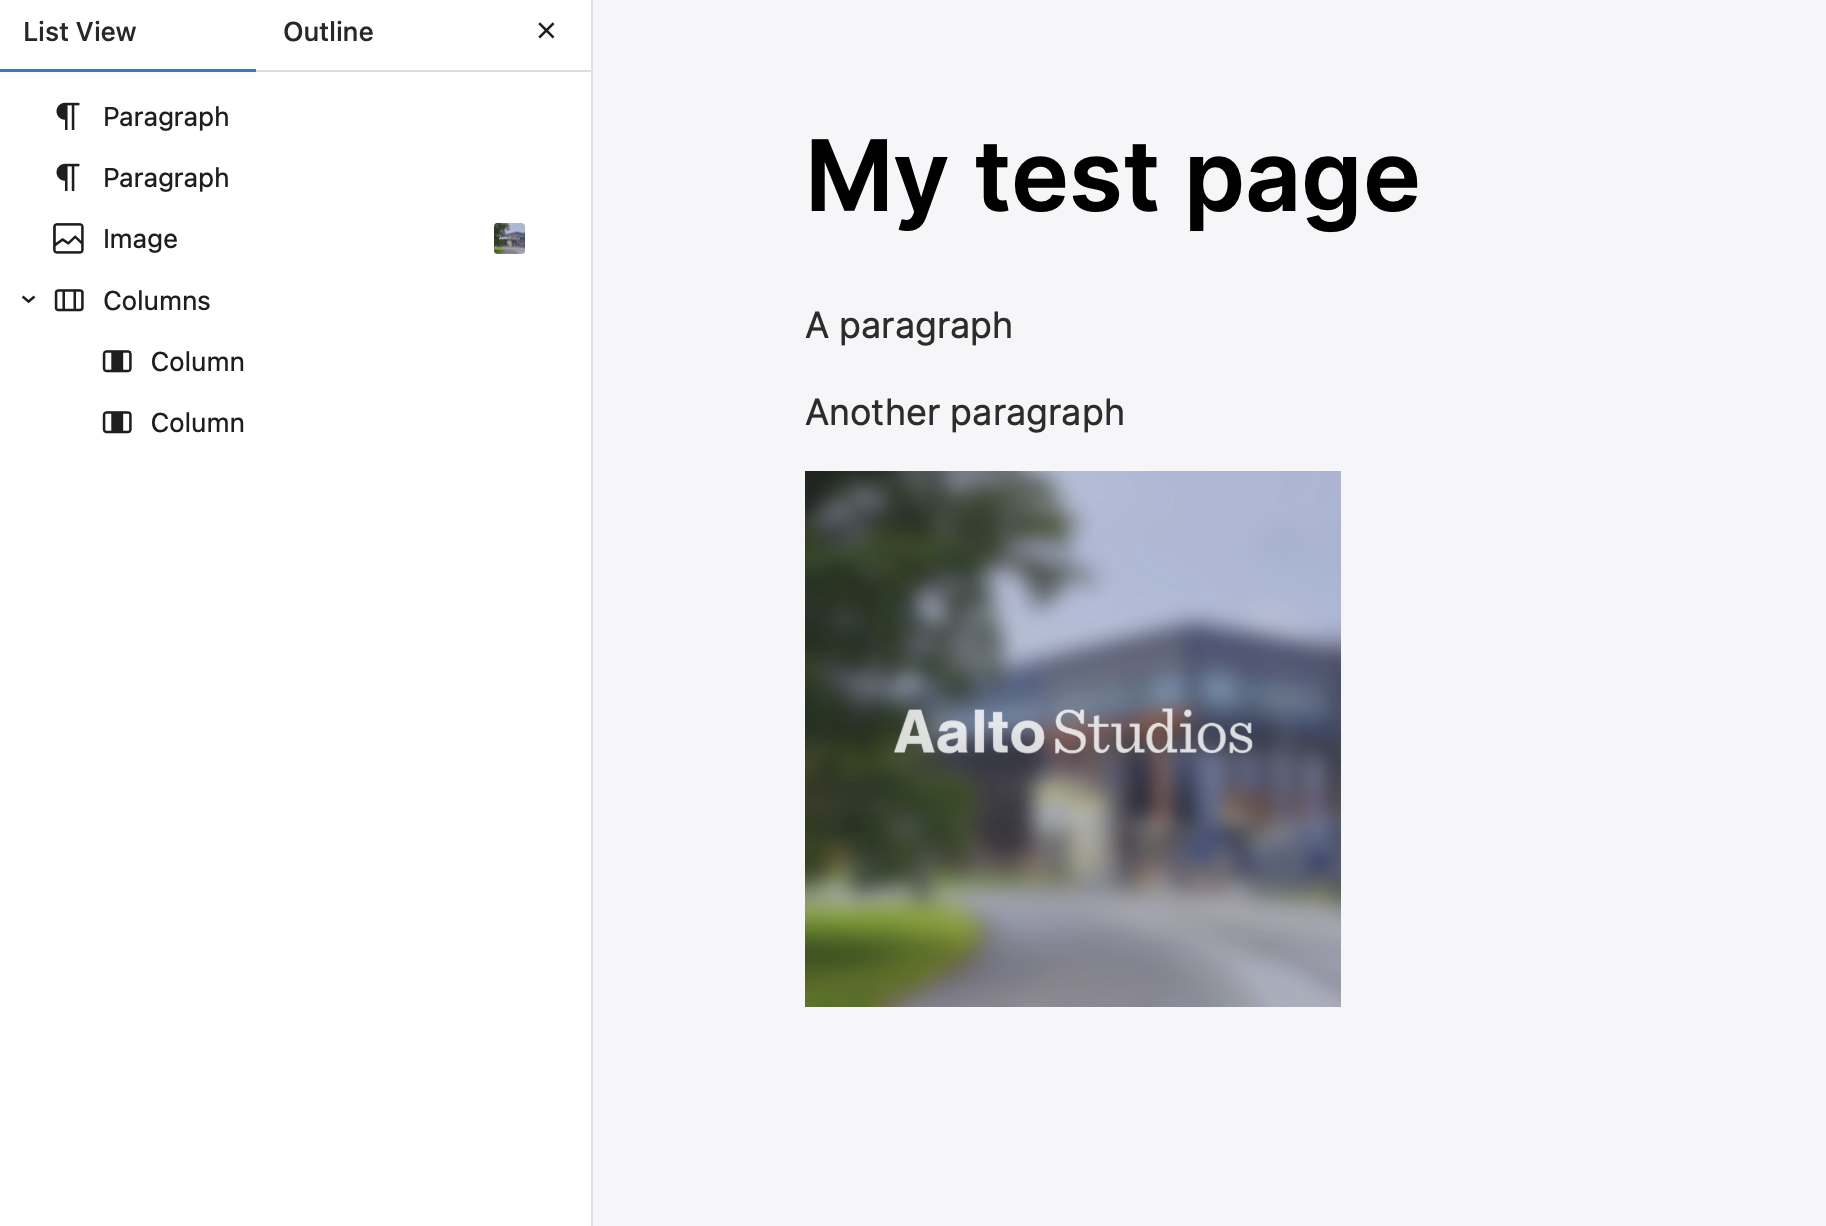
This is where the list view becomes essential, because an empty set of columns is truly empty and invisible. You can change the settings on both the top level columns container, and the individual columns inside.
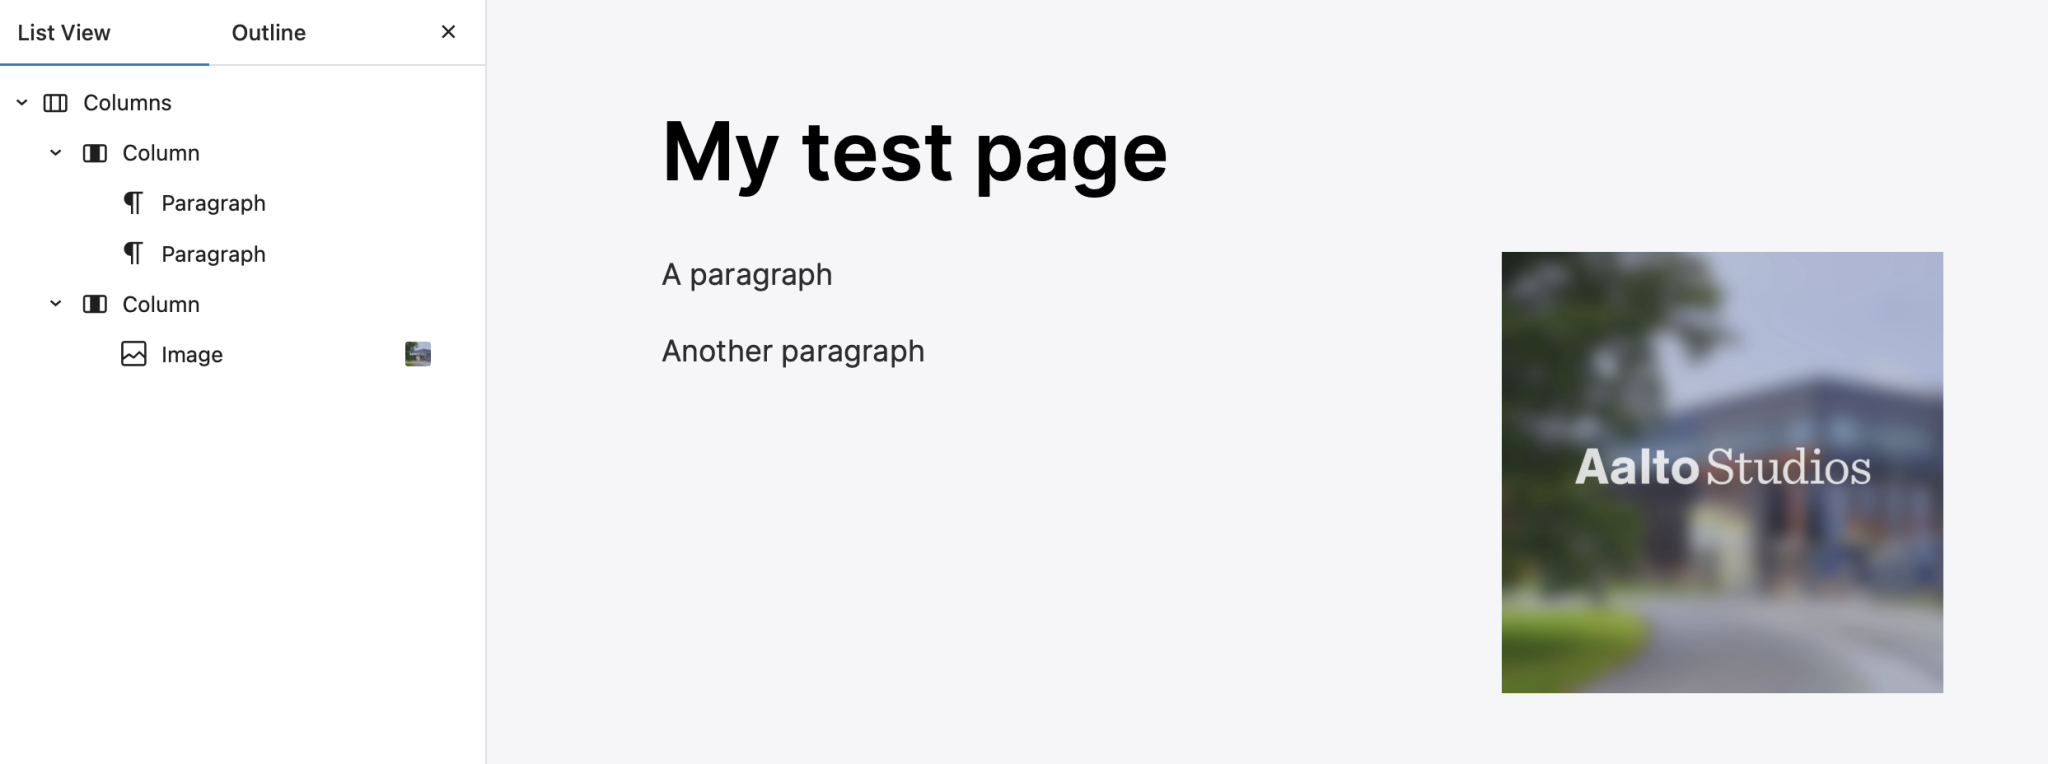
To move the paragraphs and the image into their respective columns, you can drag in either the list view or the post content area. Shift-clicking multiple items lets you select more at once.

Jon Fabritius
Web Studio Host / Design and Development
jon.fabritius@aalto.fi
Experiment nesting things with Groups and Stacks, and placing Spacers and Separators to create room.
Page settings
- The Page sidebar on the right contains many adjustables outside the actual post content.
- Visibility – Public pages can be seen by anyone, and will get indexed by search engines.
- Publish – You can both schedule timed posting for the future, or back date posts to a different date.
- Template – The layout of the page outside your post content. You can use the Swap Template option that appears when clicking the Template button to select, for example, a template without a big featured hero image on top.
- URL – The address of the page. Changing this will result in existing links to the page to be broken, so avoid this for established pages. A redirect can be made separately, using a different tool.
- Author – We typically don’t display the author publicly, but certain built-in views in WordPress may reveal it.
- Post Type – Changing this may hide or reveal certain fields that are spesific to certain post types, and affect the visibility of the post in lists.
- Switch to Draft – Unpublishes a post and marks it as a draft.
- Move to Trash – Removes a post and puts it in the Trash folder for 30 days, in case you change your mind. If the content is sensitive and needs to be immediately deleted, the Trash folder has a Delete Immediately inside.
- Revisions – The change history for comparing and recovering earlier versions of the post.
- Tags – Keywords for the page, to help with search result relevancy and custom listings.
- Featured Image – The big hero image on top of each page, when included in a template. See the section on Images for more details.
- Page Attributes – These are not used on the Aalto Studios site.
- Language – Shows tools for creating and editing siblings of this post in another language dimension.
- Autoptimize this page – Indicates whether scripts and stylesheets should be optimised for delivery; the answer is yes.
- Hide from Search – Hide this post from the Site Search tool, making it less discoverable by accident. Recommended for all test pages, link tree-types of utility pages and other content that might appear confusing to an unsuspecting viewer.
- Some post types will display additional areas, such Categories, Tags, Additional content fields and Sorting order fields.
Editor preferences
If some of the above settings are not visible, they might be set to hidden.
Find the preferences by opening the Options ![]()
![]() menu item in the top right corner of the editor, then navigate to the bottom Preferences item. The General > Document settings area controls what gets displayed.
menu item in the top right corner of the editor, then navigate to the bottom Preferences item. The General > Document settings area controls what gets displayed.
