The Podcast Studio on the 2nd floor of the Marsio building is a self-service facility dedicated to audio podcasts. It can be used by any Aalto University people and is bookable via Aalto Takeout.
Bring your own USB-C drive and/or microSD card for recording
We use a Røde Podcaster 2 audio interface for recording. Files are recorded to your external drive or microSD card, as the device has no internal storage.
A USB-C drive is usually more convenient in all environments, such as editing, so we recommend using one.
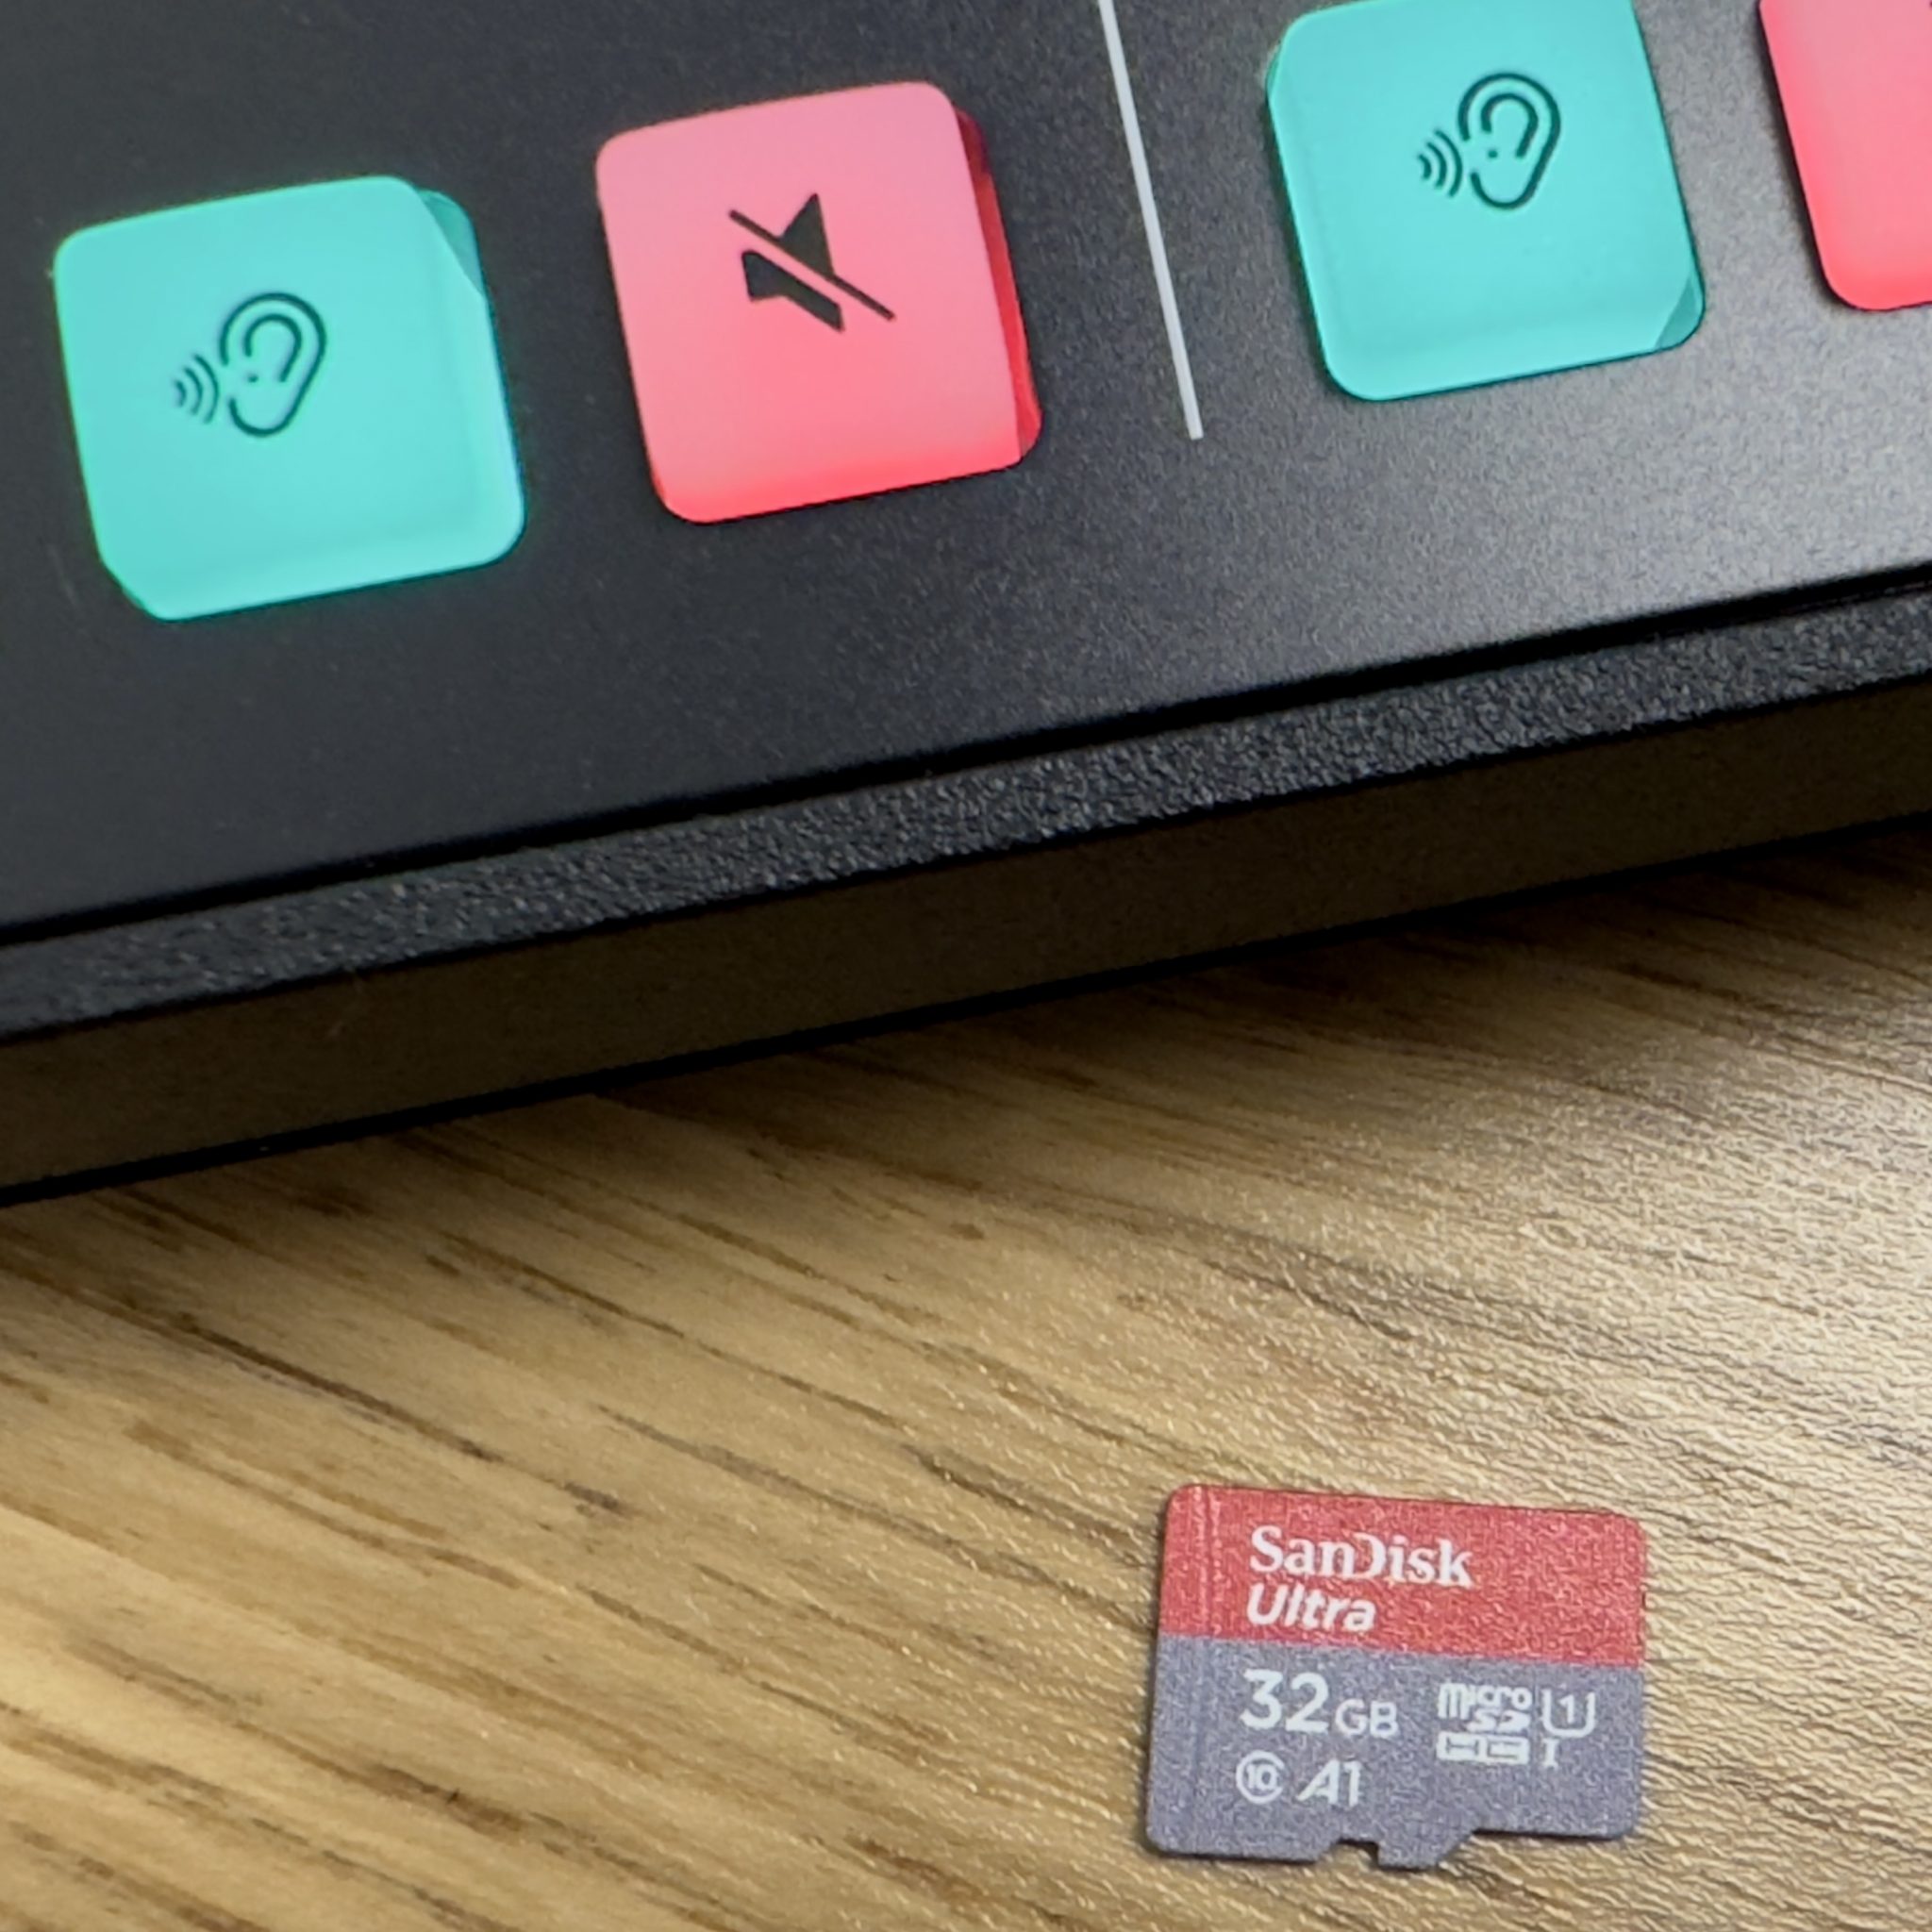
If you’d like to use an microSD card, you’ll need a fast card, capable of at least 100 MB/s transfer rates.
The cards are really small and are often sold with an adapter that fits a larger SD reader.
#protip: remember to take your card with you when leaving.
Maximum safety
Use both. The interface can record to multiple outputs simultaneously, so using a two-tier strategy is recommended in case one output device suffers data loss.
Data loss is rare, but we have had a couple of cases, and that’s a couple too much.
Booking the studio
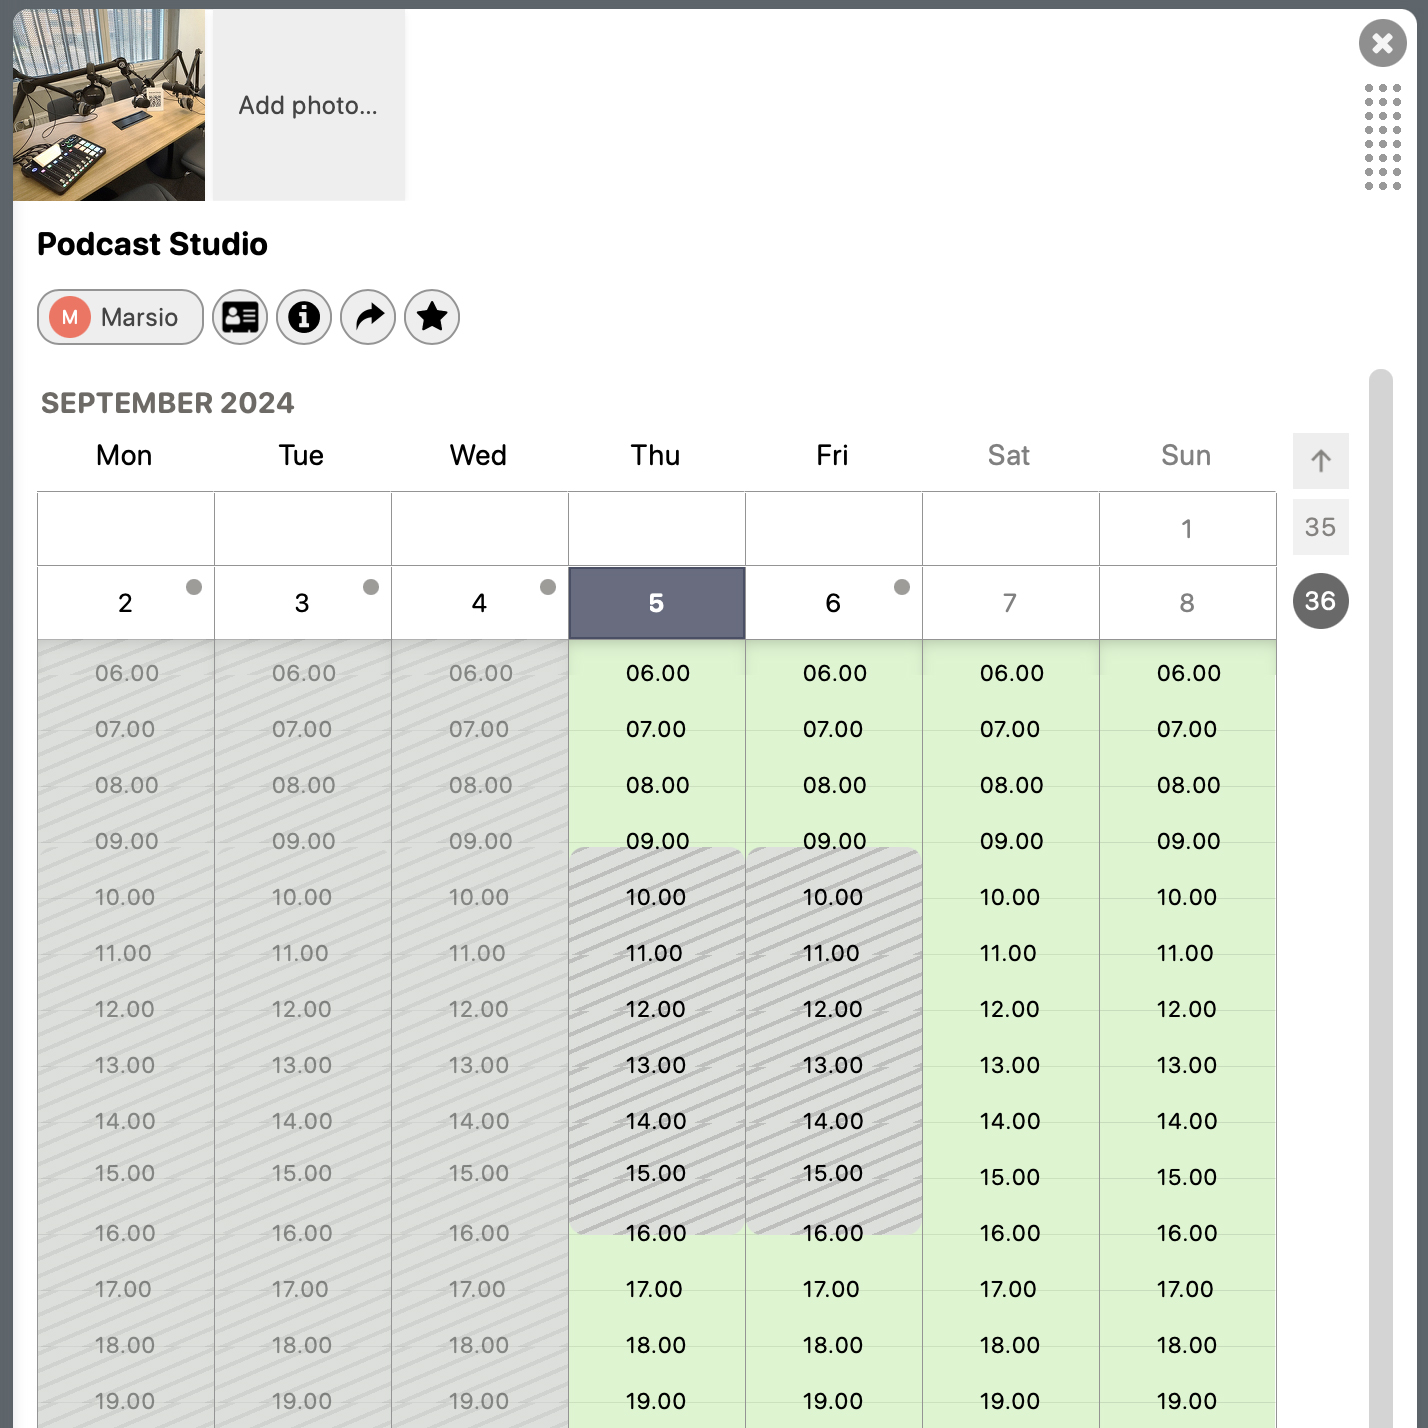
Find the Podcast Studio on Aalto Takeout and within the allowed times, make a booking for yourself or your group.
For including the Podcast Studio in long term planning, please consult our Course and production bookings service to make reservations outside the limited reservation window in Aalto Takeout.
Accessing the studio
You’ll need an Aalto keycard or token for the door lock, or assistance from the Info Desk downstairs. You can reach the custodians at +358294420200 or marsio-aula@aalto.fi.
Overview of the equipment and furniture
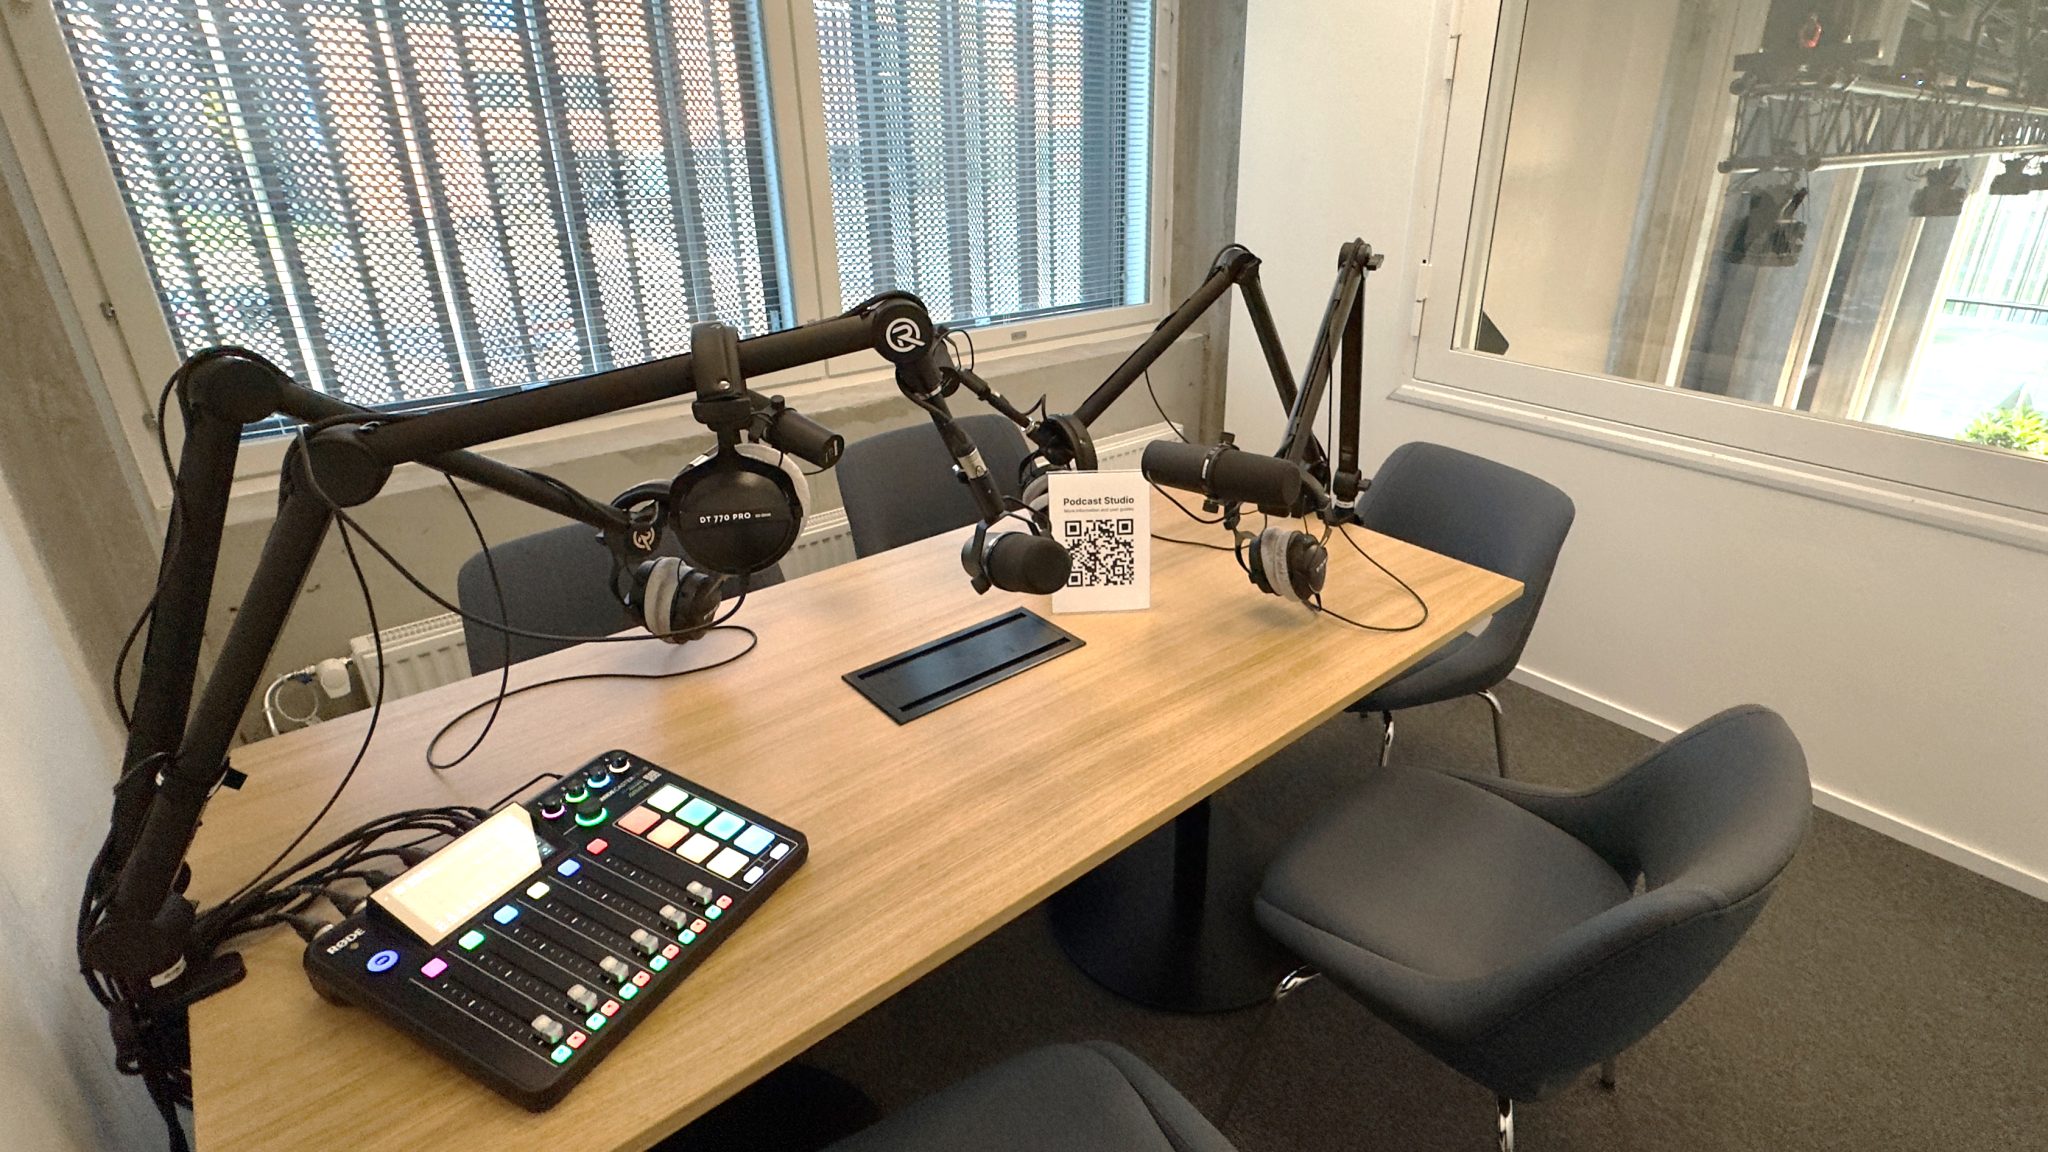
The equipment consists of the following devices:
- 1 Røde Podcaster 2 audio interface and recorder
- 4 Microphones mounted on arms
- 4 Headphones associated with the microphones (usage optional)
- A table well for plugging in your own devices
No unplugged cables should be visible, and the Røde Podcaster 2 should be on and lit up.
Check system settings
The settings of the Podcaster interface can not be locked, or easily recalled to a ‘house default’ setting. A previous user of the studio could have altered the settings to something… weird.
To be sure, here is an overview of the microphone, recording and effects settings in their preferred state.
This is a quick review, and a good habit.
Microphone settings
To access the settings for each individual microphone, you can click the matching colorful buttons on the interface.
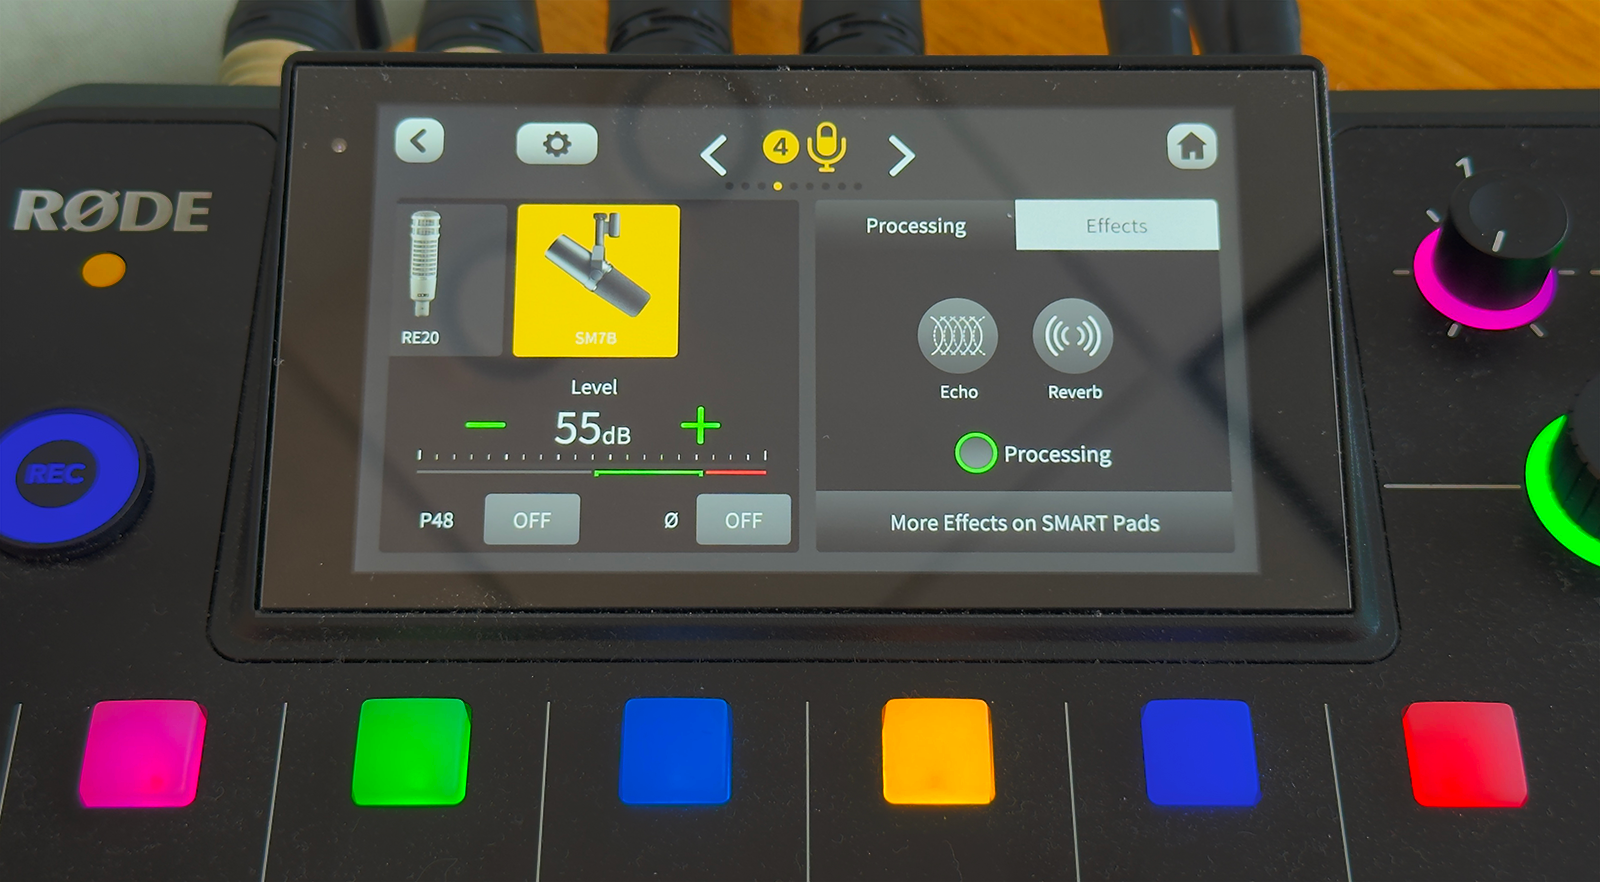
In this image, the Yellow microphone is selected, and the following correct settings can be observed:
- This microphone is labeled ‘4’ and ‘yellow’, corresponding to the yellow button below
- The hardware profile for the microphone is ‘SM7B’, matching the actual mic in the room
- The base level for the microphone is 55dB
- The selectable options are off as indicated in image. Check both the ‘Processing’ and ‘Effects’ tabs.
Run this quick check for all 4 microphones by pressing the 4 matching buttons; red, green, blue and yellow.
Check recording settings
By default, we prefer multi-track recordings, where each microphone is saved as an individual track. This helps editing and transcribing, for example when using Descript.

- Make sure you’re viewing the default screen view of the device. Use the ‘<‘ or ‘home’ buttons to navigate back, if necessary.
- Locate the ‘gear’ icon at the top right to enter the ‘Configurations’ menu.
- Select ‘Output’ to enter the output settings
- Select ‘Multitrack’ to view the track saving settings
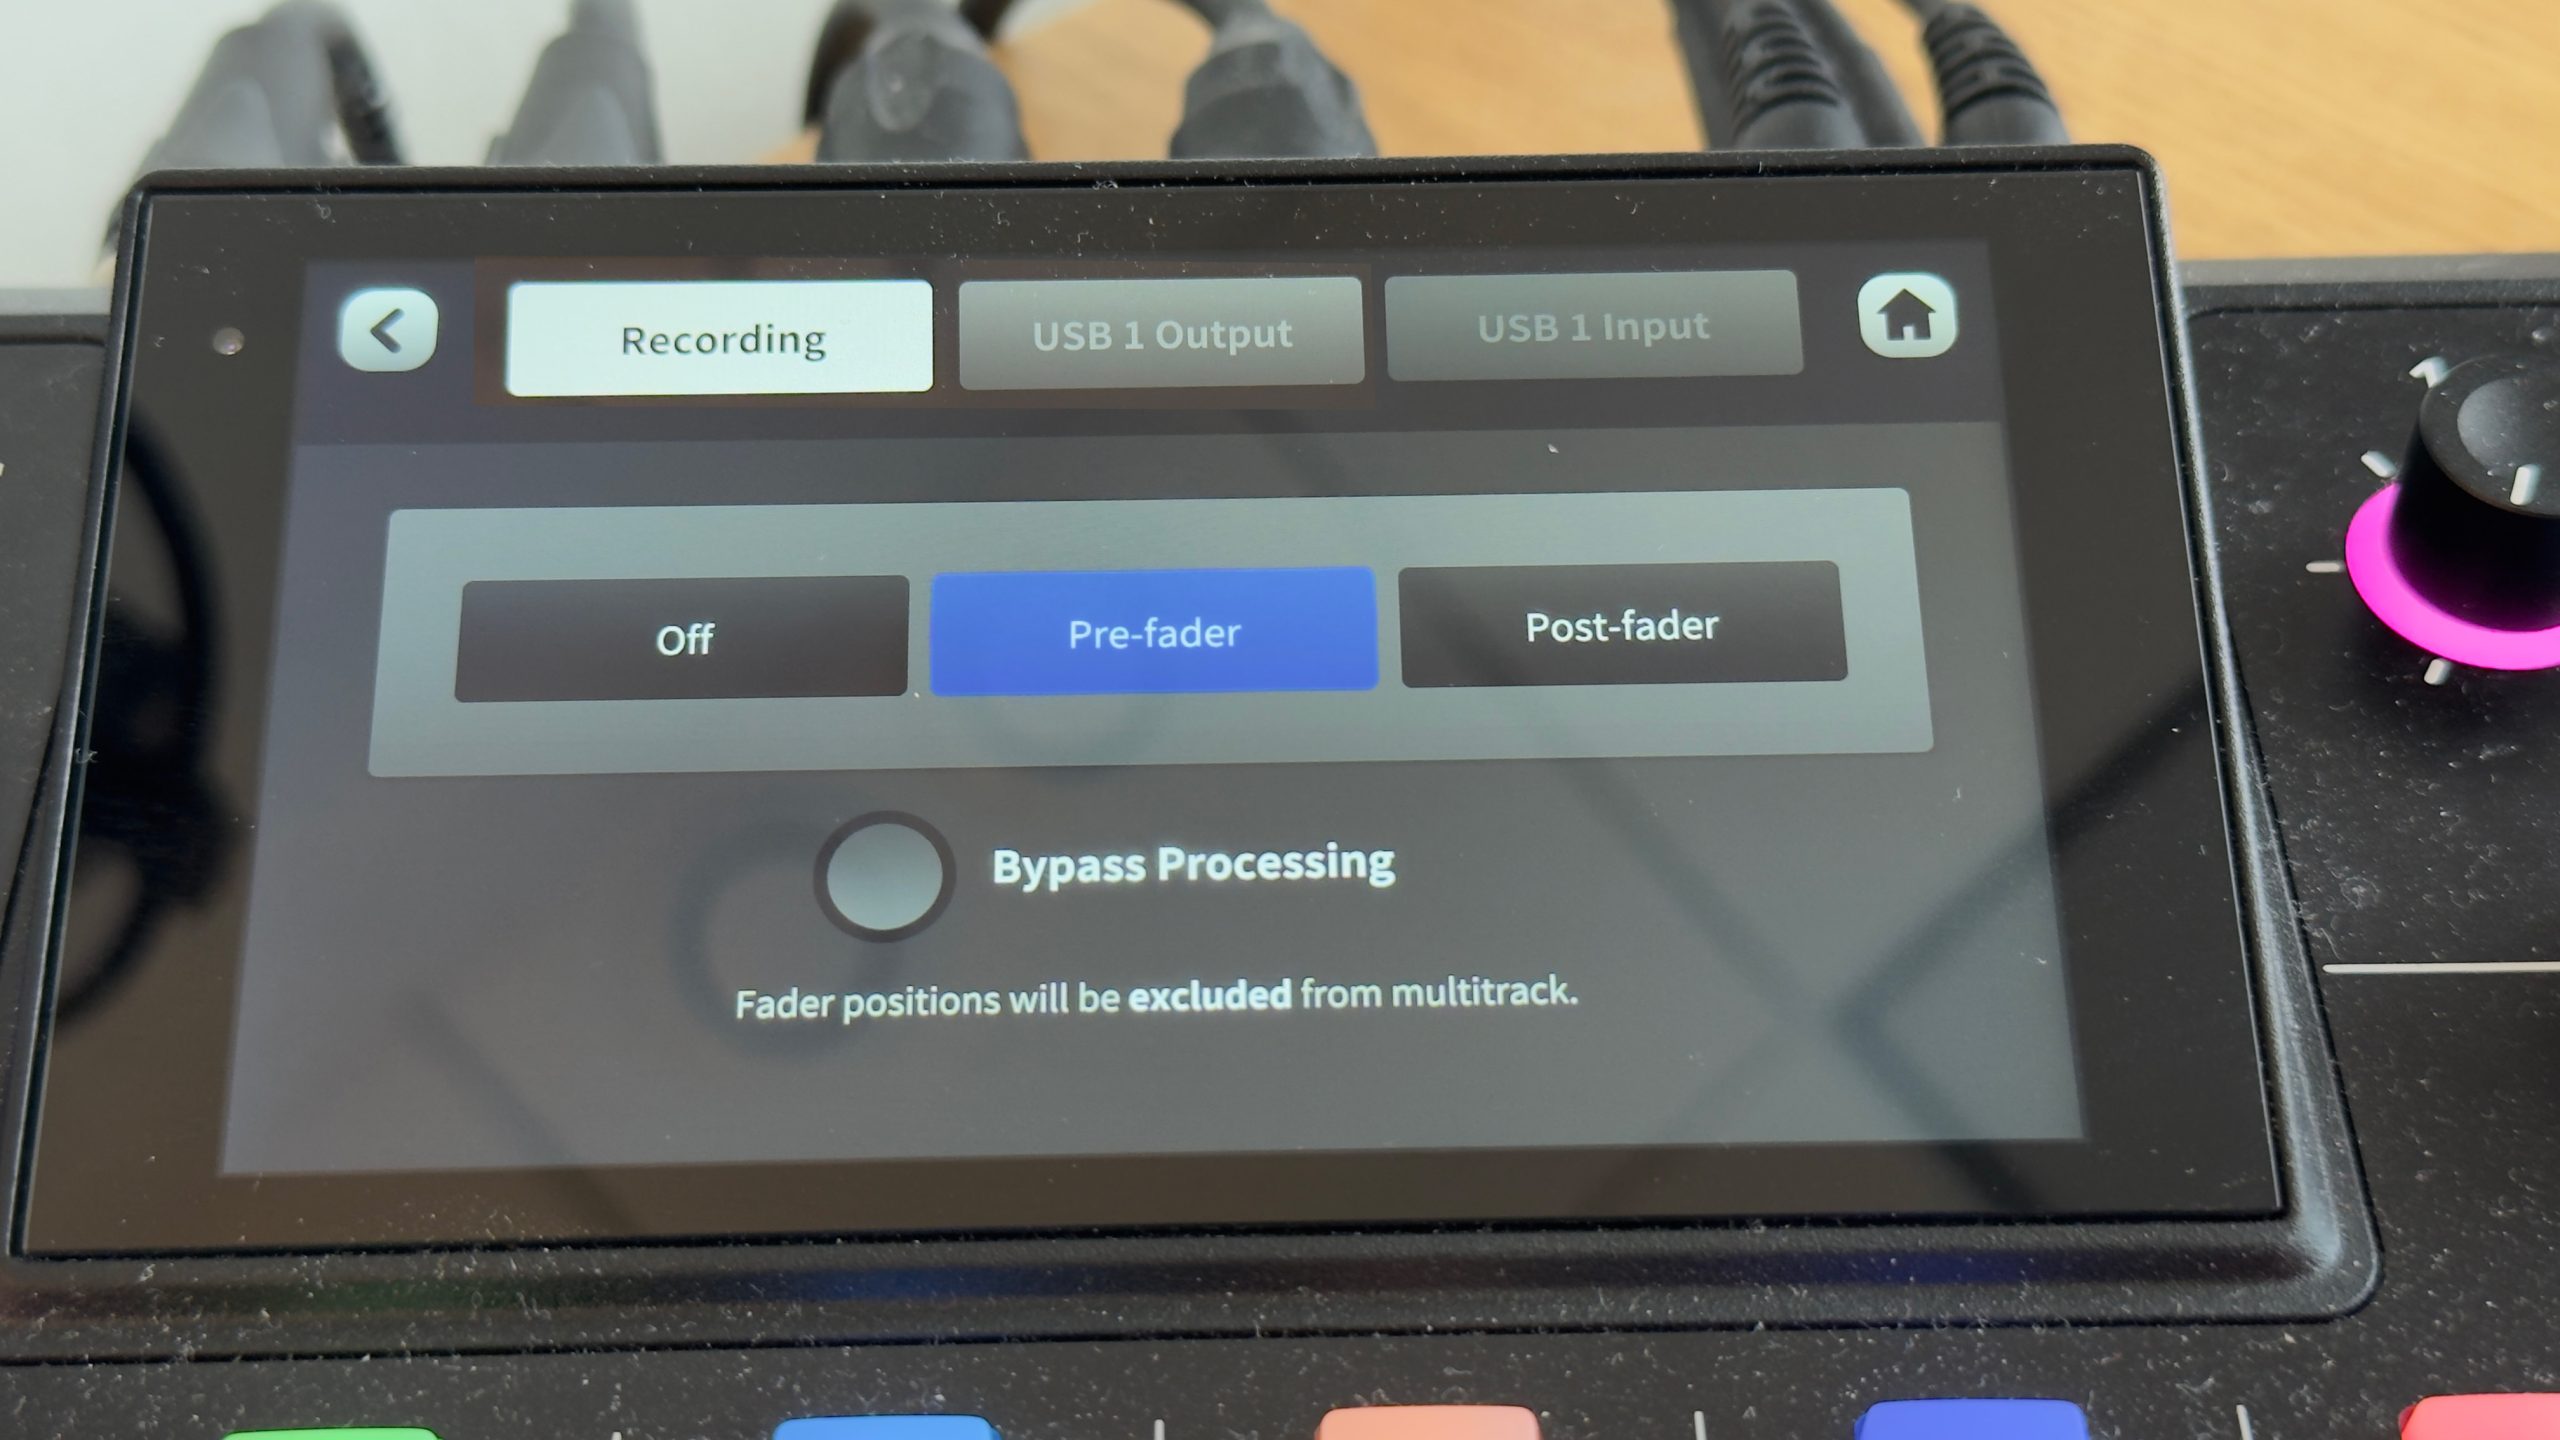
- To enable multitrack recording, you’ll need to choose either ‘Pre-fader’ or ‘Post-fader’ as the mode. Otherwise multitrack recording will be ‘off’ and you’ll end up with a stereo mix.
‘Pre-fader’ records the microphones regardless of the volume slider settings, so you get all the audio.
‘Post-fader’ records the microphones as you mixed them using the volume sliders and audio enhancements. This may inadvertently result in low volume or differing sound for each microphone.
We recommend ‘Pre-fader’ for most users, as shown in the image. For more information on processing, you can see the manufacturer’s user guide for an in-depth explanation.
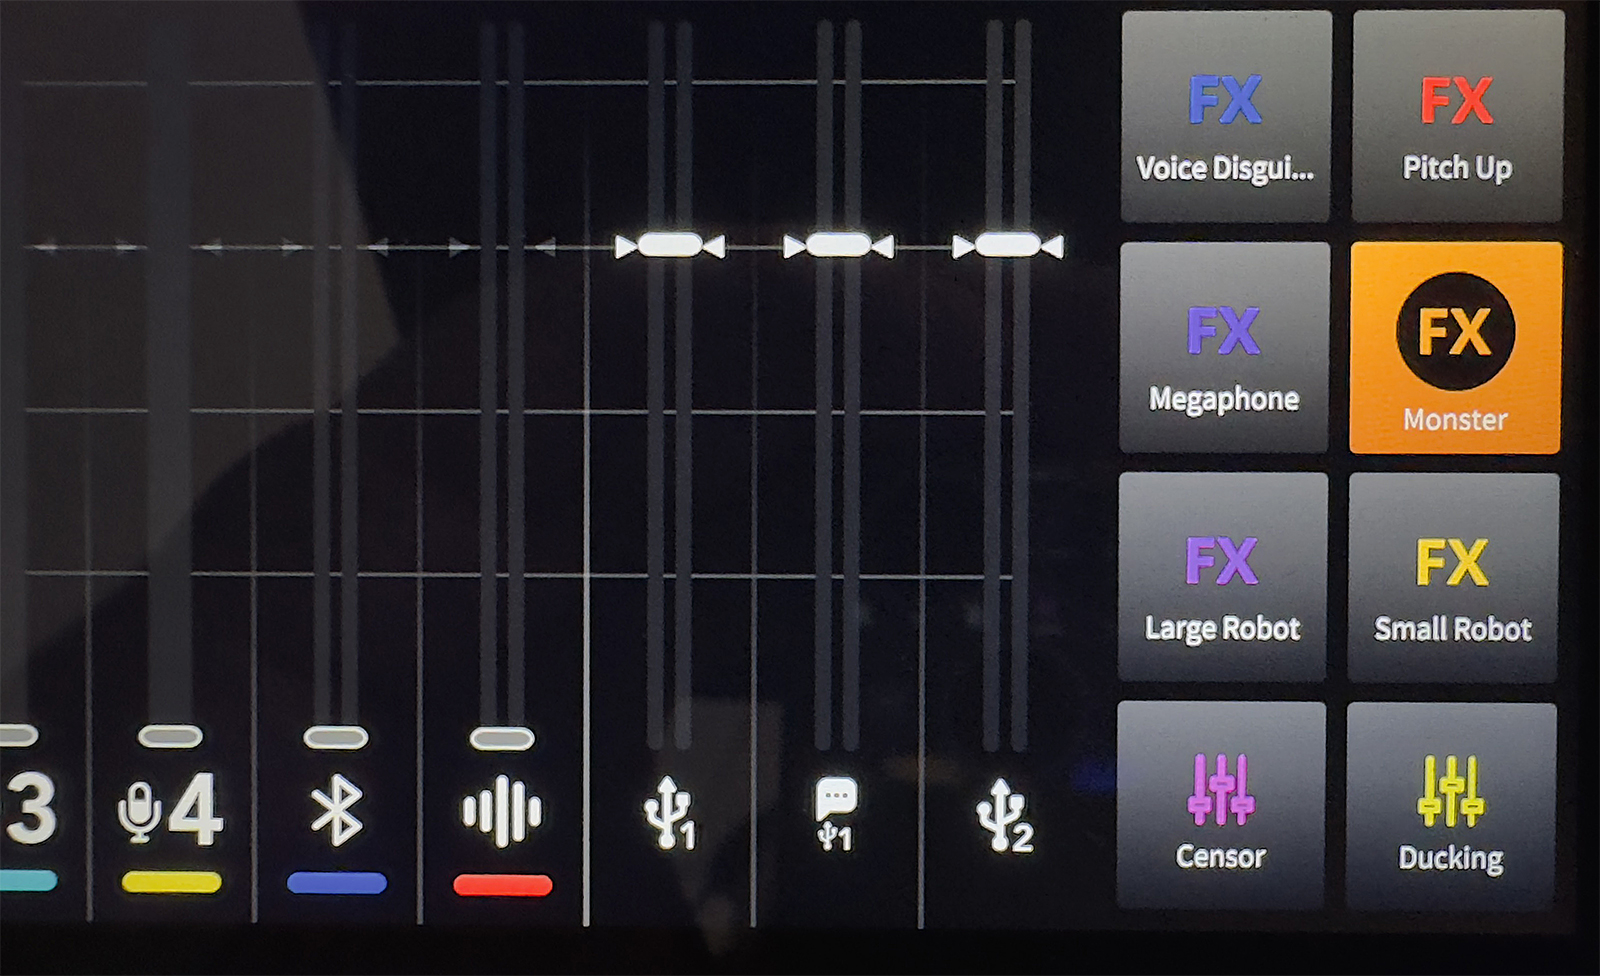
Check FX settings
Check that no voice altering FX pads are active. In the image, a ‘Monster’ setting is currently active.
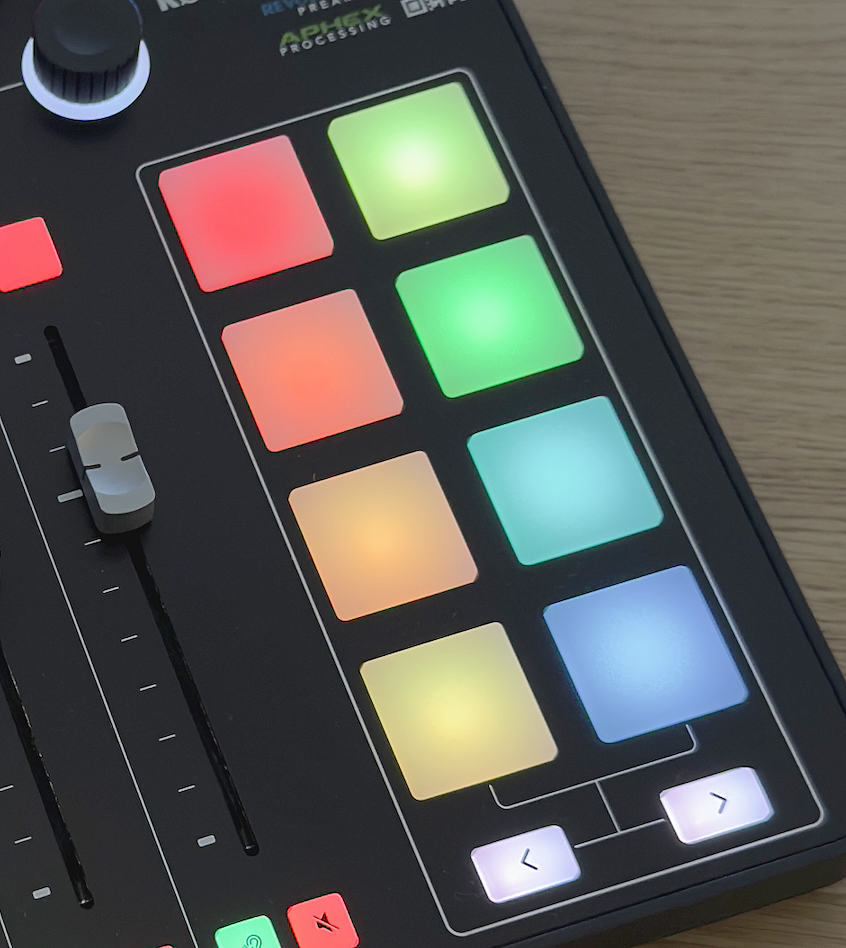
Use the big pad buttons on the device to deactivate or activate as preferred. You may need to scroll the sound/fx banks using the arrow keys at the bottom.
Safely set up the equipment
To prevent unexpected loud sounds and to have a known starting point, perform the following checks:
Headphone levels
Set the headphones volume to 0 for everybody. When listening to a sound source, turn them up to 30% first, then check if more is needed.
Headphones are not necessarily needed when recording only people in the room. However, they can help with microphone technique as you can hear your voice and catch yourself turning away from the mic.
You’ll need them when you have external audio sources, such as shared listening or a guest calling in through Bluetooth.
Playback level
When listening to recordings, the volume is controlled by the large main rotary dial below the headphone levels. Set it to a low level by rotating counter-clockwise.
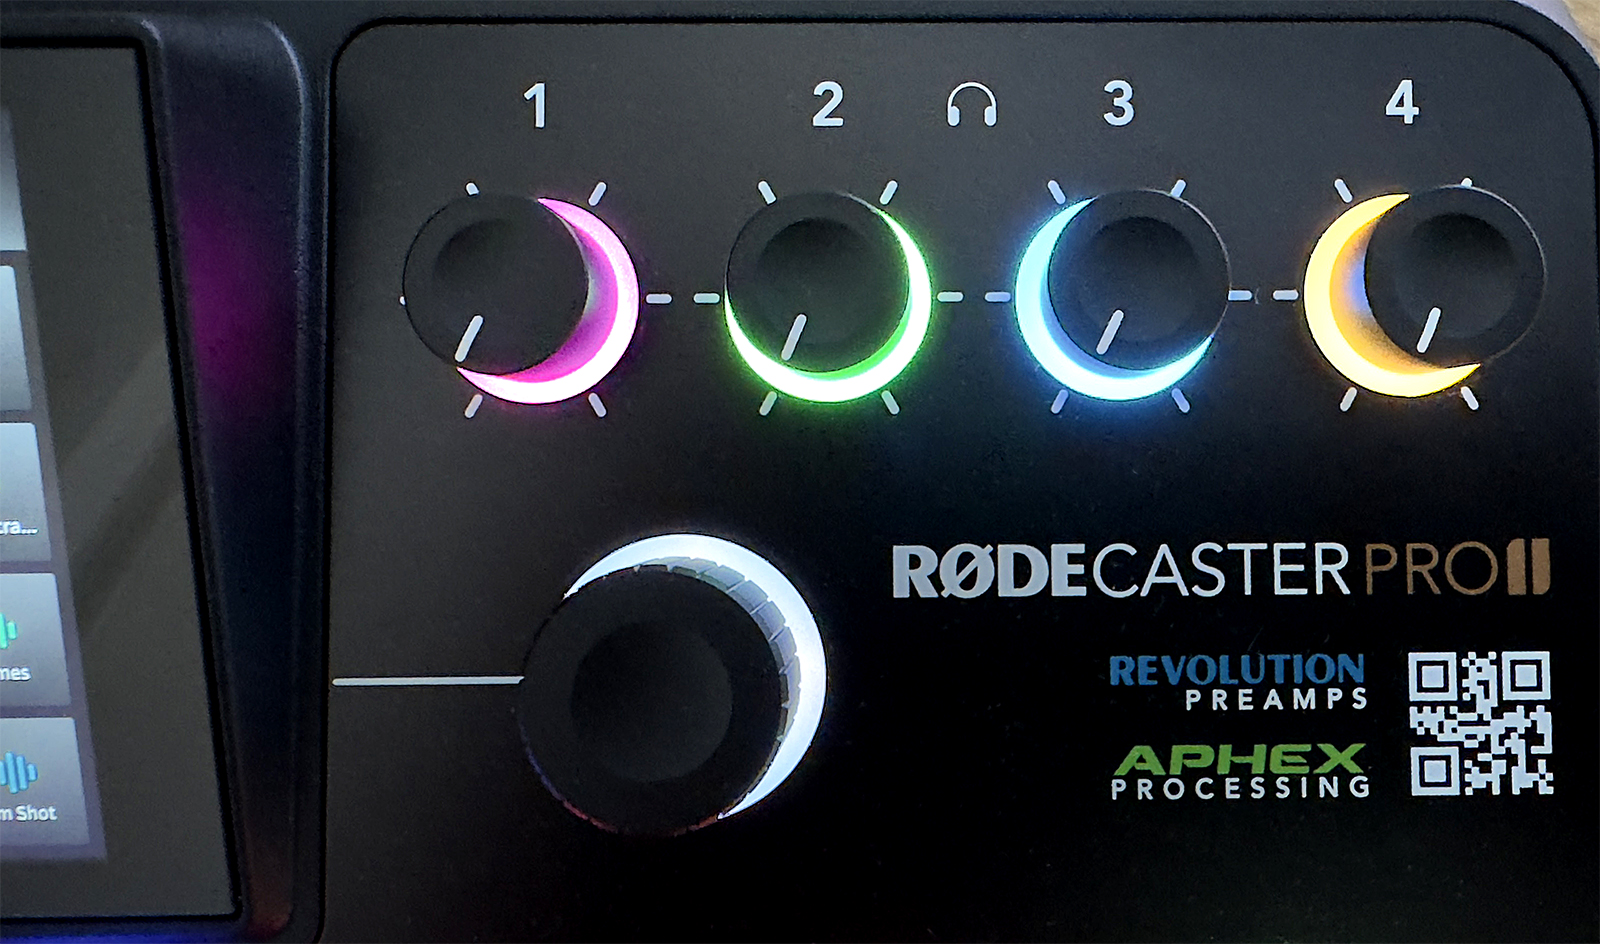
Microphone levels
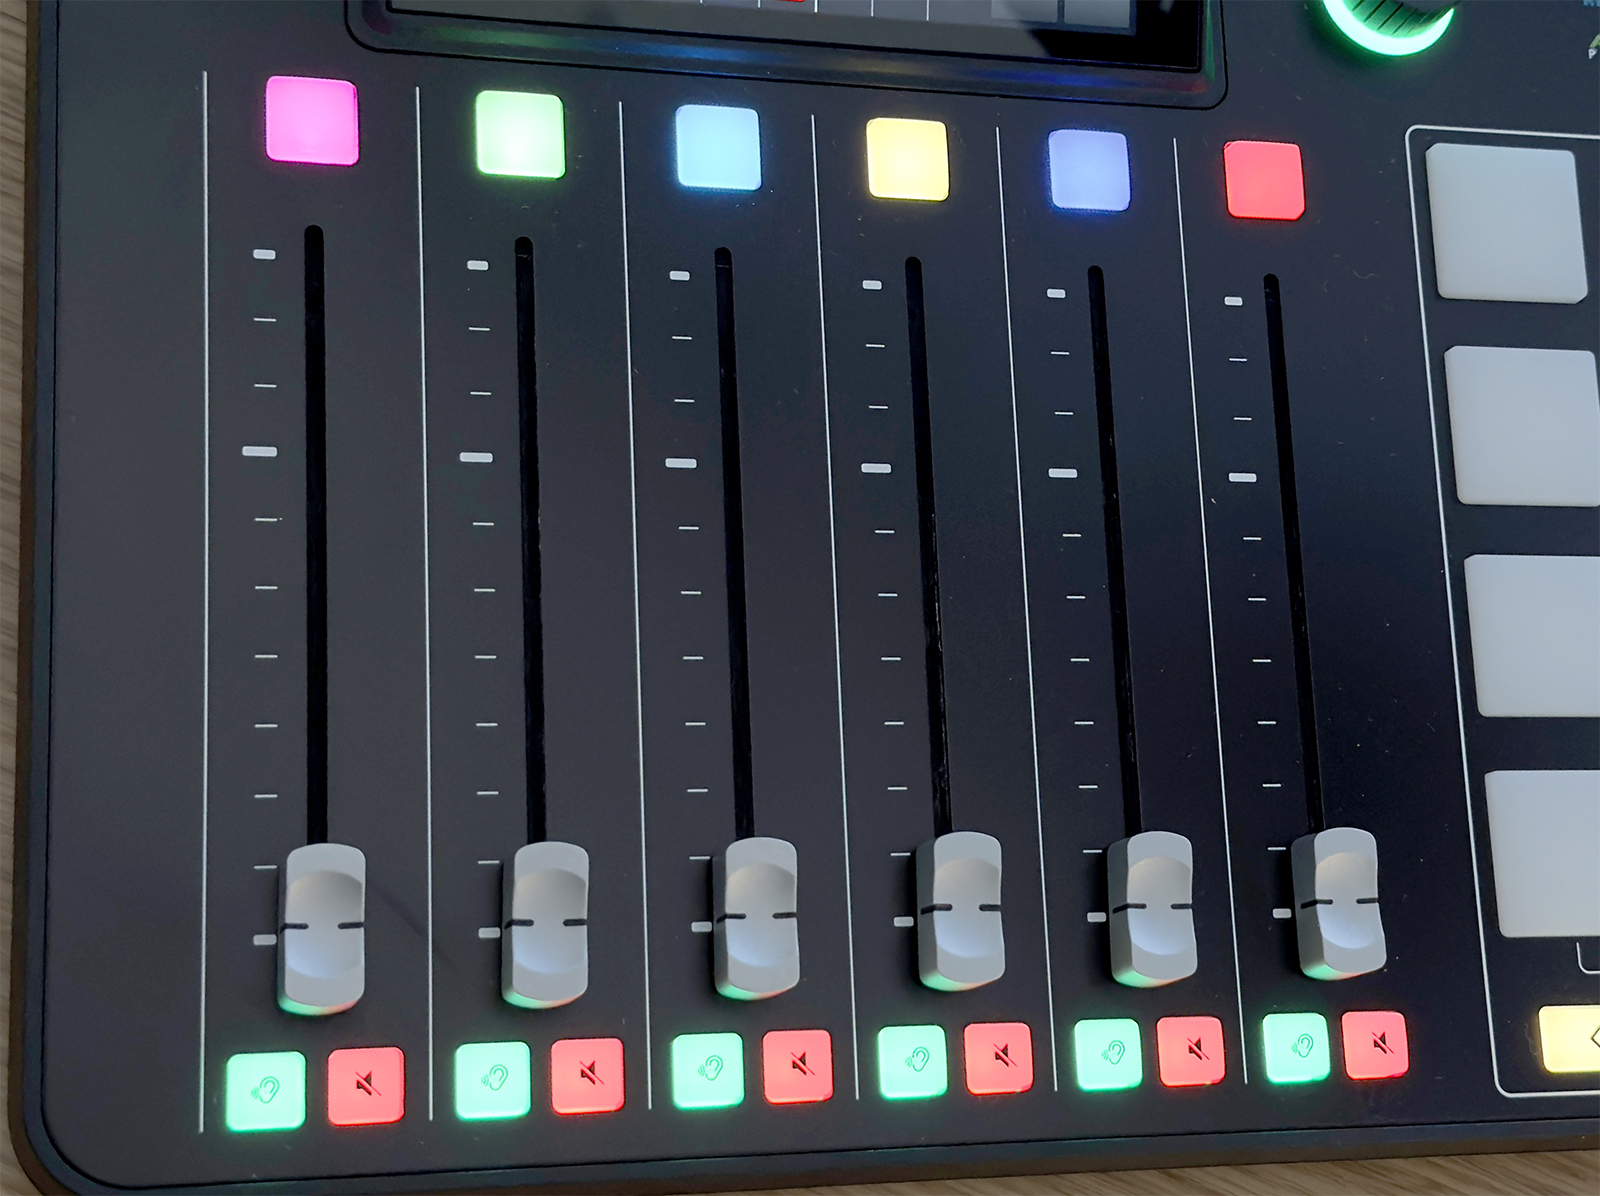
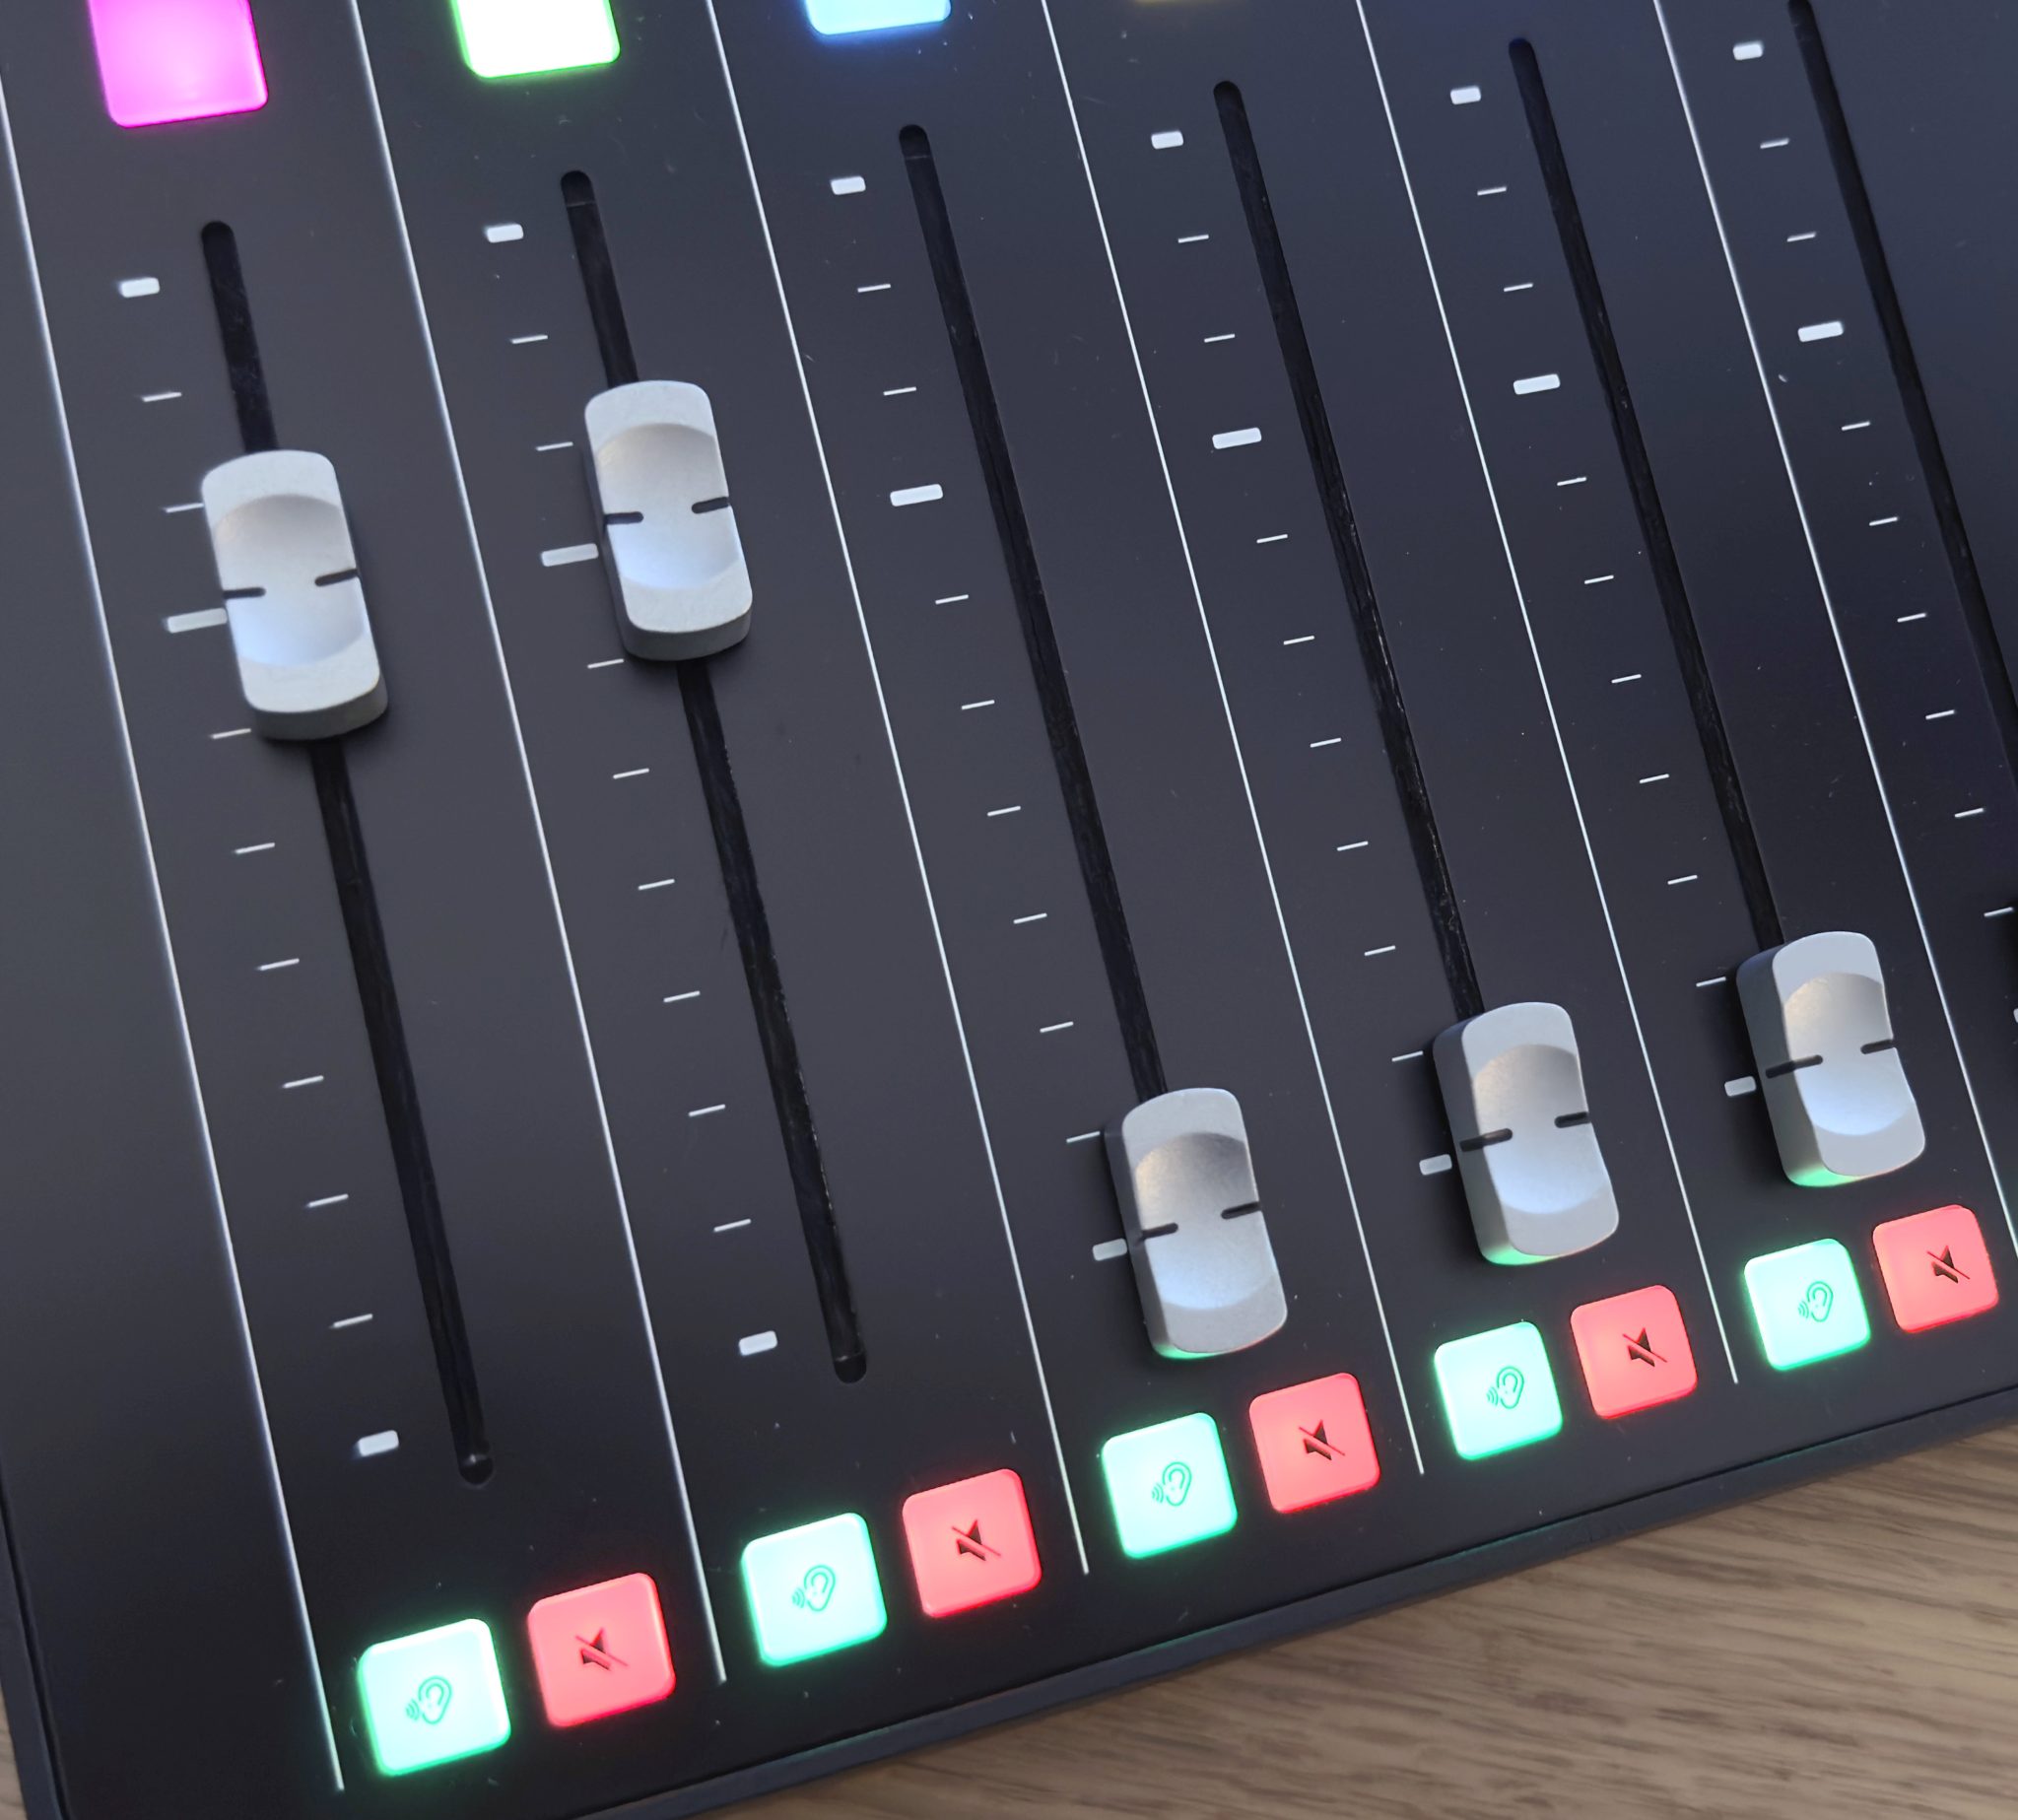
First set the faders (sliders) for microphone input volume to the lowest setting, then for each participant, bring the fader up to the default mark.
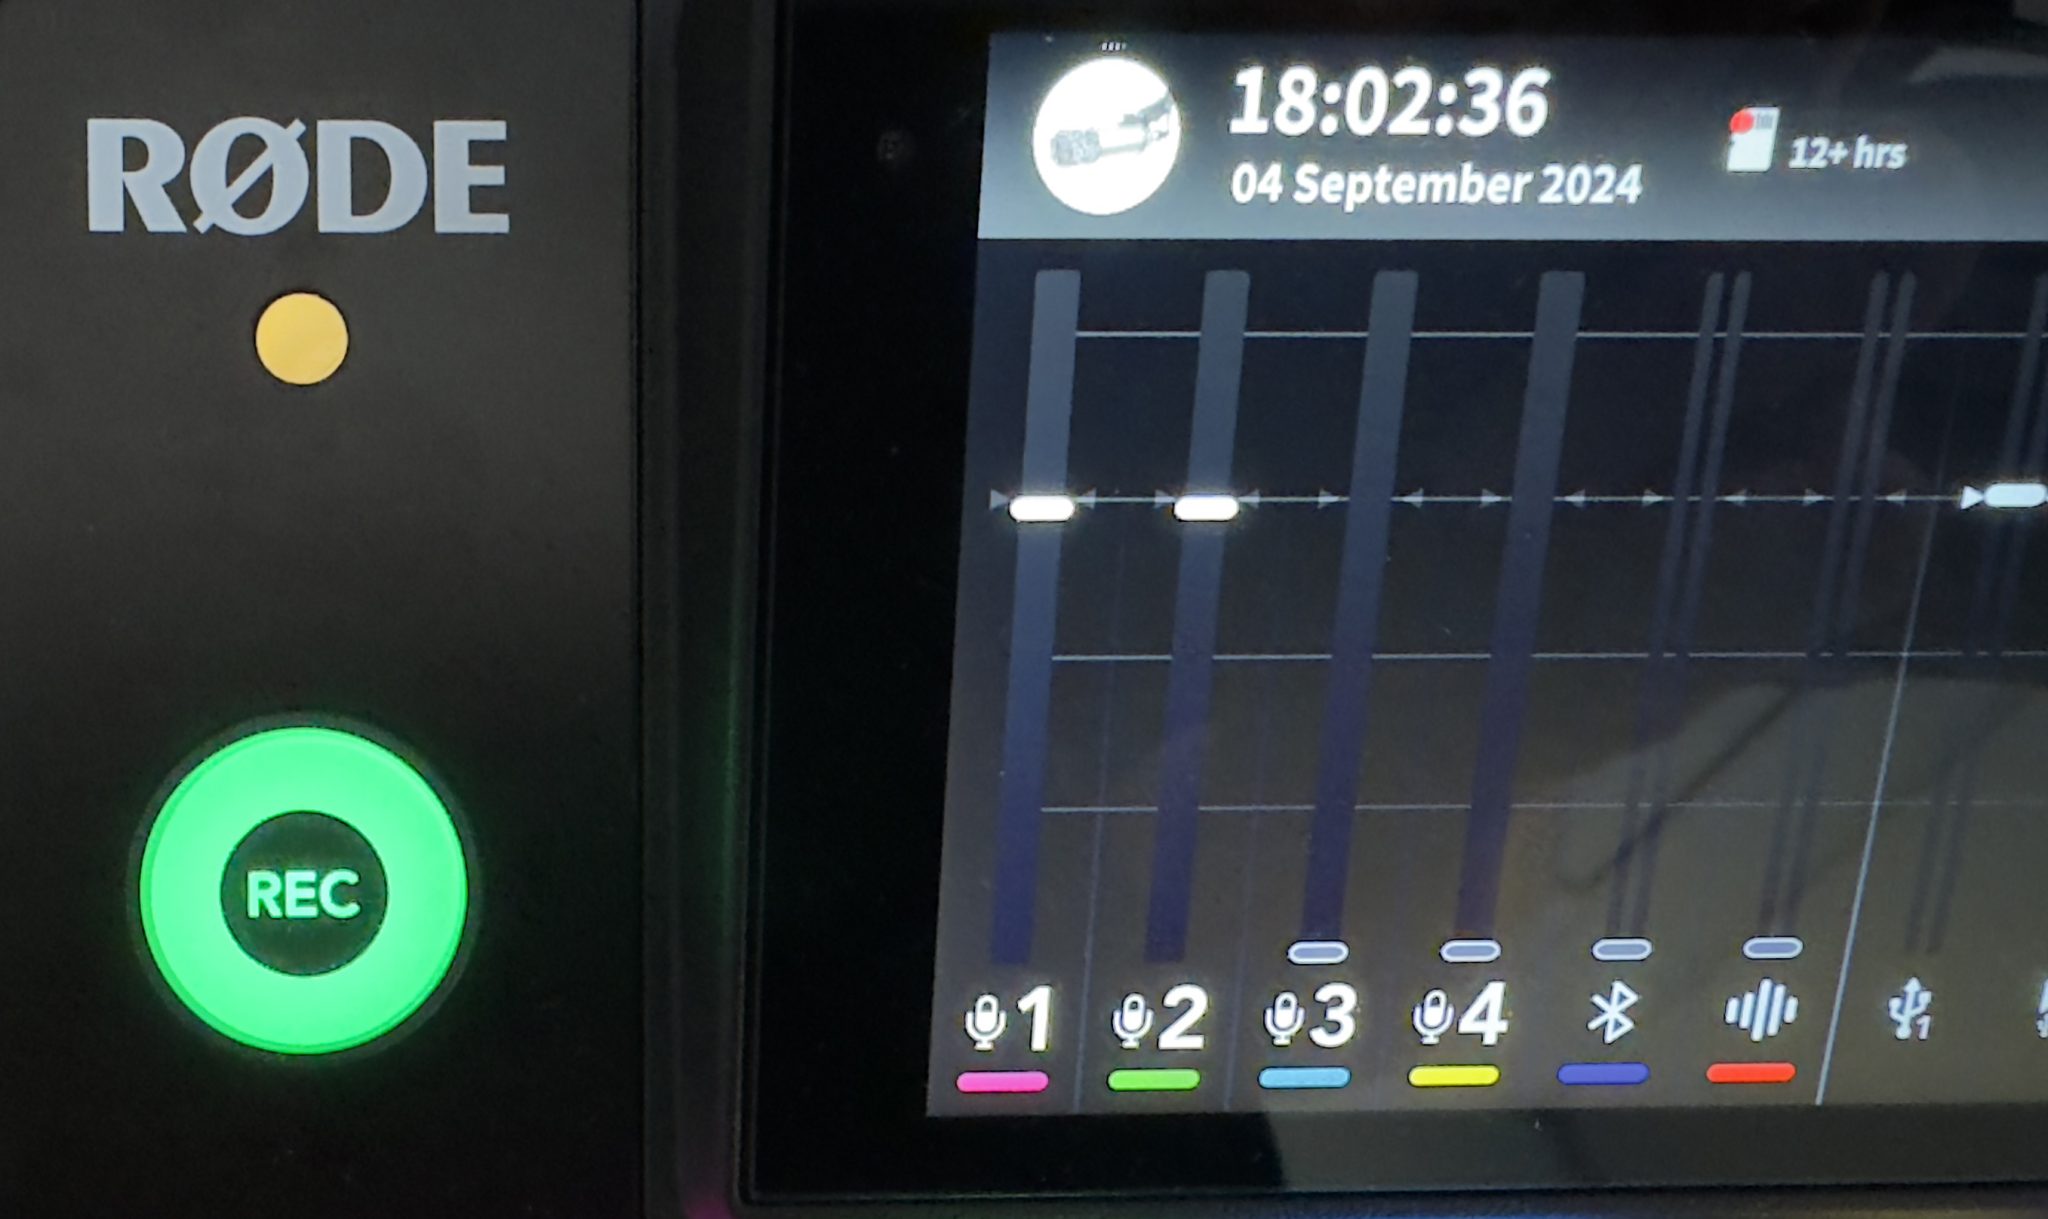
Faders 1-4 correspond with the microphones in the studio, fader 5 is used for a Bluetooth source and fader 6 controls the FX pads.
Also check that the Listen (green) and Mute (red) buttons are set as shown.
Green meters on the device screen should respond to sound input. If the meters jump up to orange/red levels, lower the fader for the microphone.
Position the microphones
For best results, aim the microphones directly at the participants’ mouths, and try to maintain a reasonably short distance (20cm) when speaking.
Attach your USB-C drive or insert a microSD card
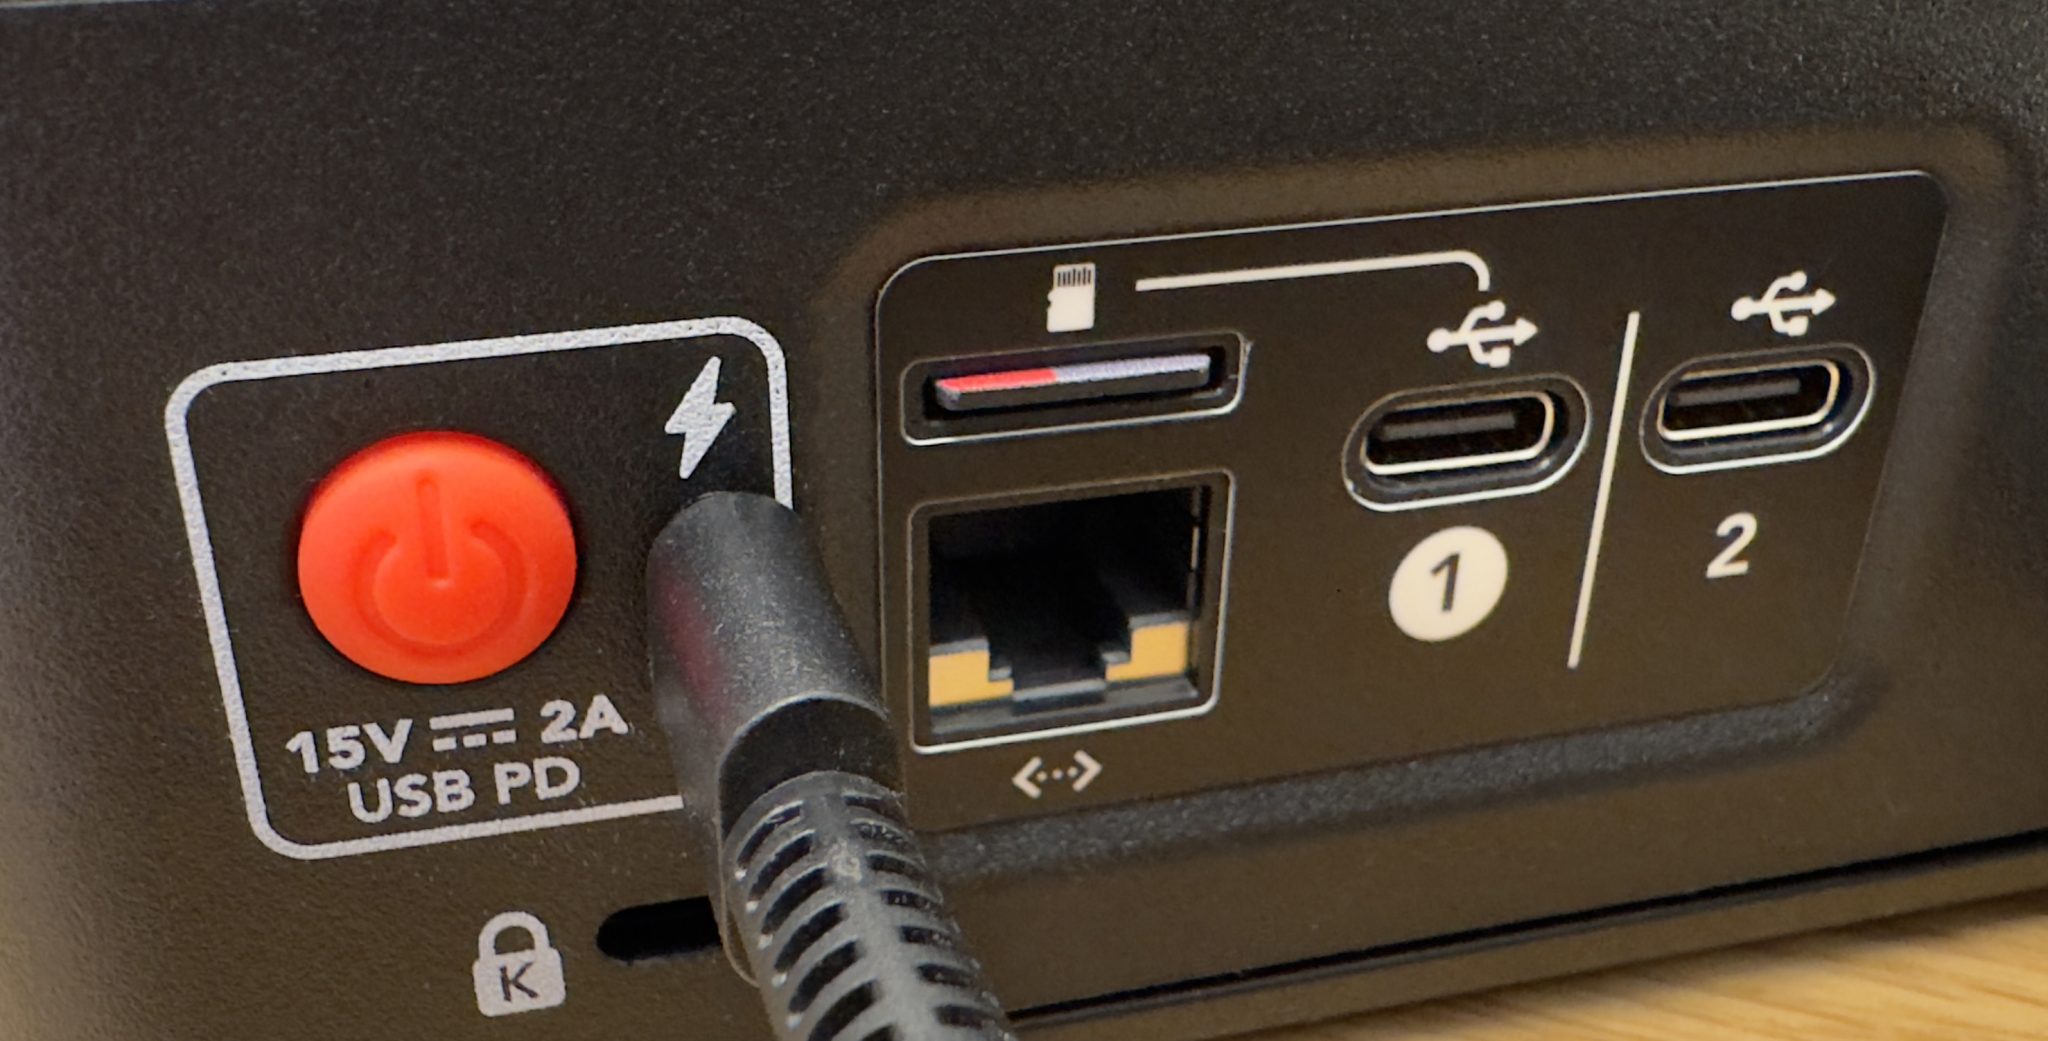
The ports are found on the rear side of the device. You can use either USB-C port (1 or 2) for your drive.
The image shows a microSD card currently installed in the device’s card slot. Install a card by firmly pressing until it locks as shown, then press again to release it.
The device may prompt you to format your storage, please note that this will erase all content. We recommend having a dedicated storage medium, preferably of high quality to ensure smooth recording.
Test recording and playback
To ensure everything works as expected, a quick record and playback is highly recommended.
Having set up everything as above, including fader levels, microphone positioning and a storage medium, the Record button should appear green and ready to go.
Record
Press the button once to start recording. The color changes to red.
Press the button again to pause the recording. The color changes to yellow.
Hold the button to stop the recording. The color changes to green again.
A blue color indicates the device is not ready for recording.
Play the recording
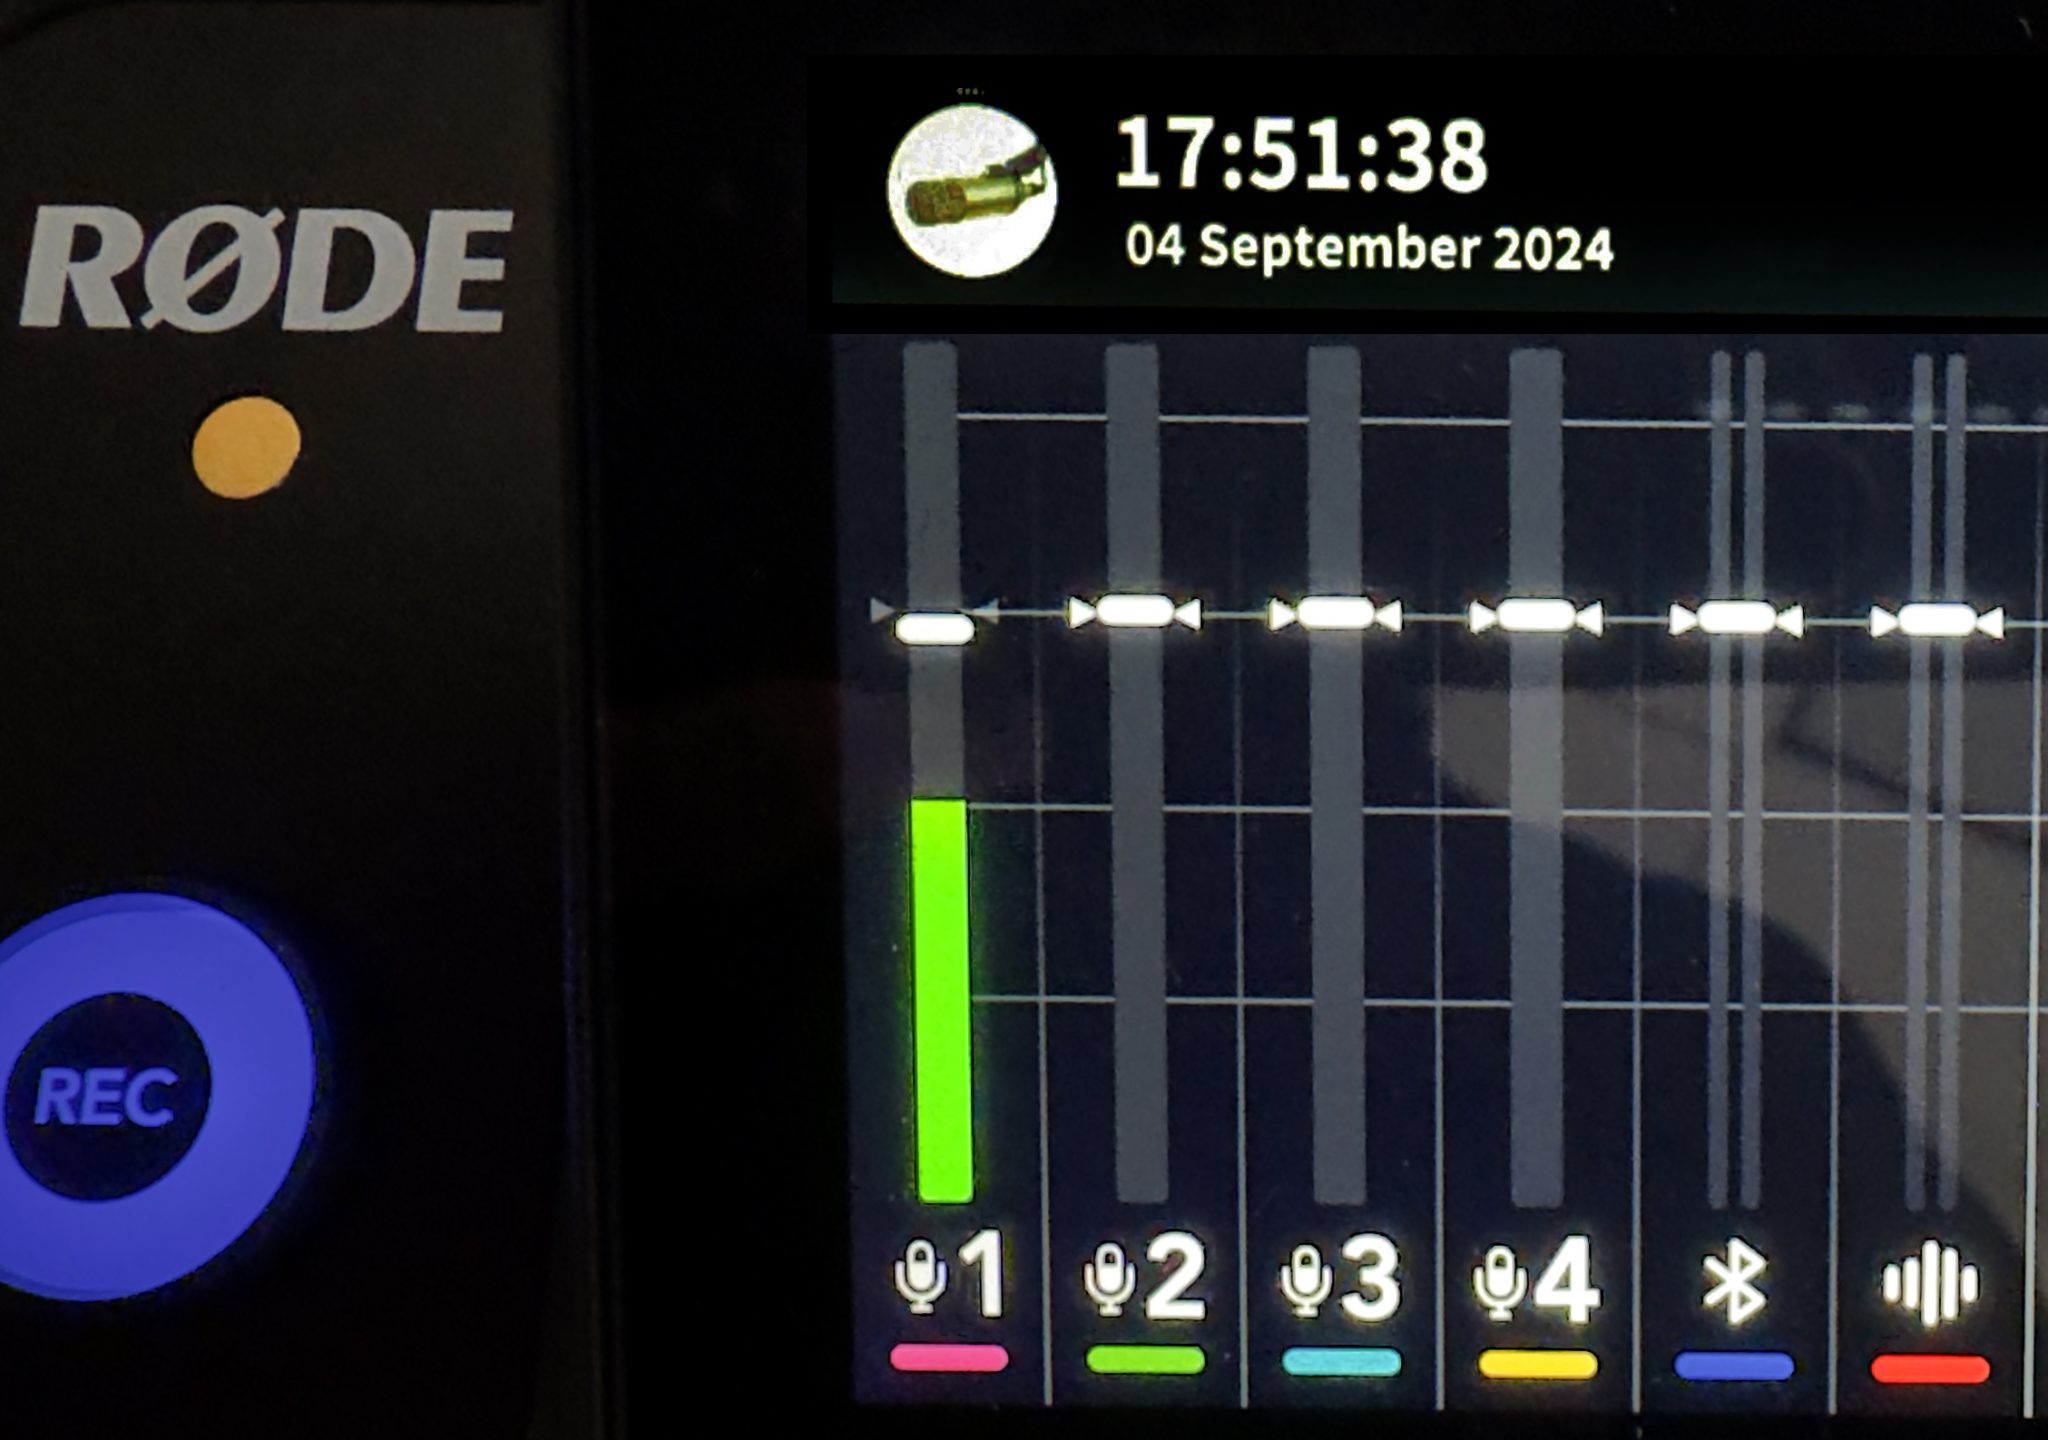
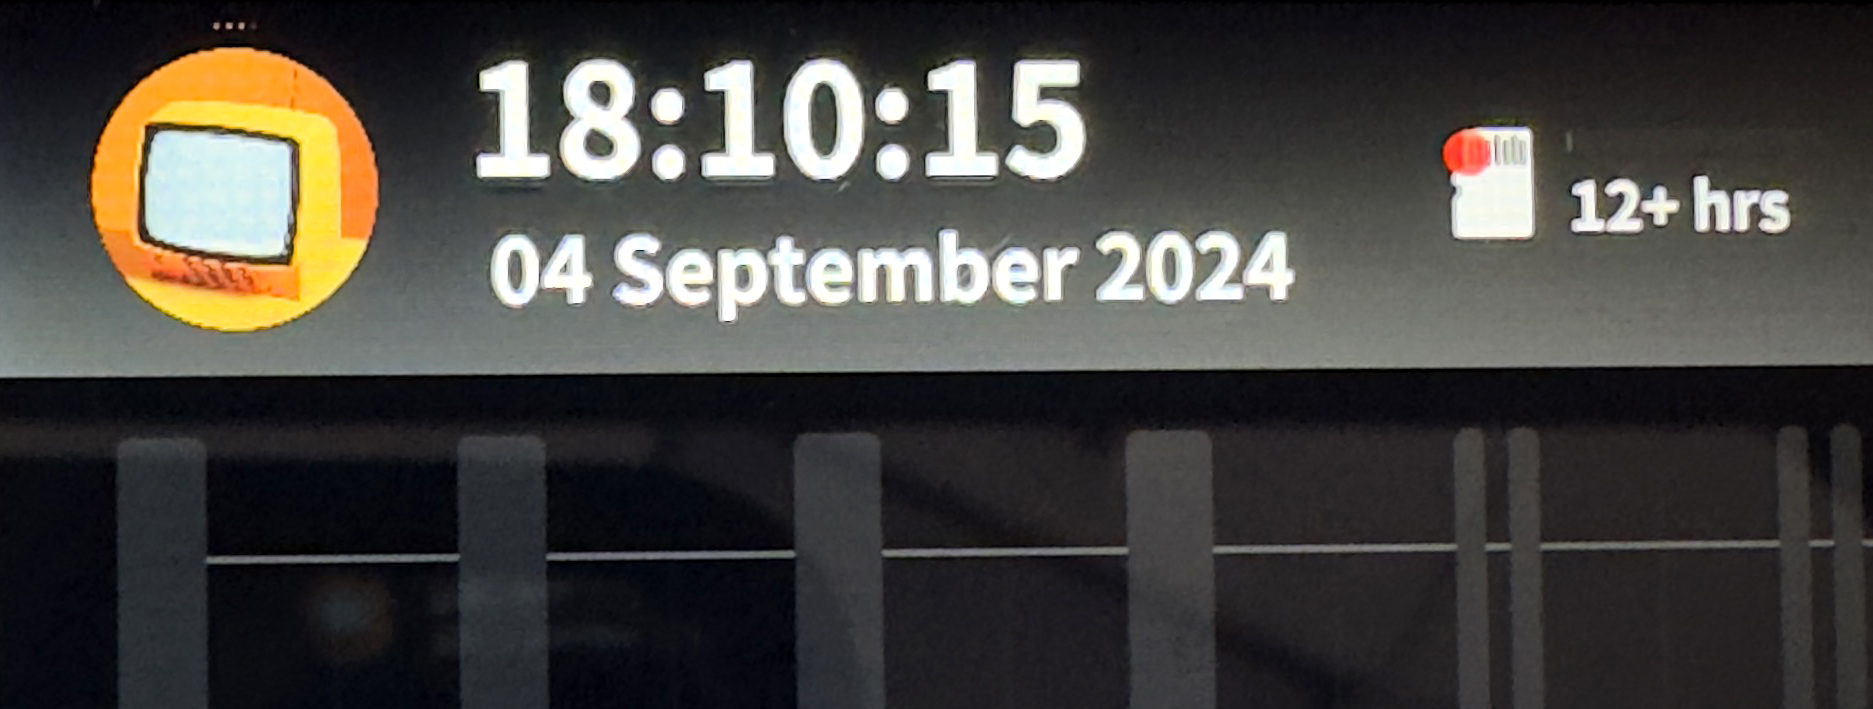
First locate the ‘Show’ button on the interface, indicated here by an orange icon of tv screen, next to the time and date. Tap the button to enter the ‘Show’ view.
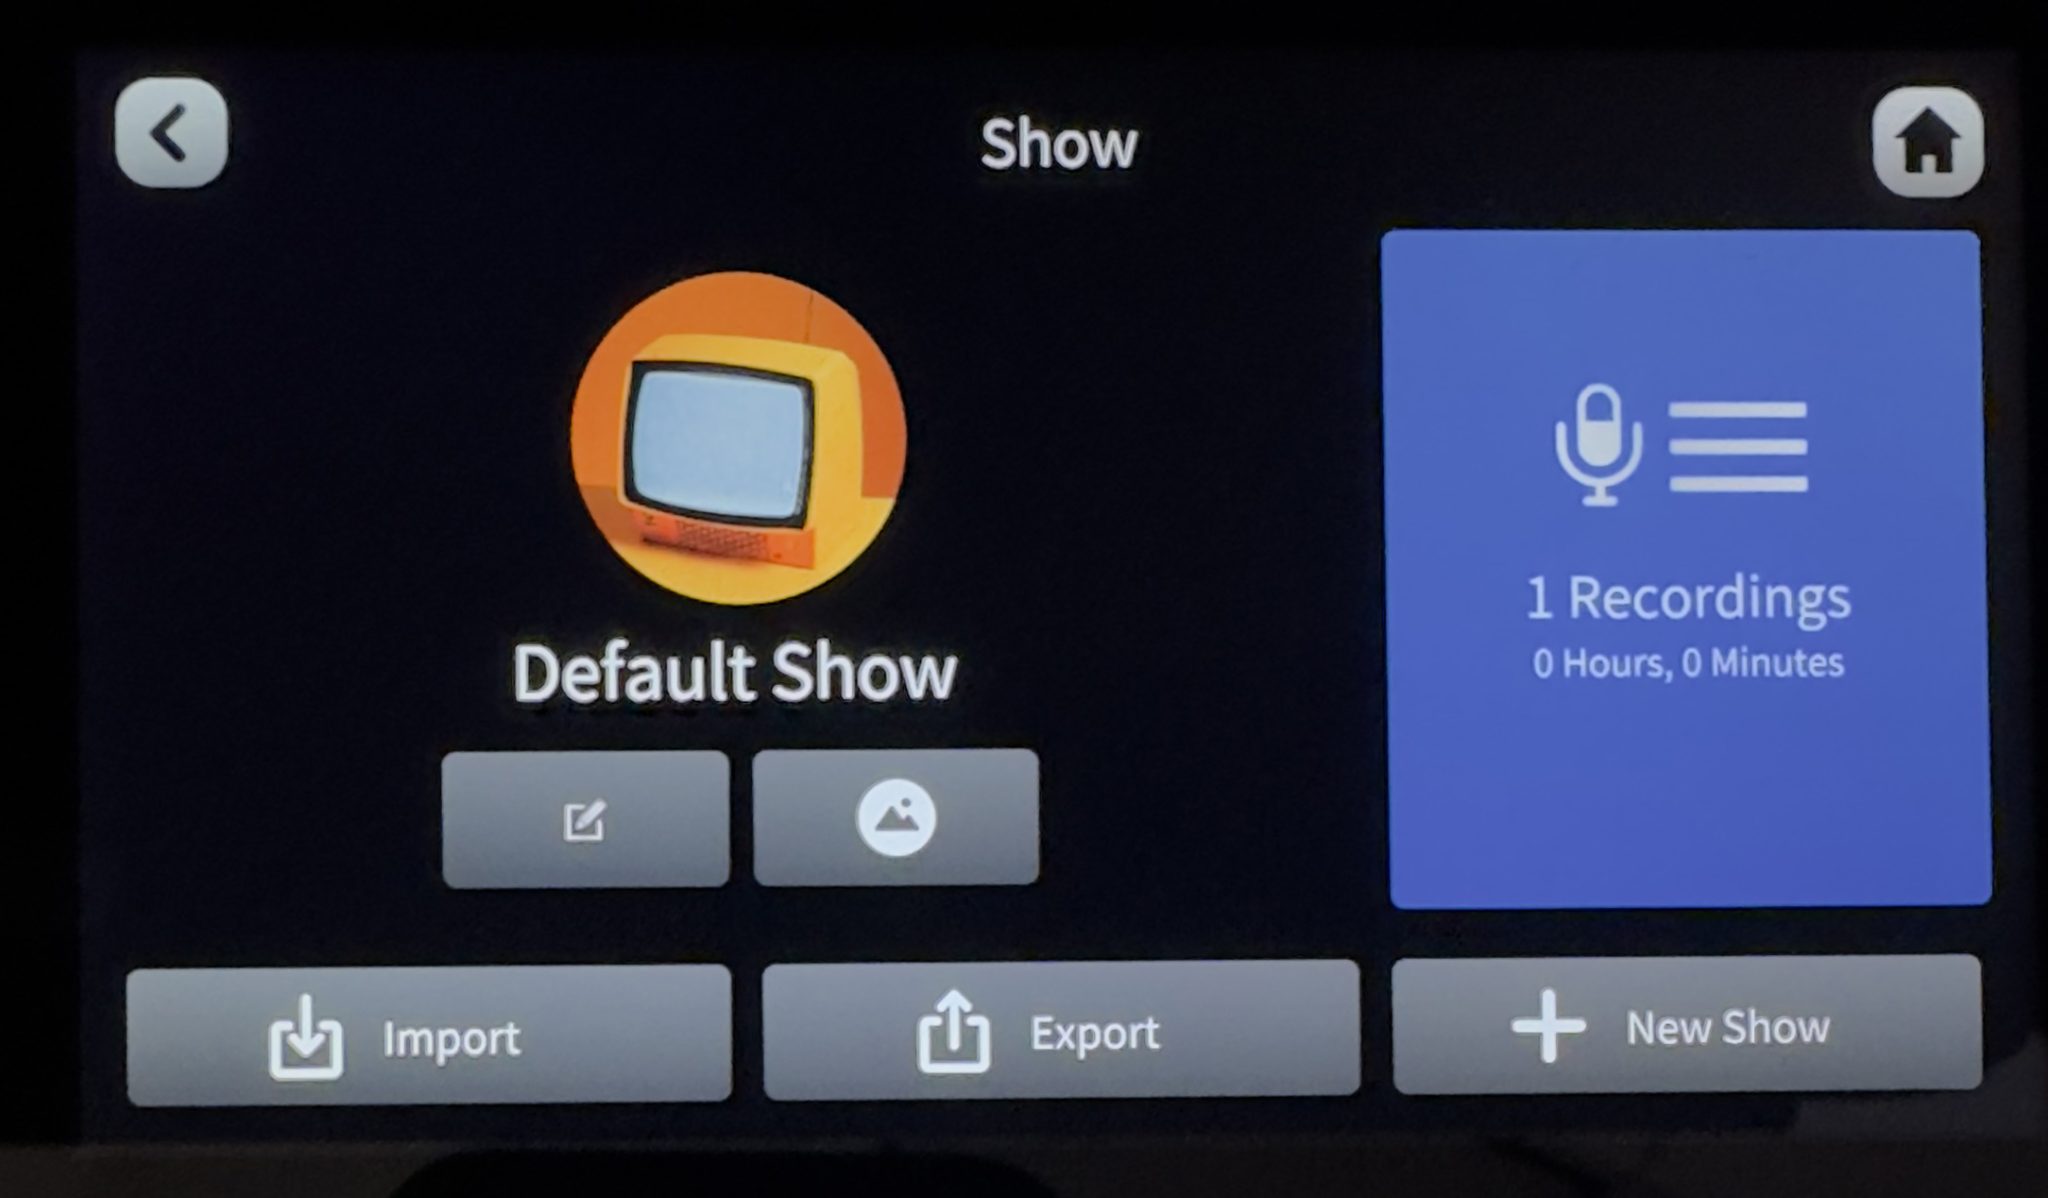
From the ‘Show’ view, locate the large blue ‘Recordings’ button and tap it to list files on your storage medium.
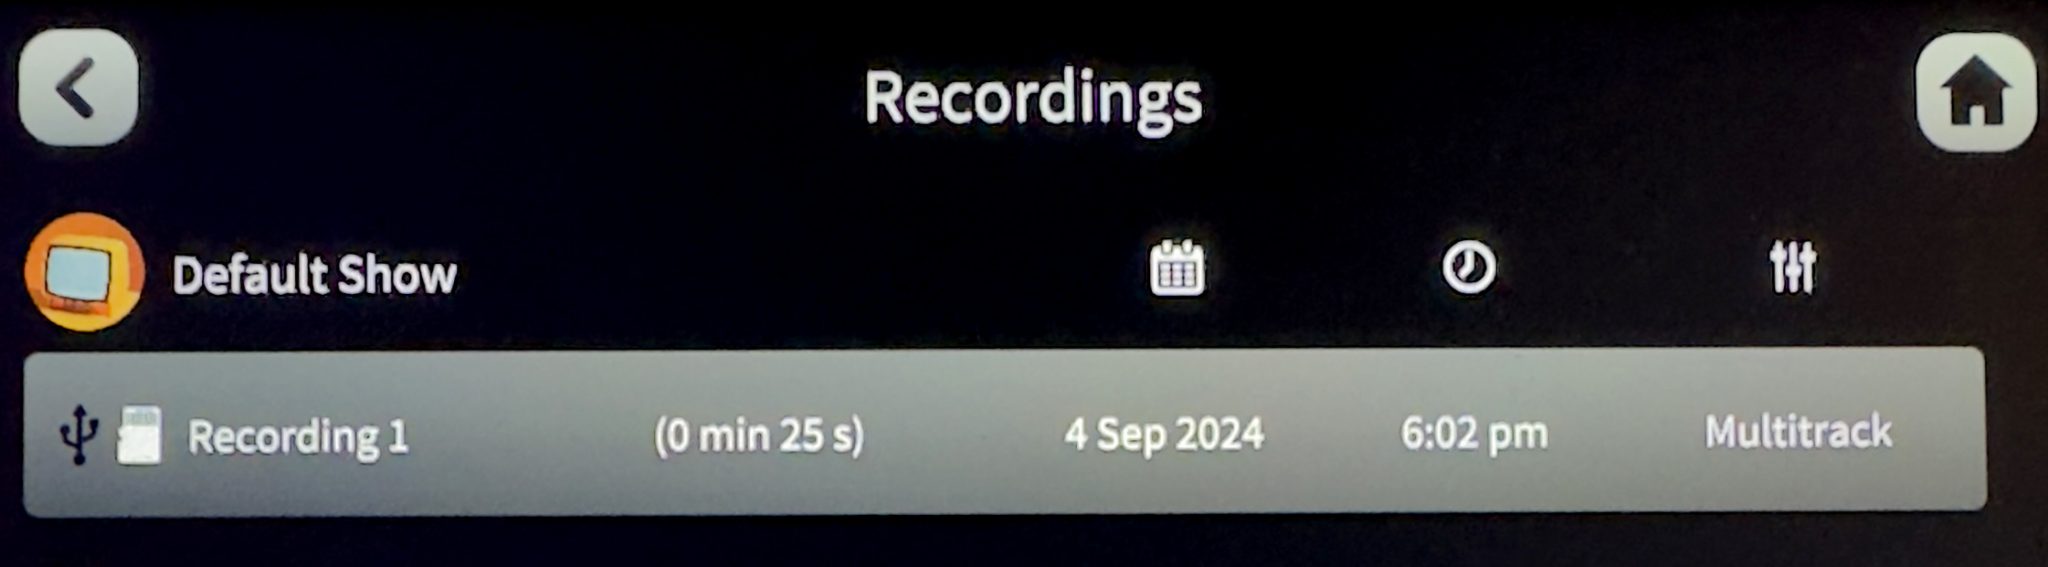
In the list, tap a recording to bring up playback controls.
Use the large rotary volume dial below headphone level dials to control the overall volume.
When done, follow these steps in reverse to return to the main view.
Record for real
Simply redo what you just did during the test recording to perform the actual recording.
During recording, you should keep an eye on the input levels, and also be ready to pause the session, if needed. Make sure participants speak into microphones and don’t cause unnecessary background noise, such as tapping on the table or rustling papers.
Wrap up the session
To finish your stay at the Podcast Studio, observe the following:
- Remember to take your storage medium with you
- Return the Røde Podcaster 2 to the starting settings, with headphones and faders at 0
- Take anything you brought into the studio back out with you
- Inform us at studios@aalto.fi if anything seems in need of attention
- Take your storage medium with you
Rødecaster Pro II user guide
For more details on our audio interface, you can view the manufacturer’s user guide.
More information
For information on the Podcast Studio, publishing your show and podcasting culture in general:


Jon Fabritius
Web Studio Host / Design and Development
jon.fabritius@aalto.fi
For onsite support and guidance:


Alejandro Yllarramendy
Workshop Master
alejandro.yllarramendy@aalto.fi
+358 504 799 238
