While the RØDECaster interface lets you record directly to an SD Card all by itself, you can get more fine grained control using audio software. And maybe you just don’t have that SD Card.
The A Pod iMac has a collection of different software, as people have preferences. This document looks at recording using Audio Hijack and GarageBand, which we find the easiest to explain.
As a result you get audio files, which you can then take with you in your preferred way. See the guide “How to get your files to go”? for more details.
Audio Hijack or GarageBand?
These two software take very different approaches to the process, and it’s really a matter of preference. Similar results can be achieved with both.
Audio Hijack is focused on creating and visualizing the workflow from inputs, through effects to recording and streaming outputs.
GarageBand is a more traditional timeline-based track recorder, where the audio is represented as items in a horizontal view. The emphasis is perhaps more on editing, which can be a great timesaver down the line.
Please note: Aalto IT-maintained Macs may have an older version of macOS, which is unable to open the more recent versions of Garageband files saved at the A Pod.
Let’s do a similar recording using both.
Set up the hardware
Recording in the A Pod happens through the RØDECaster interface and the connected hardware. The user guide “Set up the audio hardware for recording” walks you through the couple of simple steps needed.
Do that first.
Set up the iMac
Follow the onscreen instructions to sign in as “A Pod Guest” and if needed, run the Clean Up app to remove anything left behind by a previous user.
Record using Audio Hijack
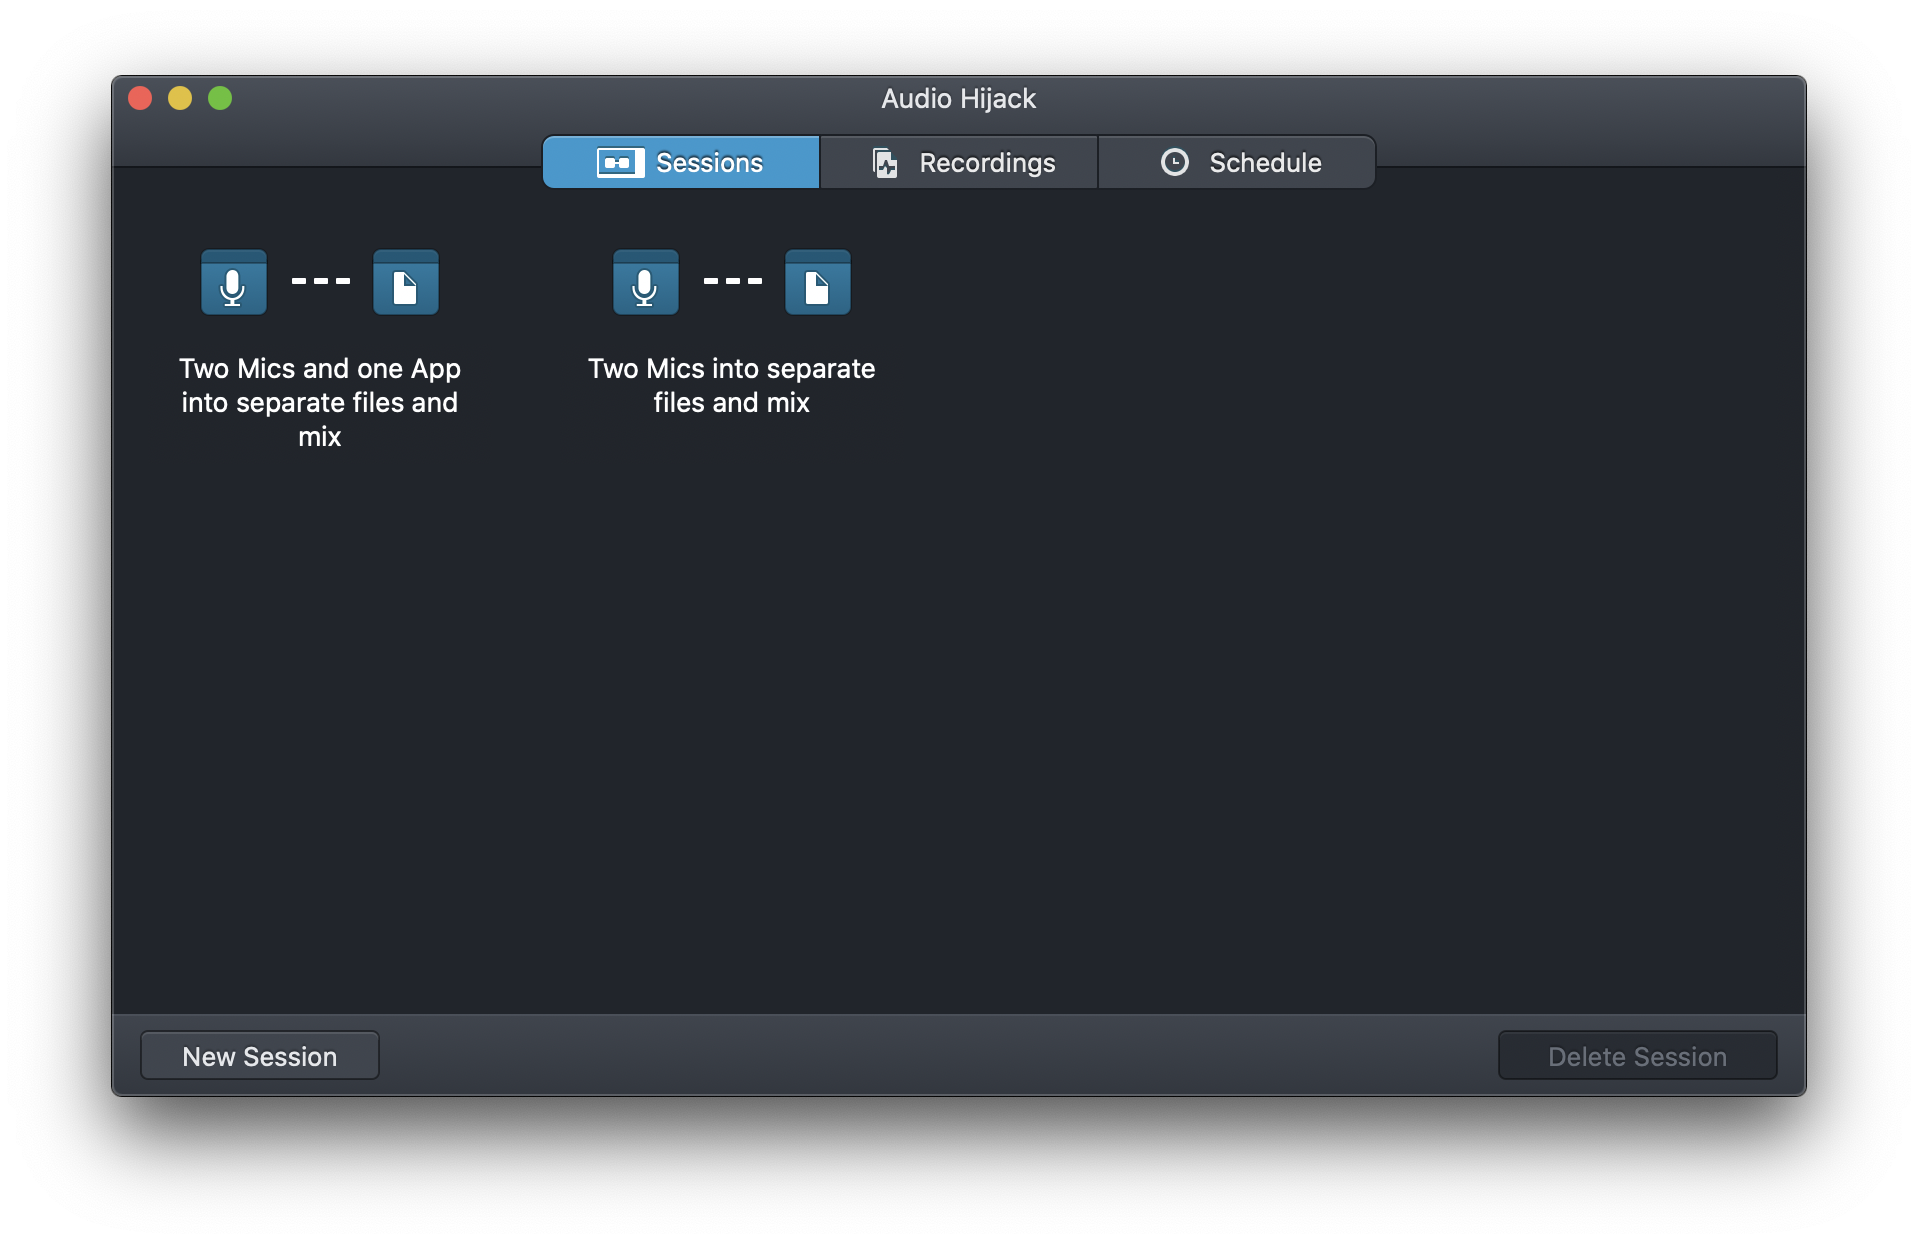
Launch Audio Hijack from the dock. A session chooser appears, letting you start from a ready made scenario.
Choose “Two Mics into separate files and mix” by double clicking it.
This scenario features two inputs representing the two microphones in the A Pod and three outputs flowing into three separate files. You’ll get both microphones separately and a combined mix of both as MP3 files.
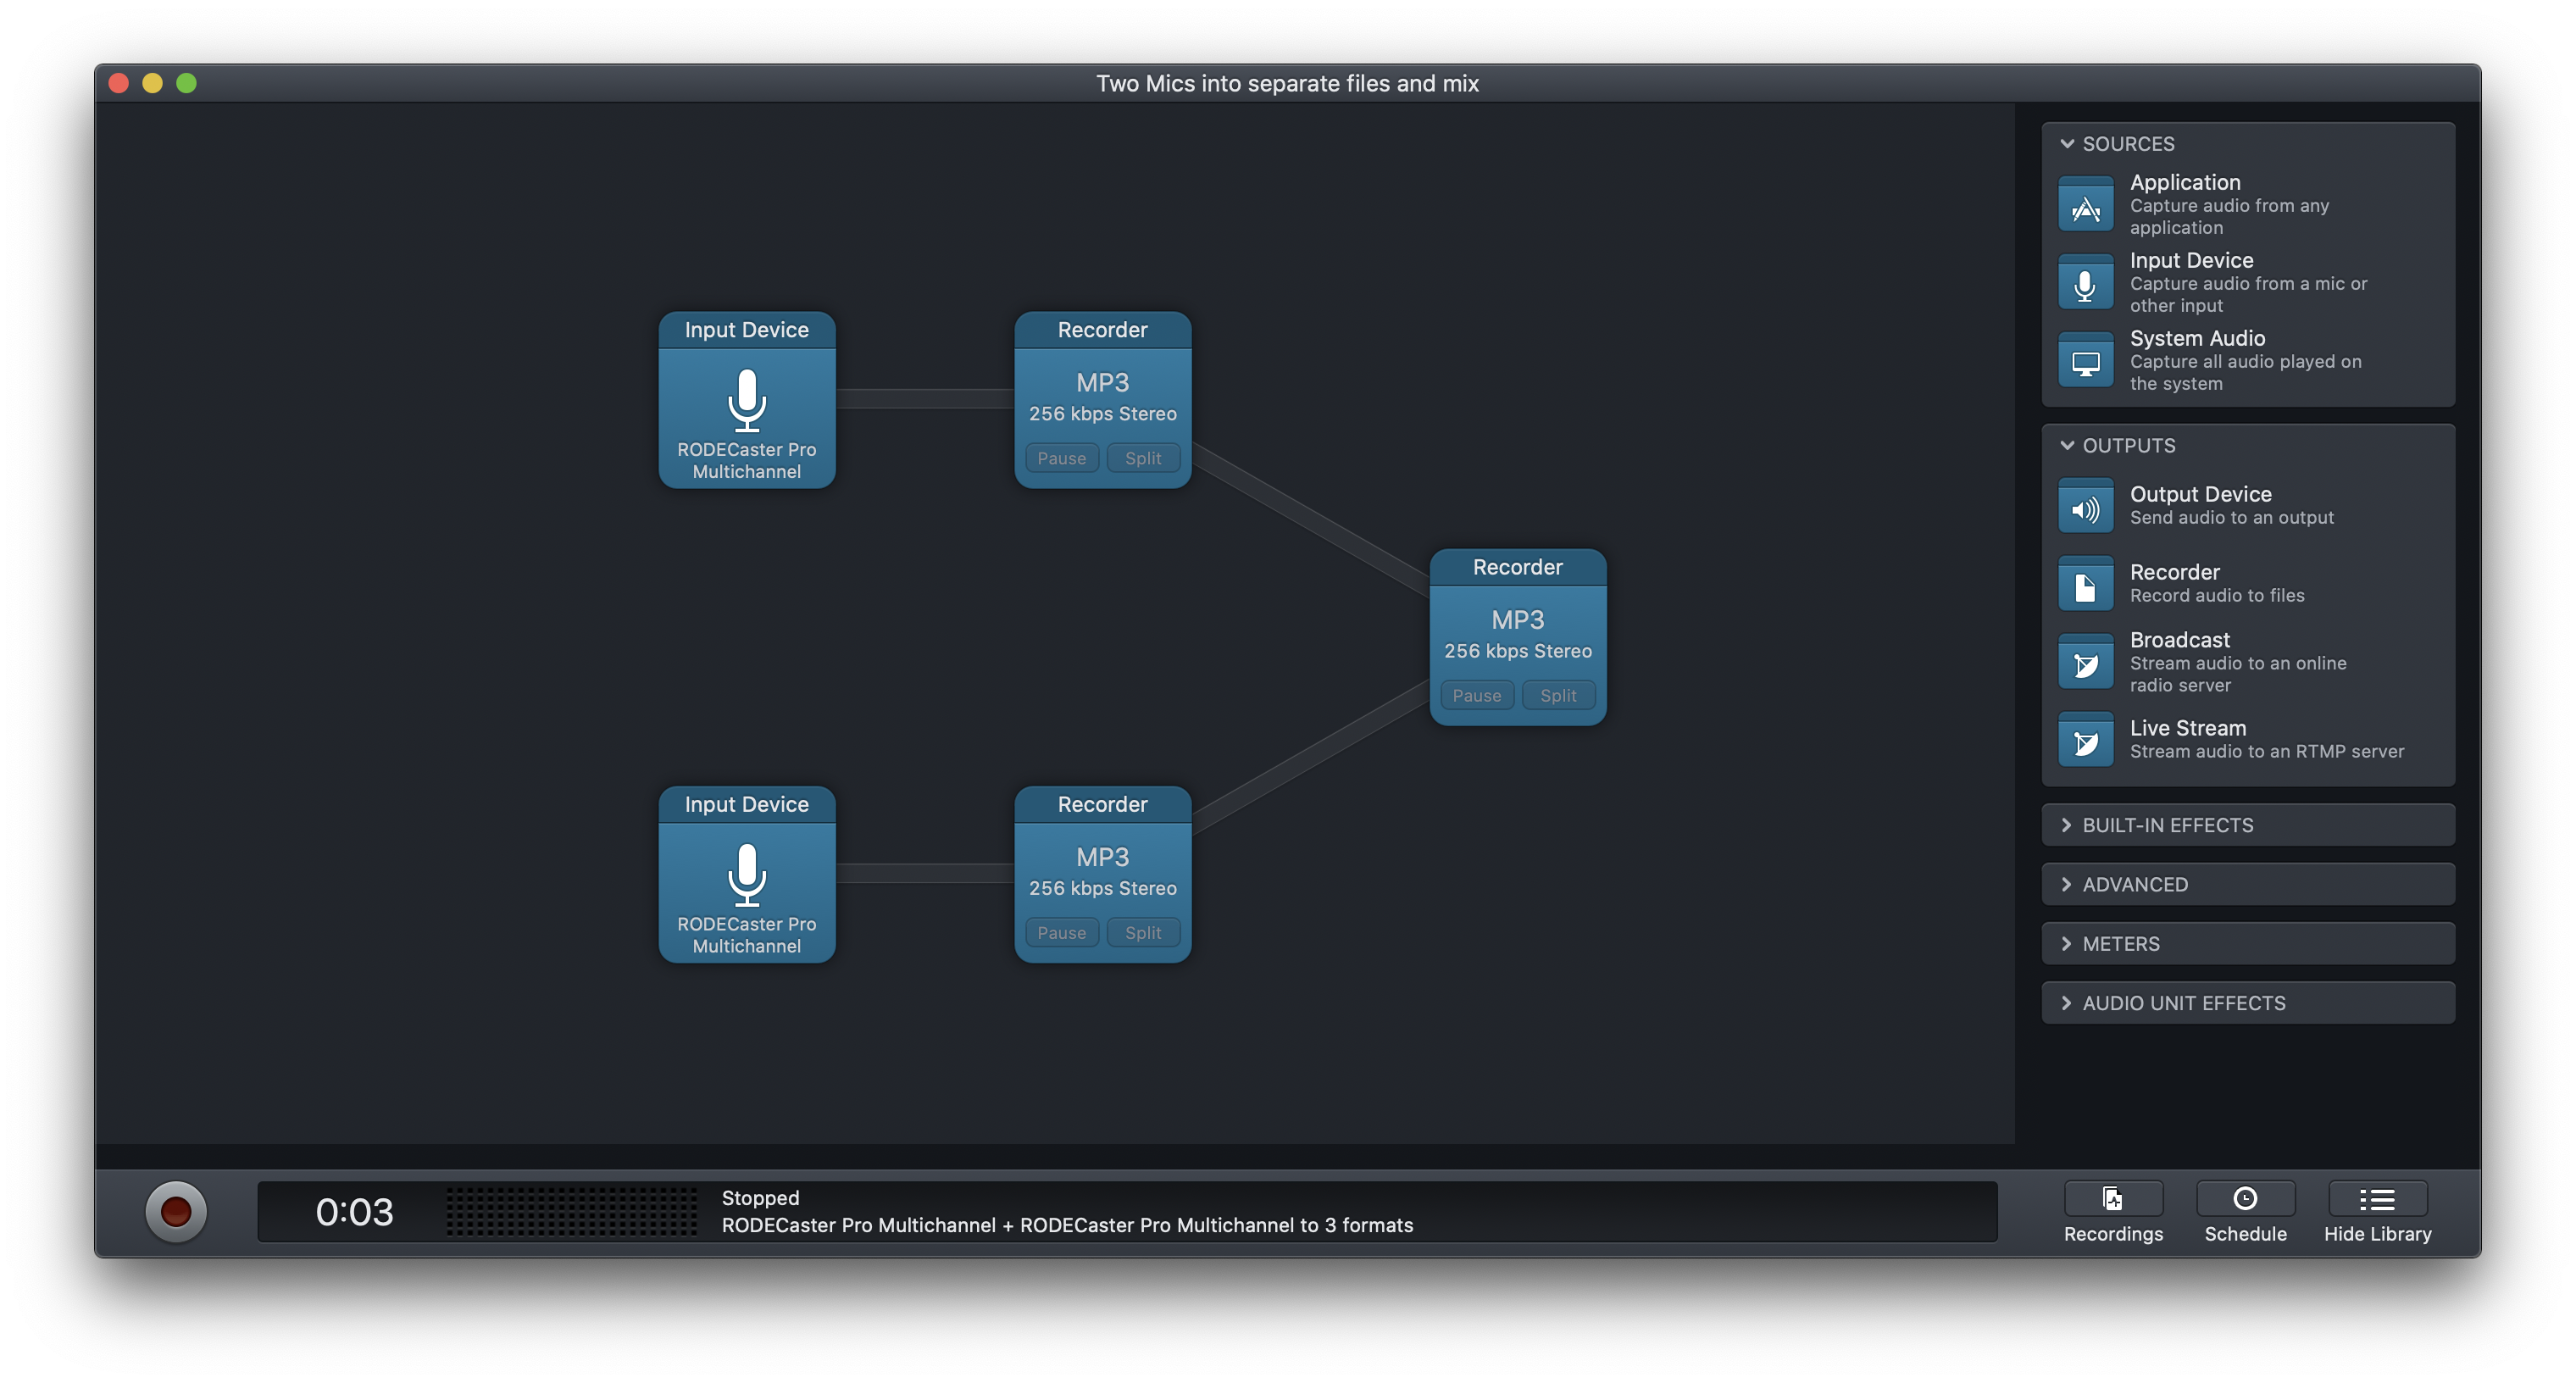
Hit the big record button at the bottom of the window to start recording.
Use the RØDECaster interface sliders 1 and 2 to control the input levels from the microphones as needed.
When done, stop the recording and locate the files using the Mac Finder (first app in the Dock). In a Finder window, locate the ‘Audio Hijack’ folder in the sidebar and review the contents.
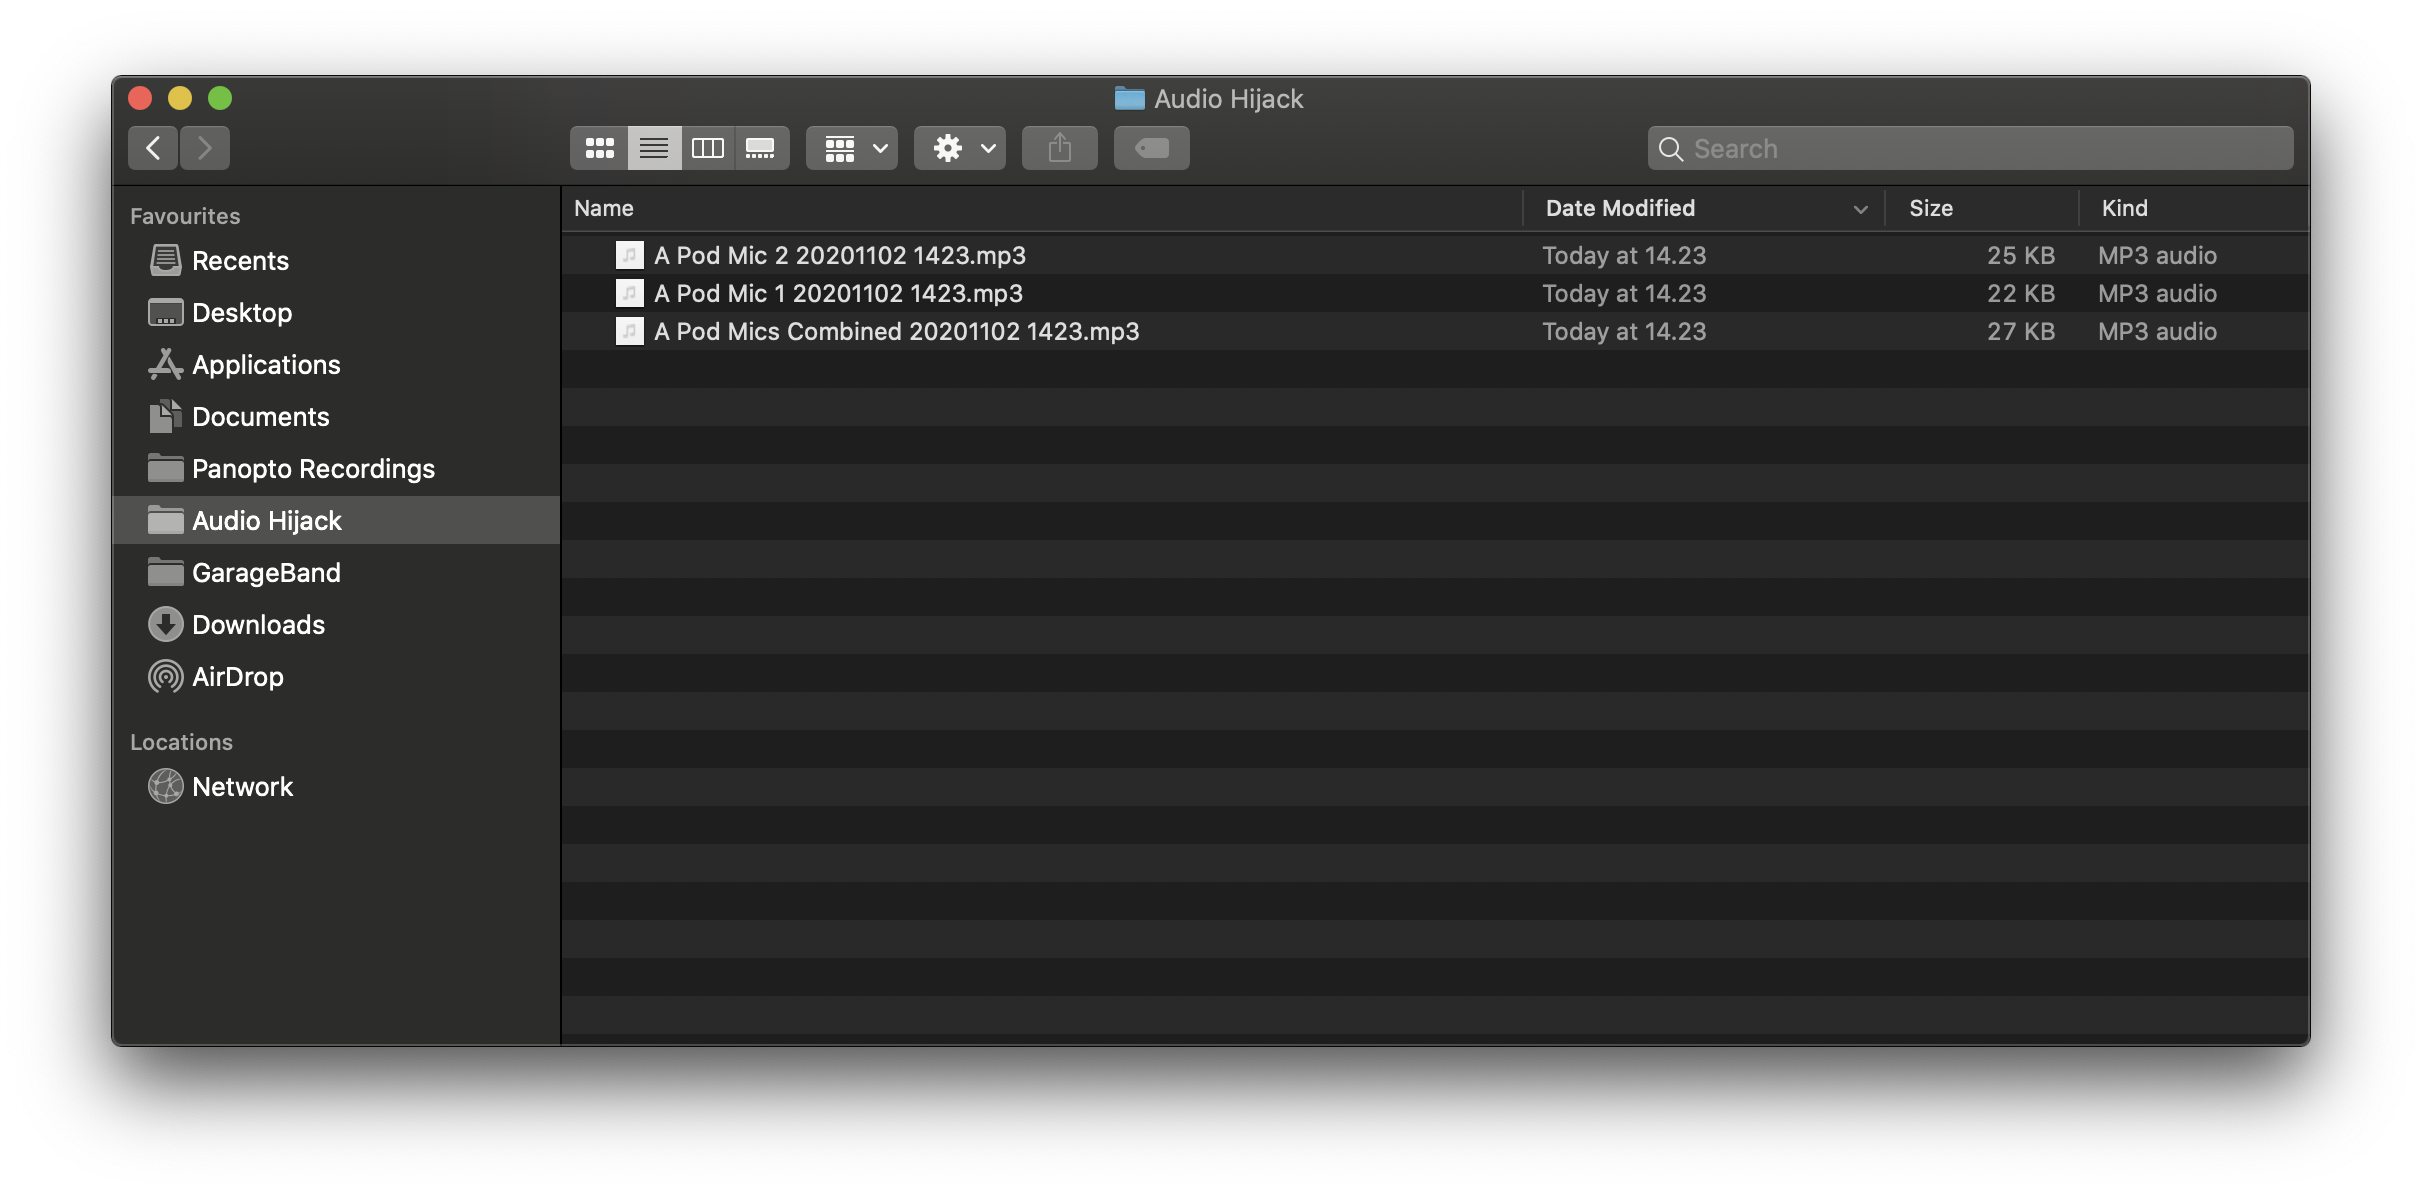
The files are named based on their source and date/time information. Refer to the guide “How to get your files to go?” for getting your data out from the A Pod.
Advanced Options
Feel free to click on inputs and explore the various tools available in the app. Our cleanup script will set everything back to normal for the next user. If you use the A Pod a lot and would like to store a spesific session layout, let us know.
To monitor the flow without actually recording, you can set the recording nodes off, either individually or from the applications menu bar. Remember to turn them for actually recording.
Record using Garageband
This section is being written at this very moment, so the content below will appear unfinished.
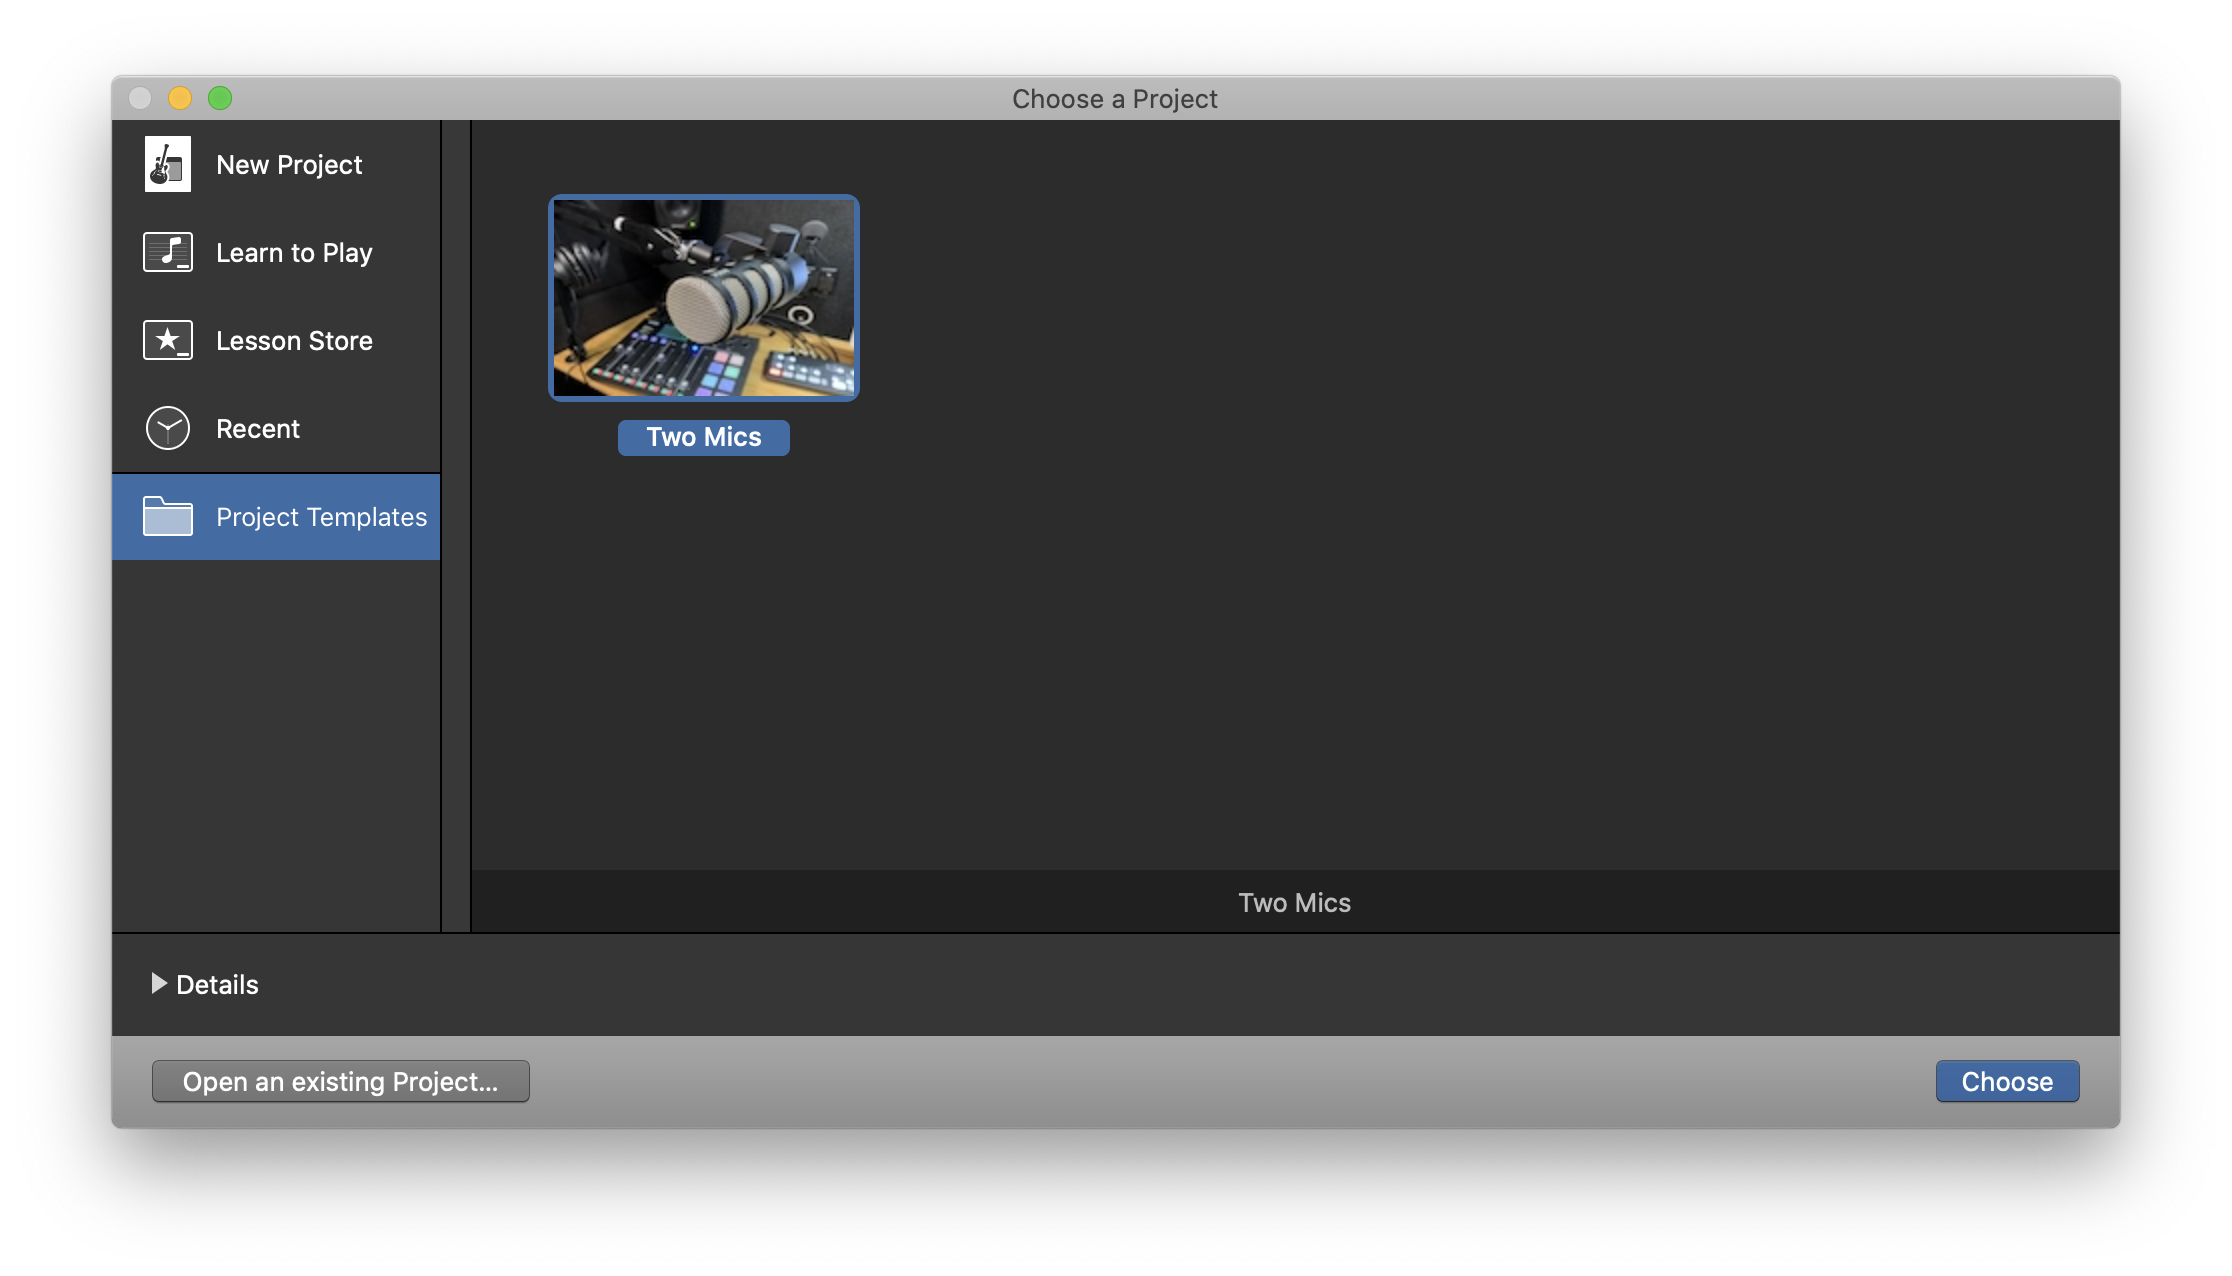
Launch Garageband from the Dock.
Locate the Project Templates view, if not already visible and choose the template “Two Mics”.
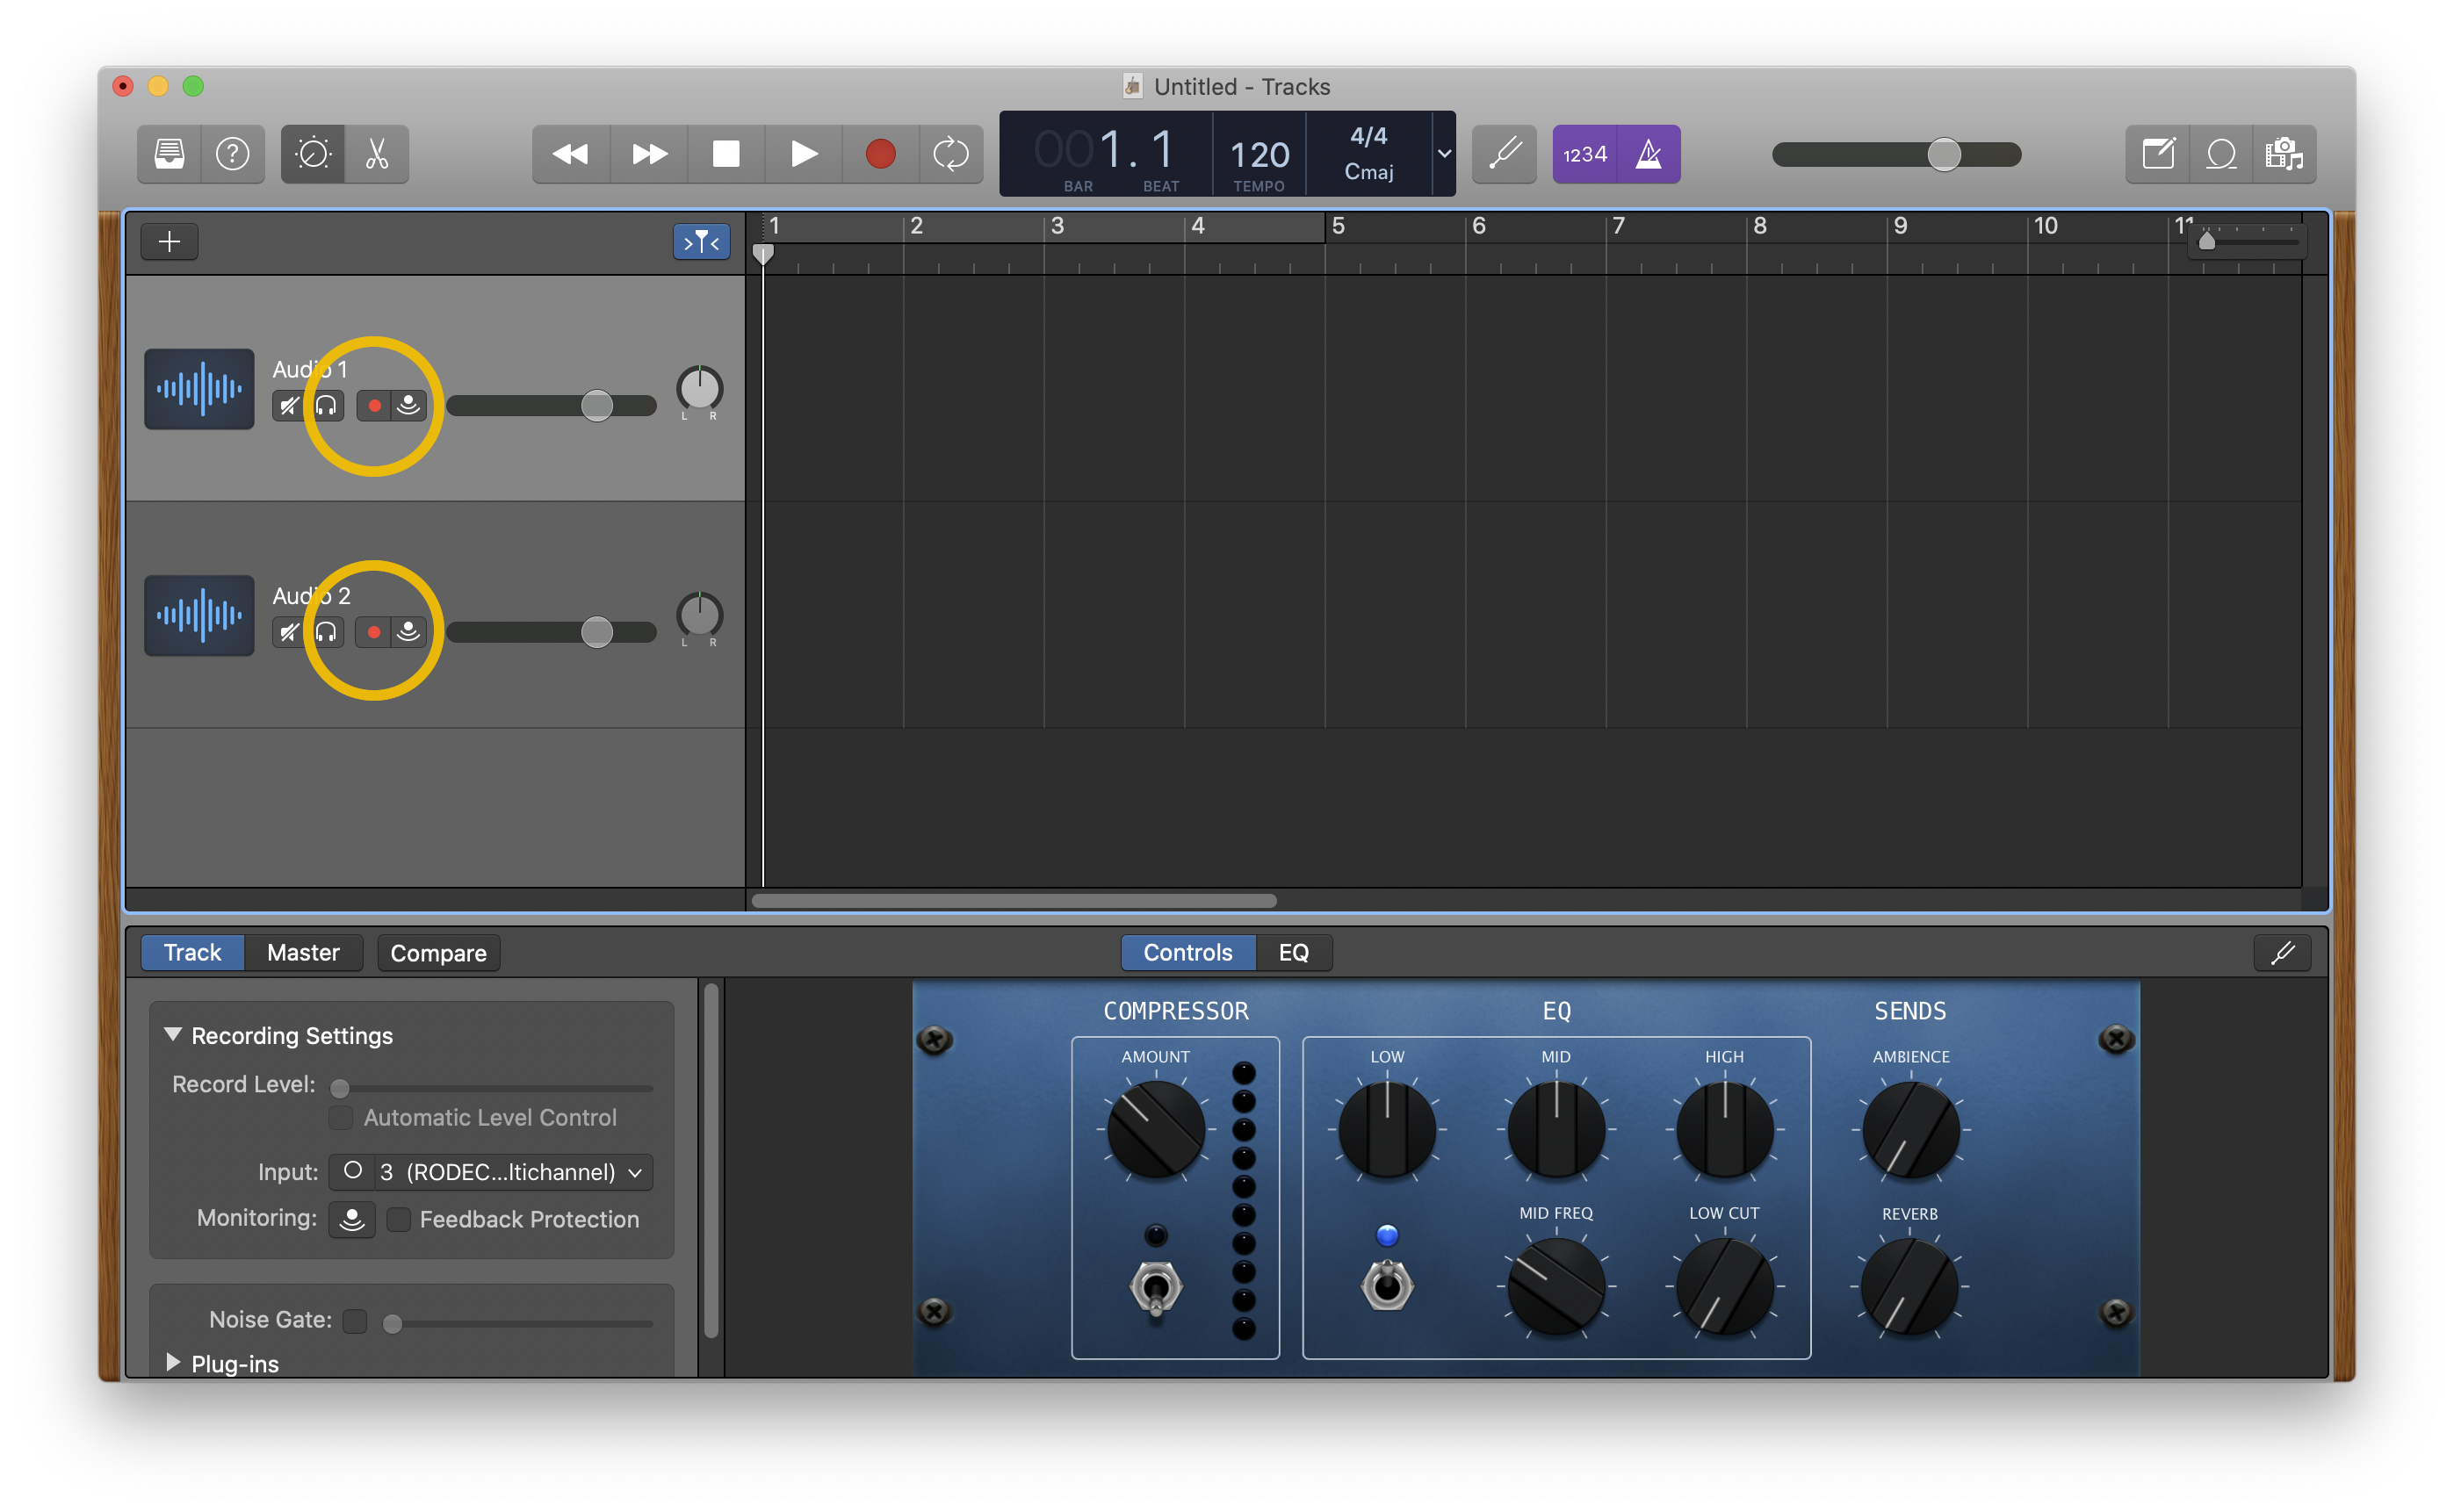
Arm the two tracks that match our two microphones by clicking the indicator (circled below) in the track header. When blinking red, the track is armed and will be recorded when you click the record button.
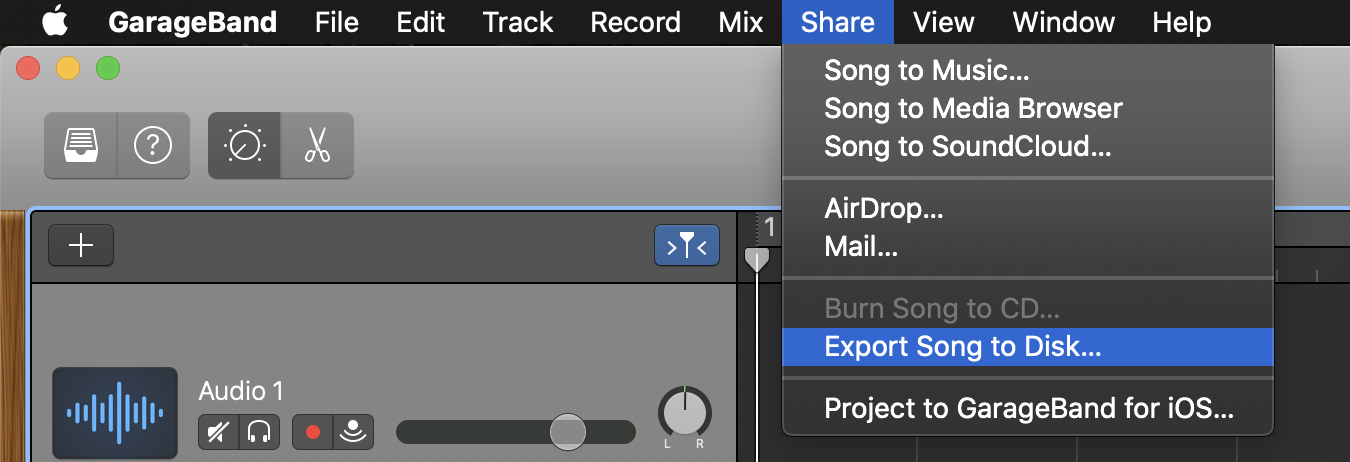
After completing, click stop to end recording. To export the audio, choose “Share > Export song” to get a combined audio file of the tracks. To save the Garageband project, choose “Save as…”.
Lastly, refer to the guide “How to get your files to go?” for getting your data out from the A Pod.
