For many cases, this is most straight forward way. You’ll need to bring your own fast (100 MB/s or more) Micro SD Card for recording the audio to.
These steps take you through recording a typical setup using the two A Pod microphones. More sources can be added through BlueTooth and USB and this document has details for that, too.
Set up the A Pod
The user guide “Set up the audio hardware for recording” walks you through the simple steps needed to make sure everything is ready. Do that first, then return here.
Ready the Micro SD Card
Insert the card into the slot on the back of the right side of the mixer until it locks in place.
For consistent results, we recommend formatting the card at this point. This will remove all data already on the card, so be warned.
On the mixer’s display, choose:
Settings > Hardware > Micro SD card > Format SD card. Then slide to the right to format.
Once you have formatted the card, you can press the HOME key to return to the main menu.
Setting the microphone input levels
After the hardware setup you performed in ”Set up the audio hardware for recording“, your sliders corresponding to Mic 1 and Mic 2 may still need some sliding to make sure you’re getting good audio.
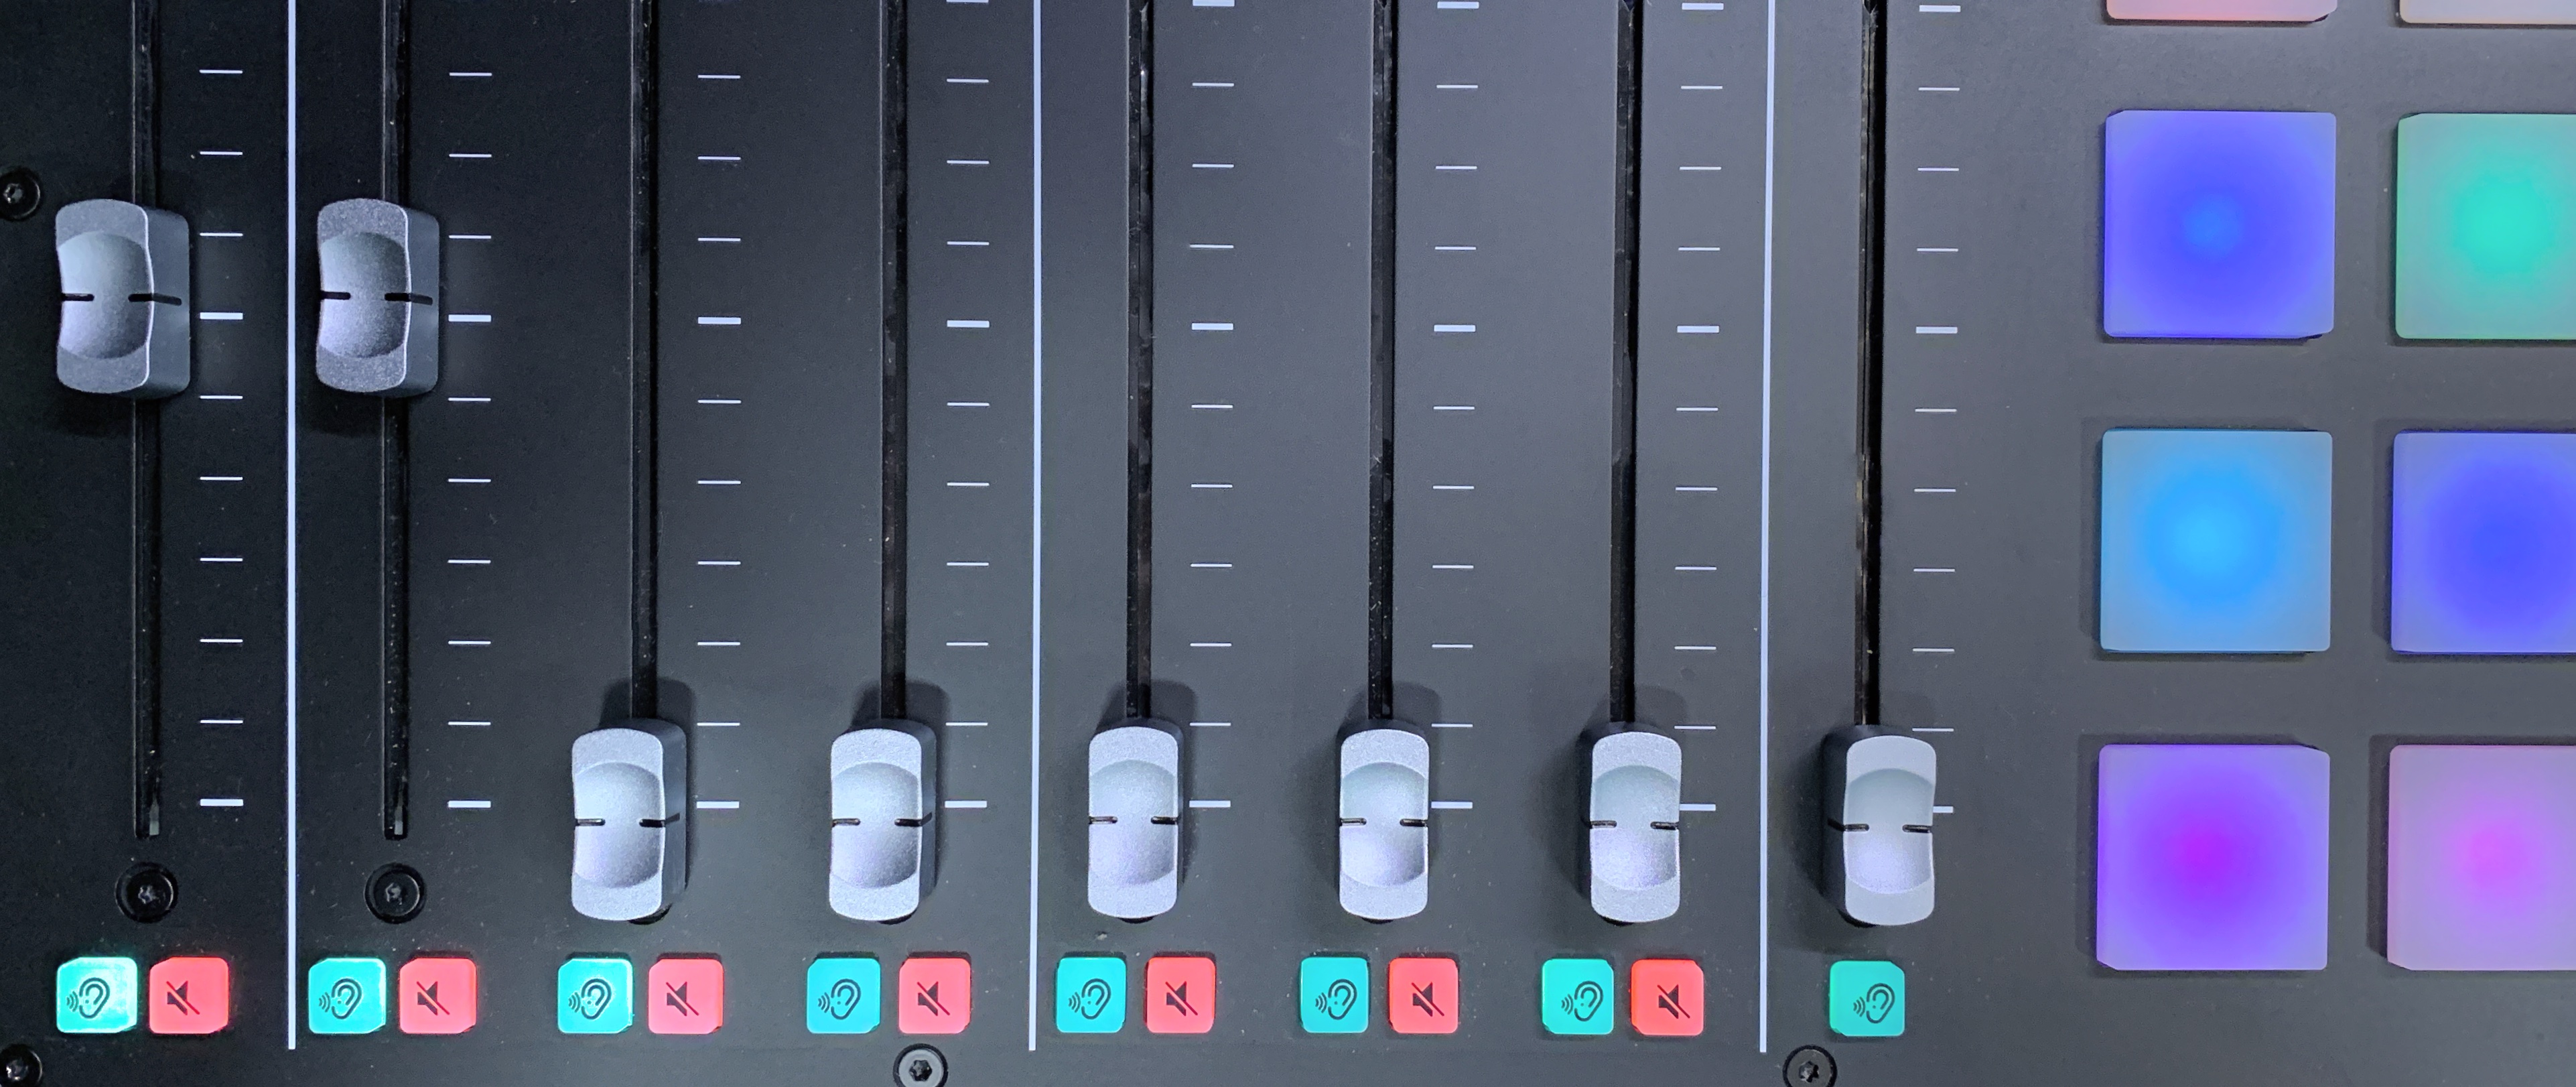
Speak closely into the microphones and set your levels so that the signal lights bounce just past the white line on the metering panel.
You can use headphones to listen to the audio while recording, adjusting the corresponding rotating knobs marked with a headphone icon. Room speakers can not be used, as the sound would feed back in to the microphones.
Ready, set, go
At this point, a regular 1-2 microphone setup is good to go. For adding more sources, please refer to the next paragraph for details.
When you’re ready to record:
- Dial down the room ventilation via the white rotary dial on the left side of the iMac. It’ll add a distinct noise in the recording if left on.
- Close the curtains to reduce echoes and get a warmer sound
- Press the REC button and recording will begin
The REC button light has a little language of its own;
| Blue | SD Card not in use |
| Green | Ready to record |
| Red | Recording |
| Amber | Recording paused (to pause, hold down the REC button for two seconds) |
Each time you record and stop a new separate file is created on the disk.
Once you are finished recording, switch on the ventilation, and eject your disk by pressing inwards until it clicks.
Add more sound sources
The RØDECaster interface supports two additional microphones, a Bluetooth device, a USB device and has a built-in sound board with trigger pads.
Bluetooth
To record sound from your phone, tablet or other Bluetooth enabled device, you’ll need to pair it with the interface first.
This document is currently being written and more content will appear soon.
